Posts in Category: Technology
Raspberry Pi Zero
 The Raspberry Pi Zero is simply a micro computer that is only $5! These little guys are hard to get…sold out most places in the US as soon as they arrive. There are some Micro Centers that have them in stock…but the closest one for me is in Mass and that is a bit of a drive. Reddit community to the rescue!
So some people in the Cambridge area posted pics showing the the Micro Center there had them in stock. I put out a simple request to see if someone would buy one for me & ship it & I would reimburse them….someone did!
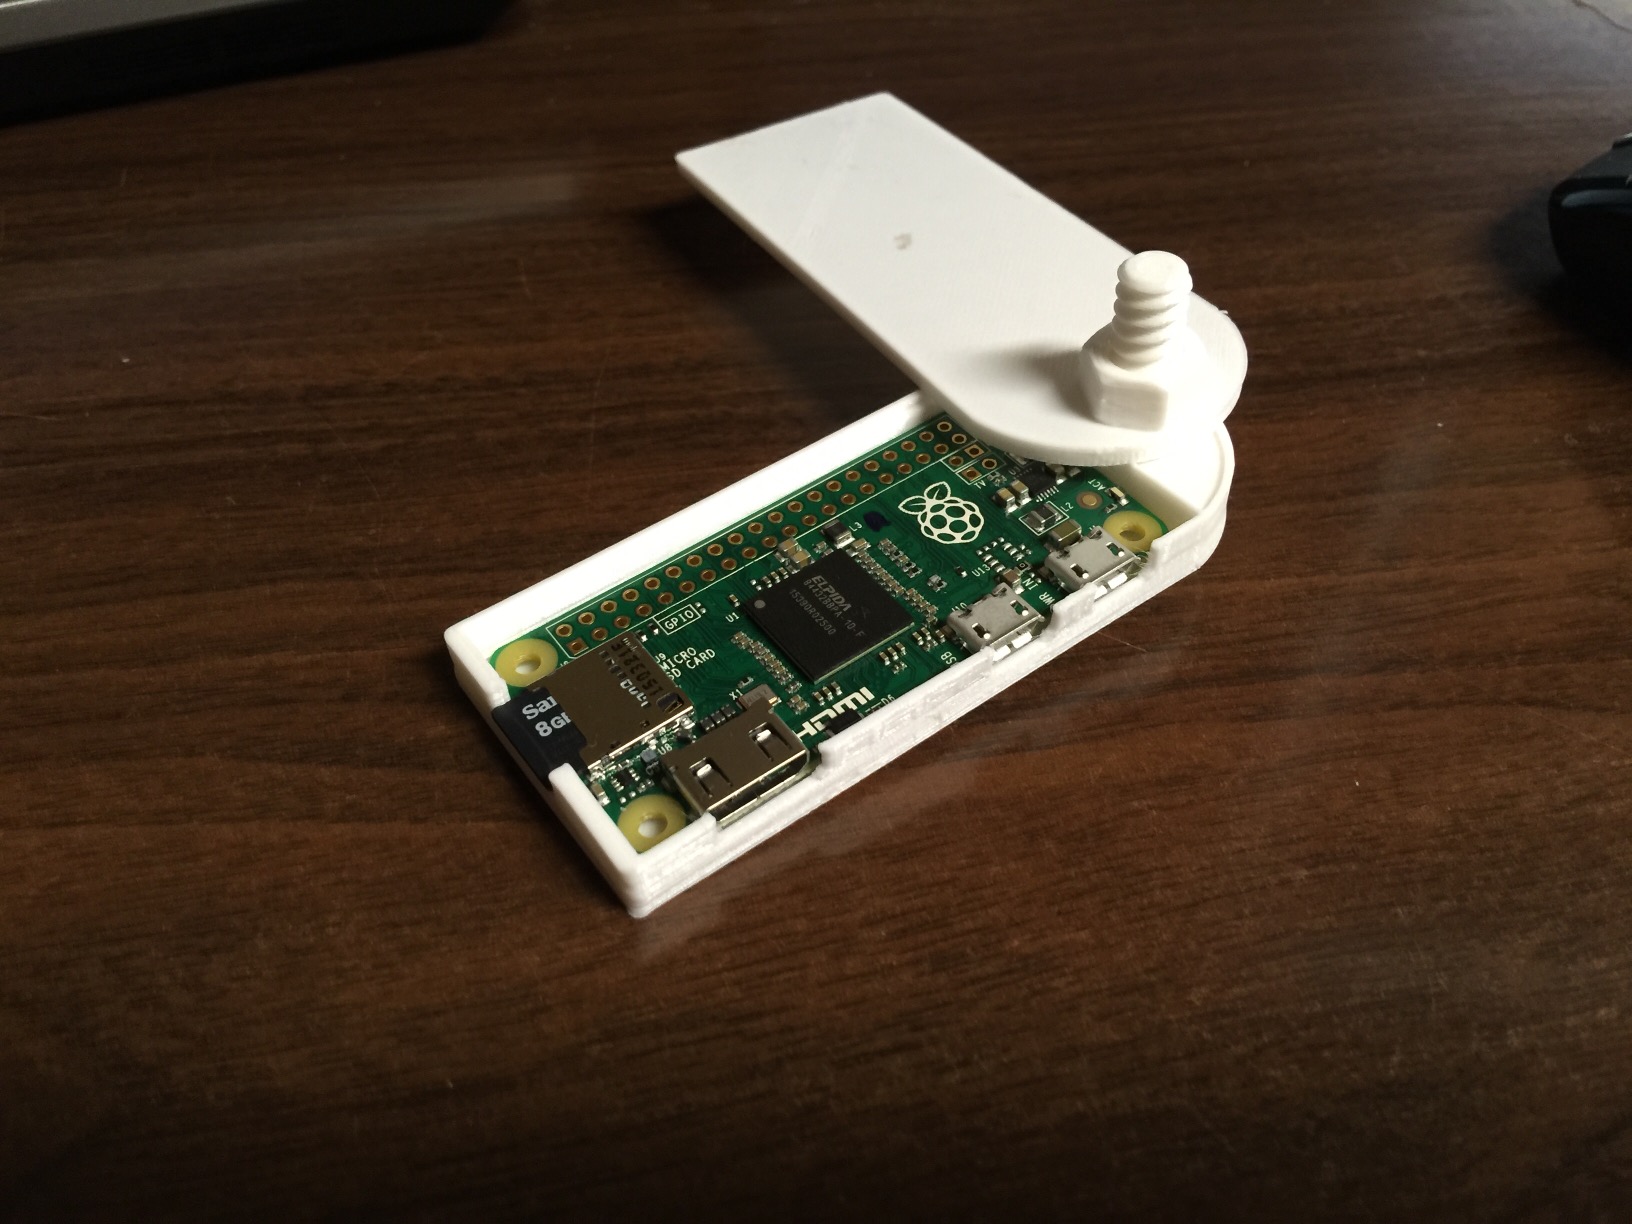
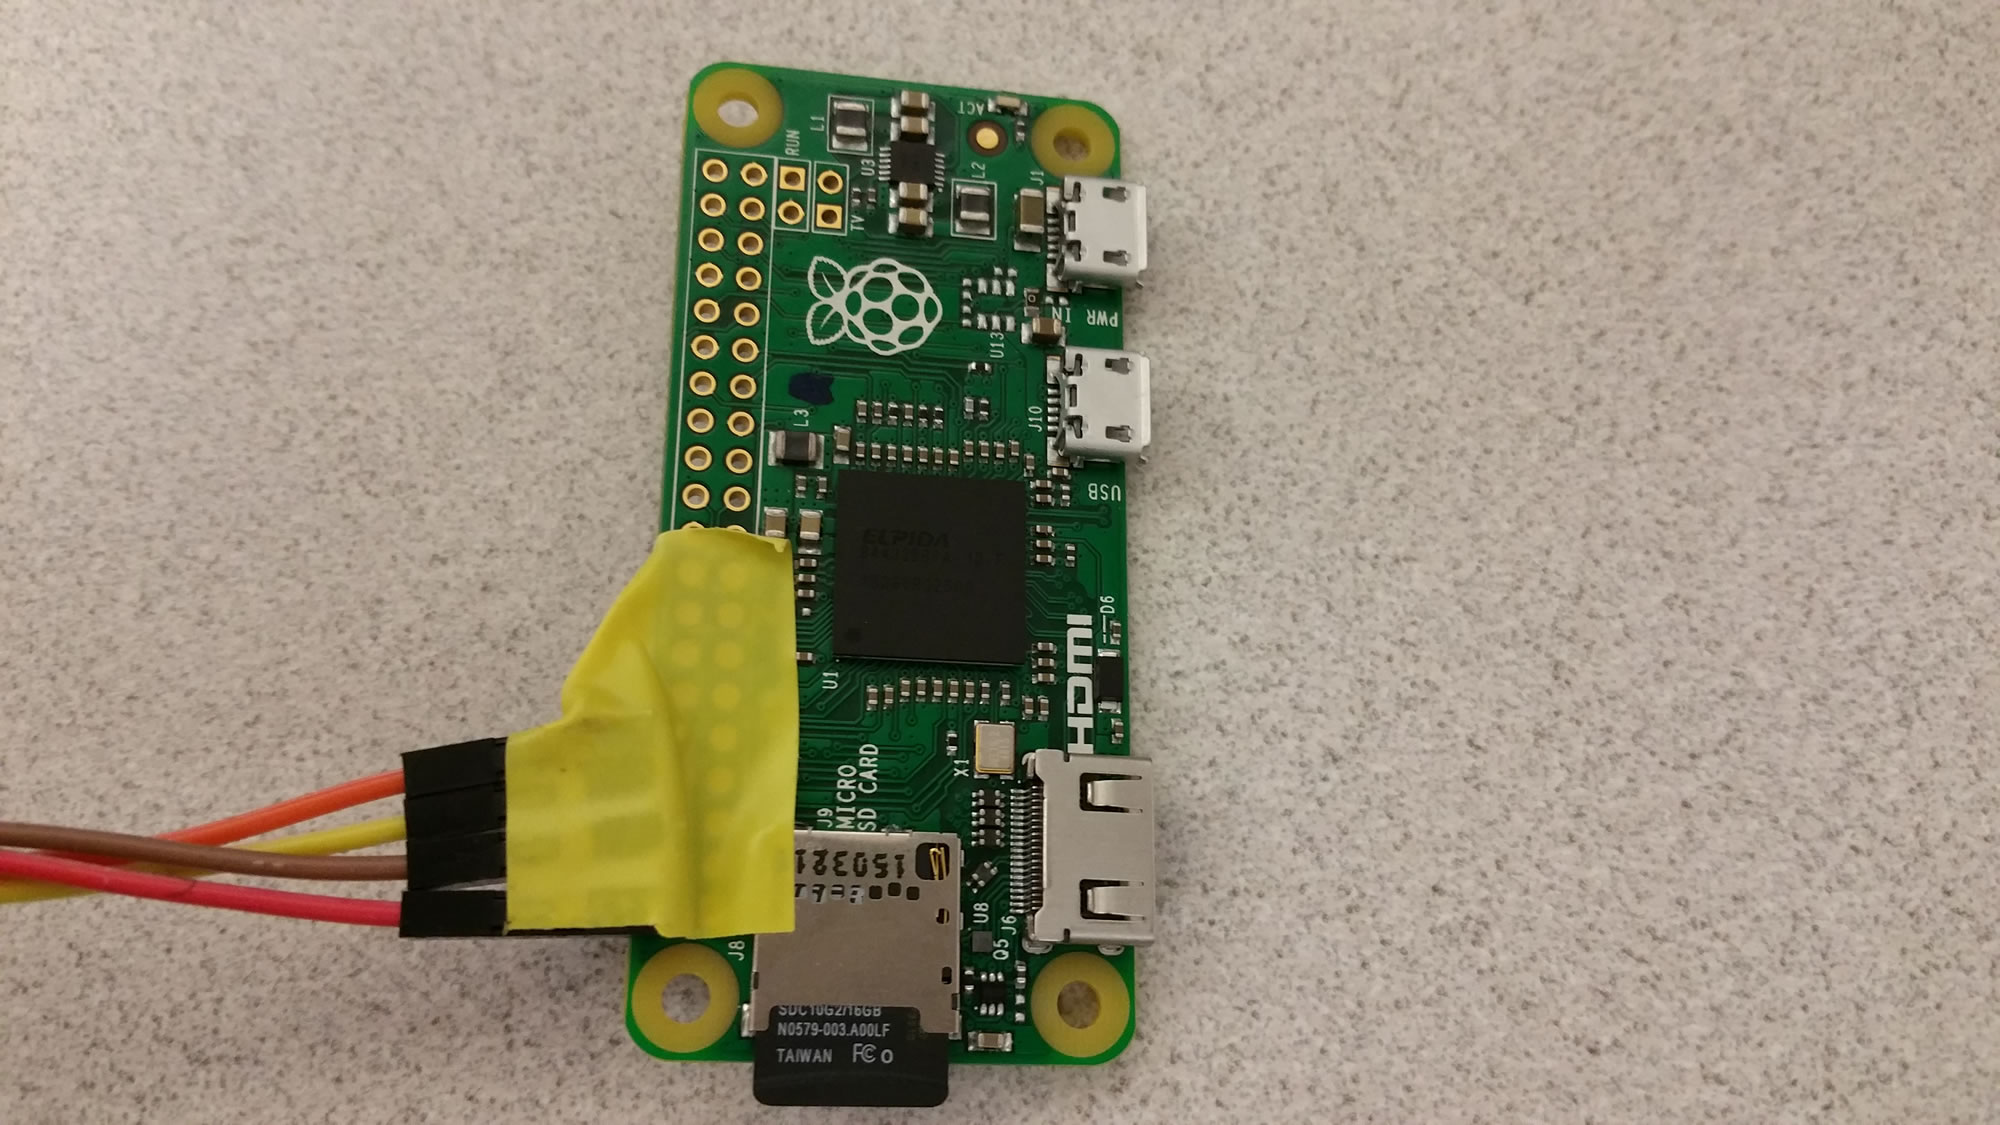
I now have this cool little computer with GPIO outputs. I could turn it into a USB gadget if I want…or another little retro gaming station. I’m leaning more towards a USB gadget of some sort…simply because it has a nice small form factor and I need to get my creative juices flowing. To do that, I need a console cable as to be able to get into the pi zero without having to hook up a keyboard. I ordered this little guy from ebay (a USB to TTL with 3.3v conversion). What makes talking to the pi zero via serial tricky is that most serial talks with a voltage of 5 volts…but the GPIO pins on the raspberry pis all talk with a 3.3v…so you will either need a converter of some sort, or this little USB to TTL to do the work for you.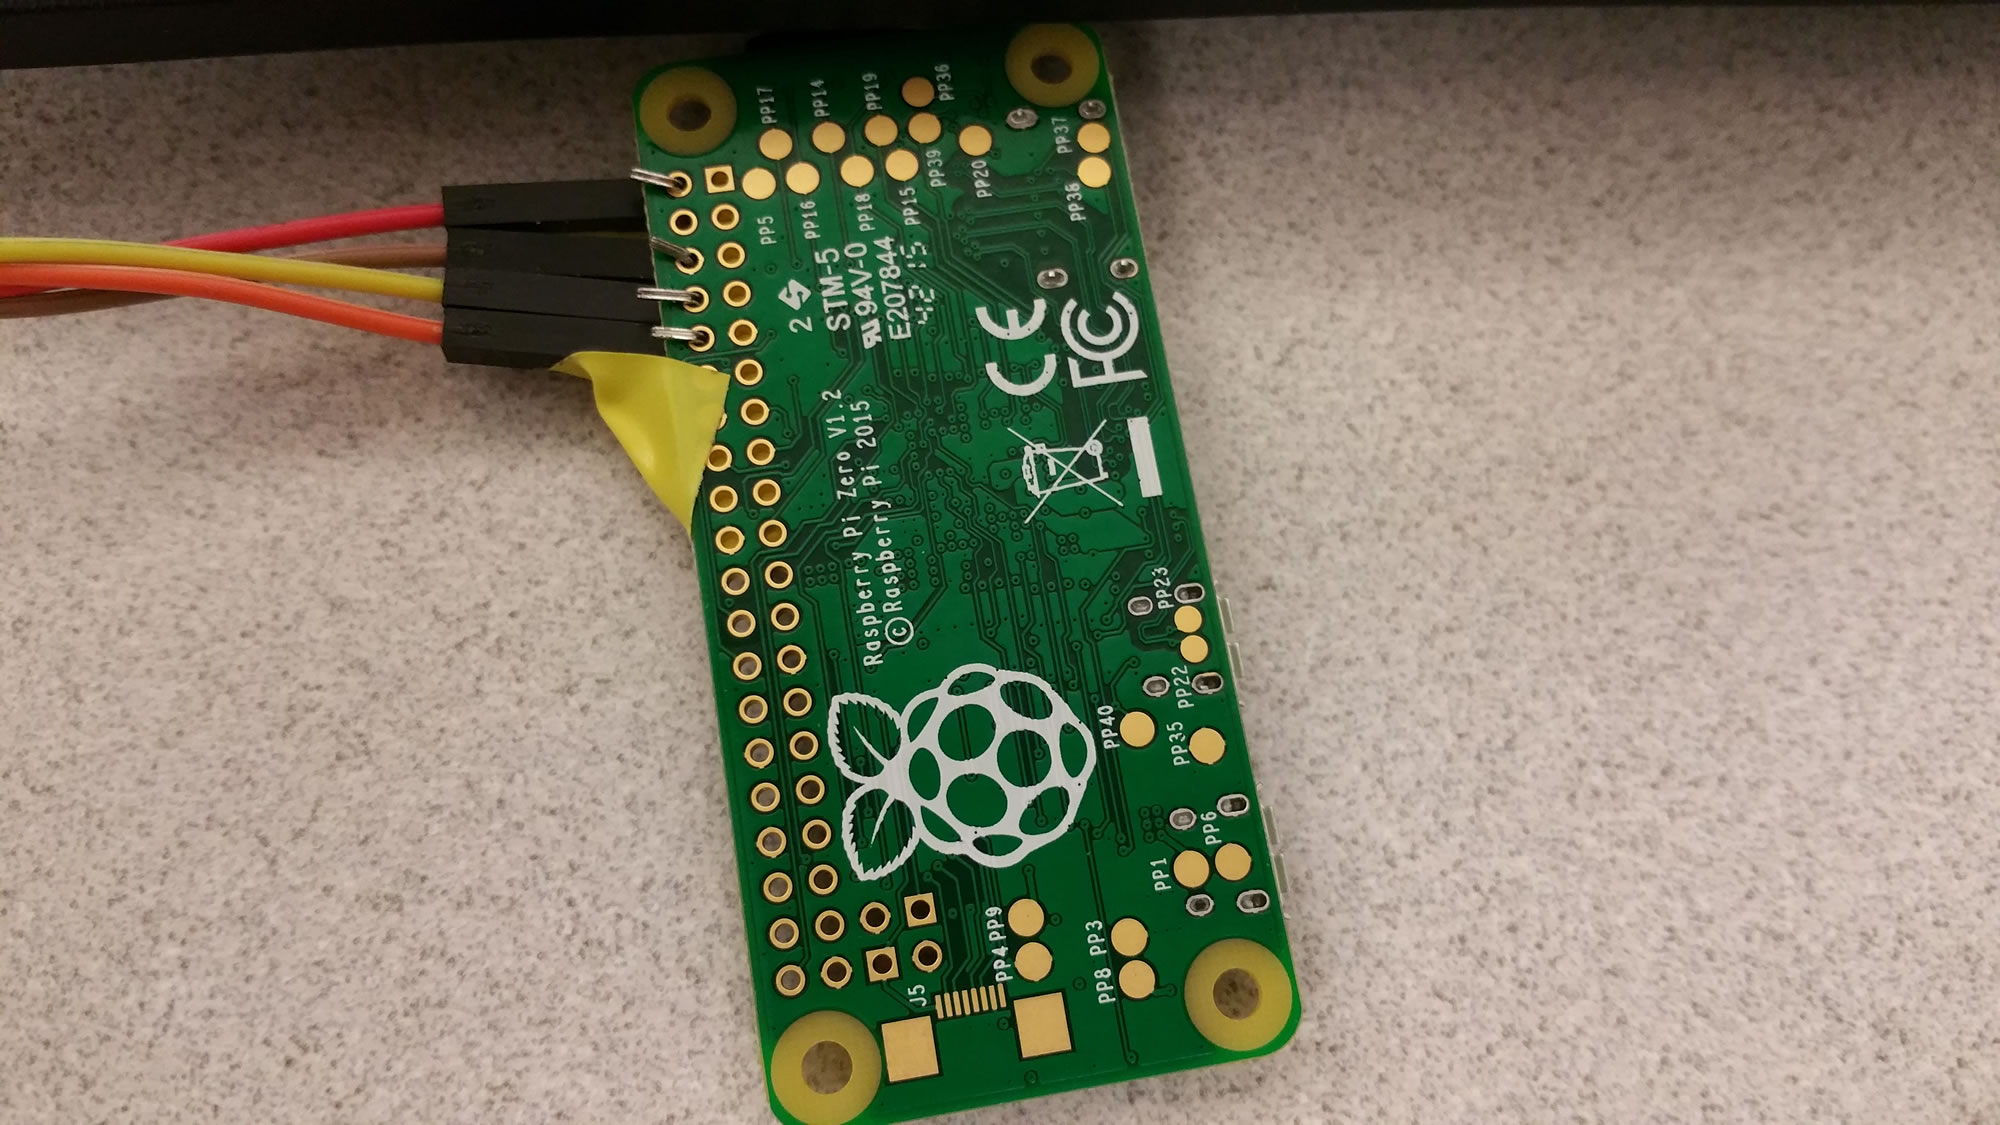
Well, the little TTL chip came in….I put the jumper on 3.3v…put the RX of the chip to the TX of the pi and then vice versa for TX to RX and then GND to GND and VCC to 3.3v on the pi….and…it sort of worked…but was kind of a loop. In looking back, I’m lucky this didn’t damage the Pi…or the TTL chip. What does work is the following:
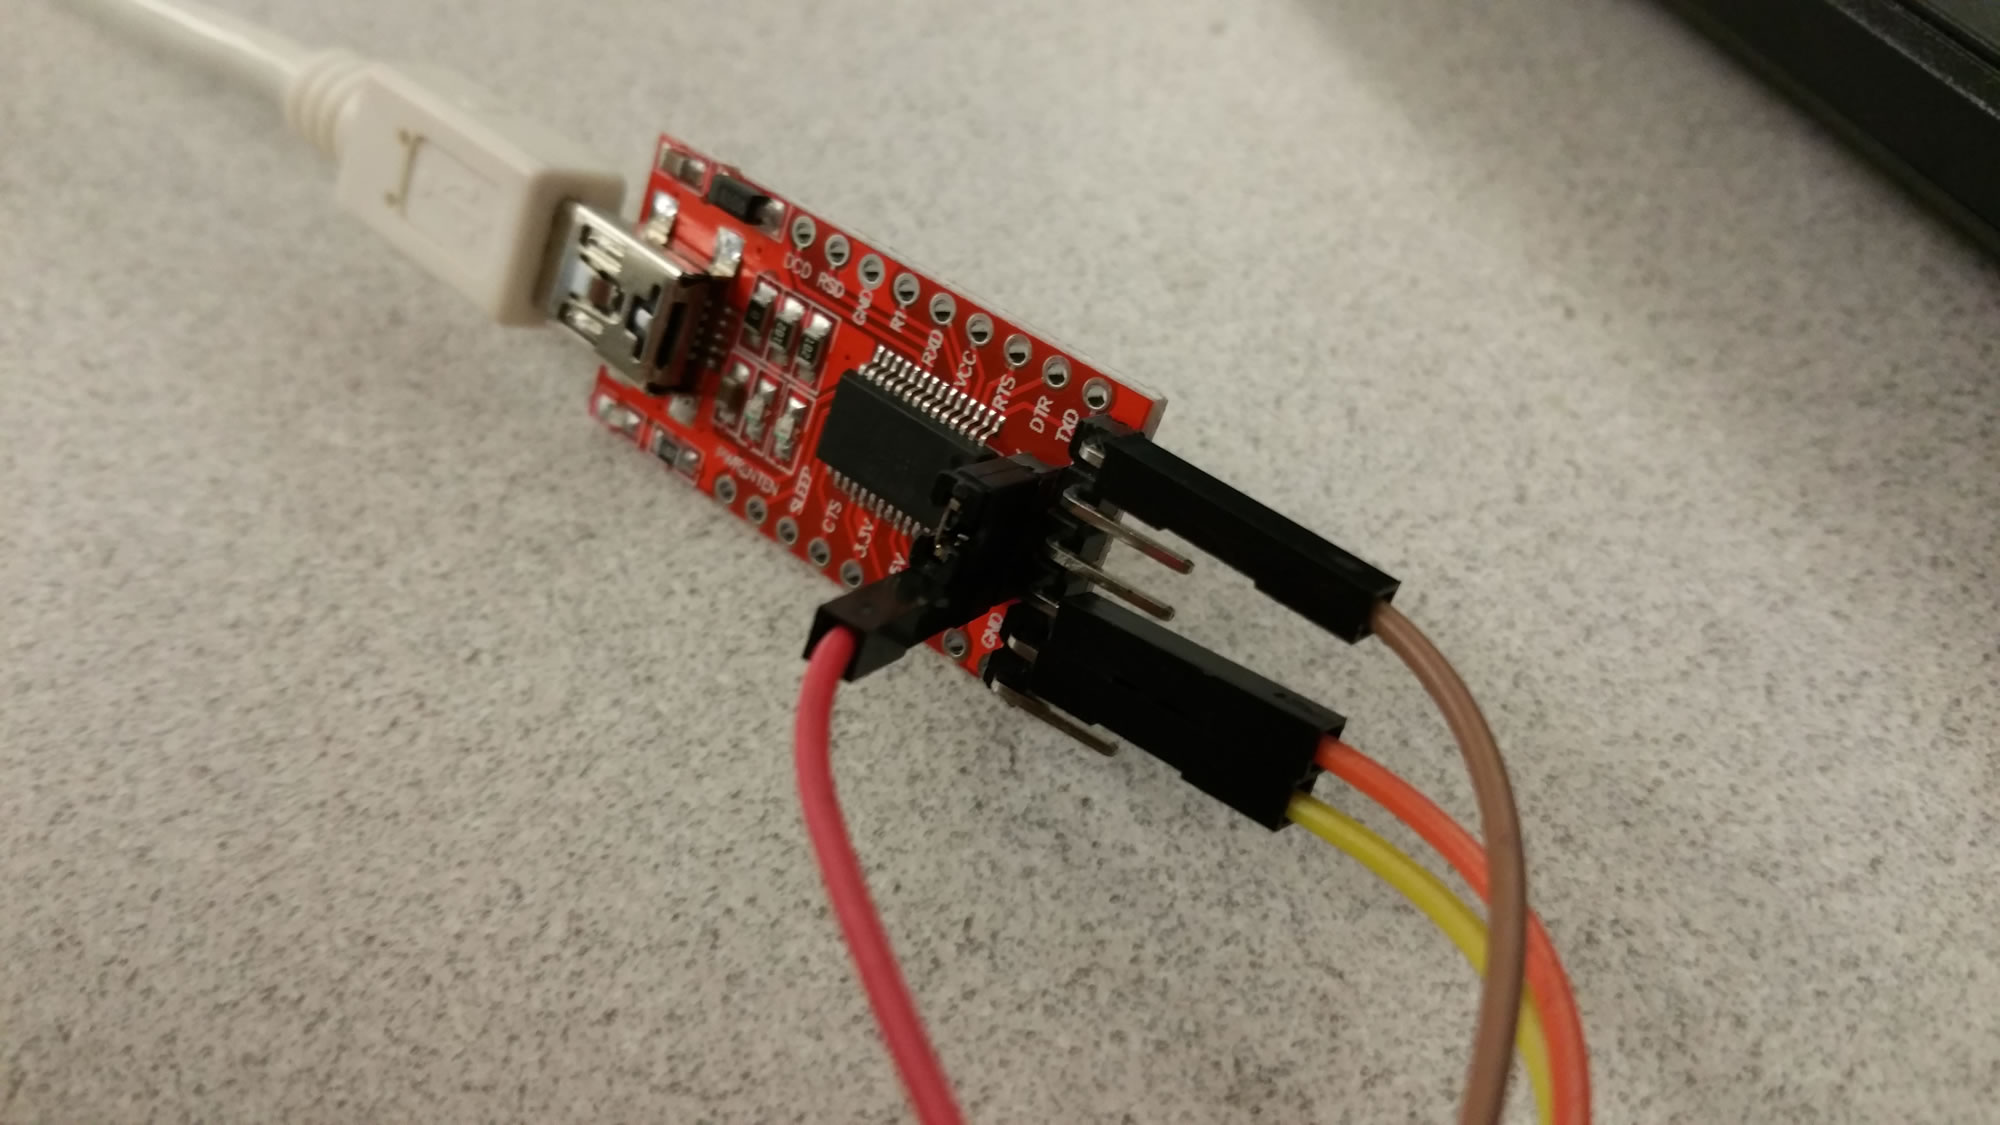 TTL jumper 5v >> Pi 5v power || TTL RX >> Pi TX || TTL TX >> Pi RX || TTL GND >> Pi GND.
The unconventional part here is that I’m using the 5v of the TTL’s jumper to power the Pi. All I know is that it works!
When I plug the TTL into my computer, I get a new com port that shows up…then I can just use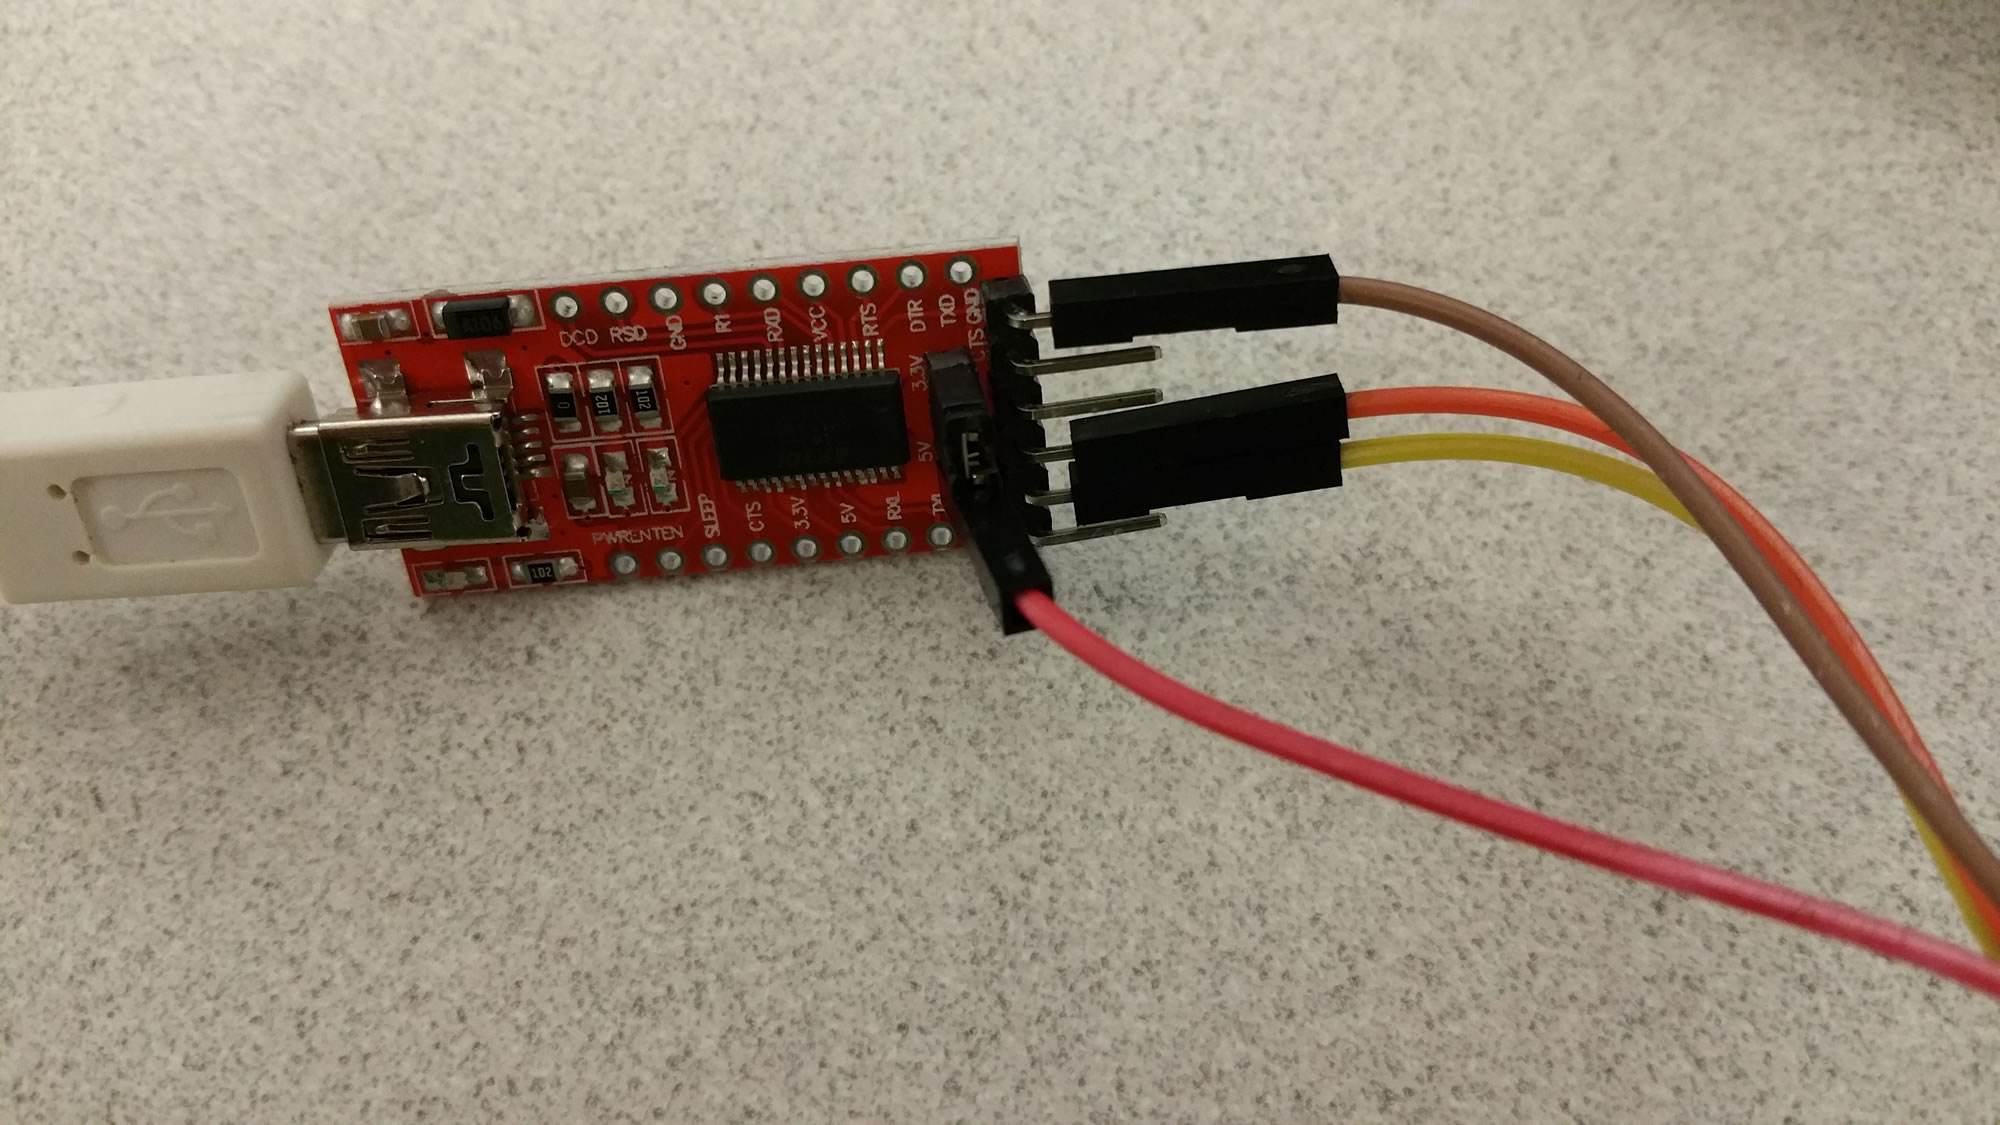 PuTTY to access the Pi! This will work for any Raspberry Pi by the way….not just the Zero.
 Now to figure out what I want to do with it. I think I would somehow like to make it into a little ethernet gadget that can somehow use the internet of the computer it is plugged into. That would be cool…to have a little “thumb drive” computer…to put files on and manipulate with whatever scripts or something. We’ll see what I come up with. =)
Update on the tessel arm
Figured I’d give an update on how the tessel arm has been coming.
I have since purchased a 3d printer kit…which was a little pain-staking to get going but now that I’ve got it working, I definitely know it pretty well…which was the point. I mentally prepared myself for the trials of getting it working and am continuing to learn still.
Using the 3d printer, I’ve been using a guy’s design and tweaking it as needed.
Here are some pics.
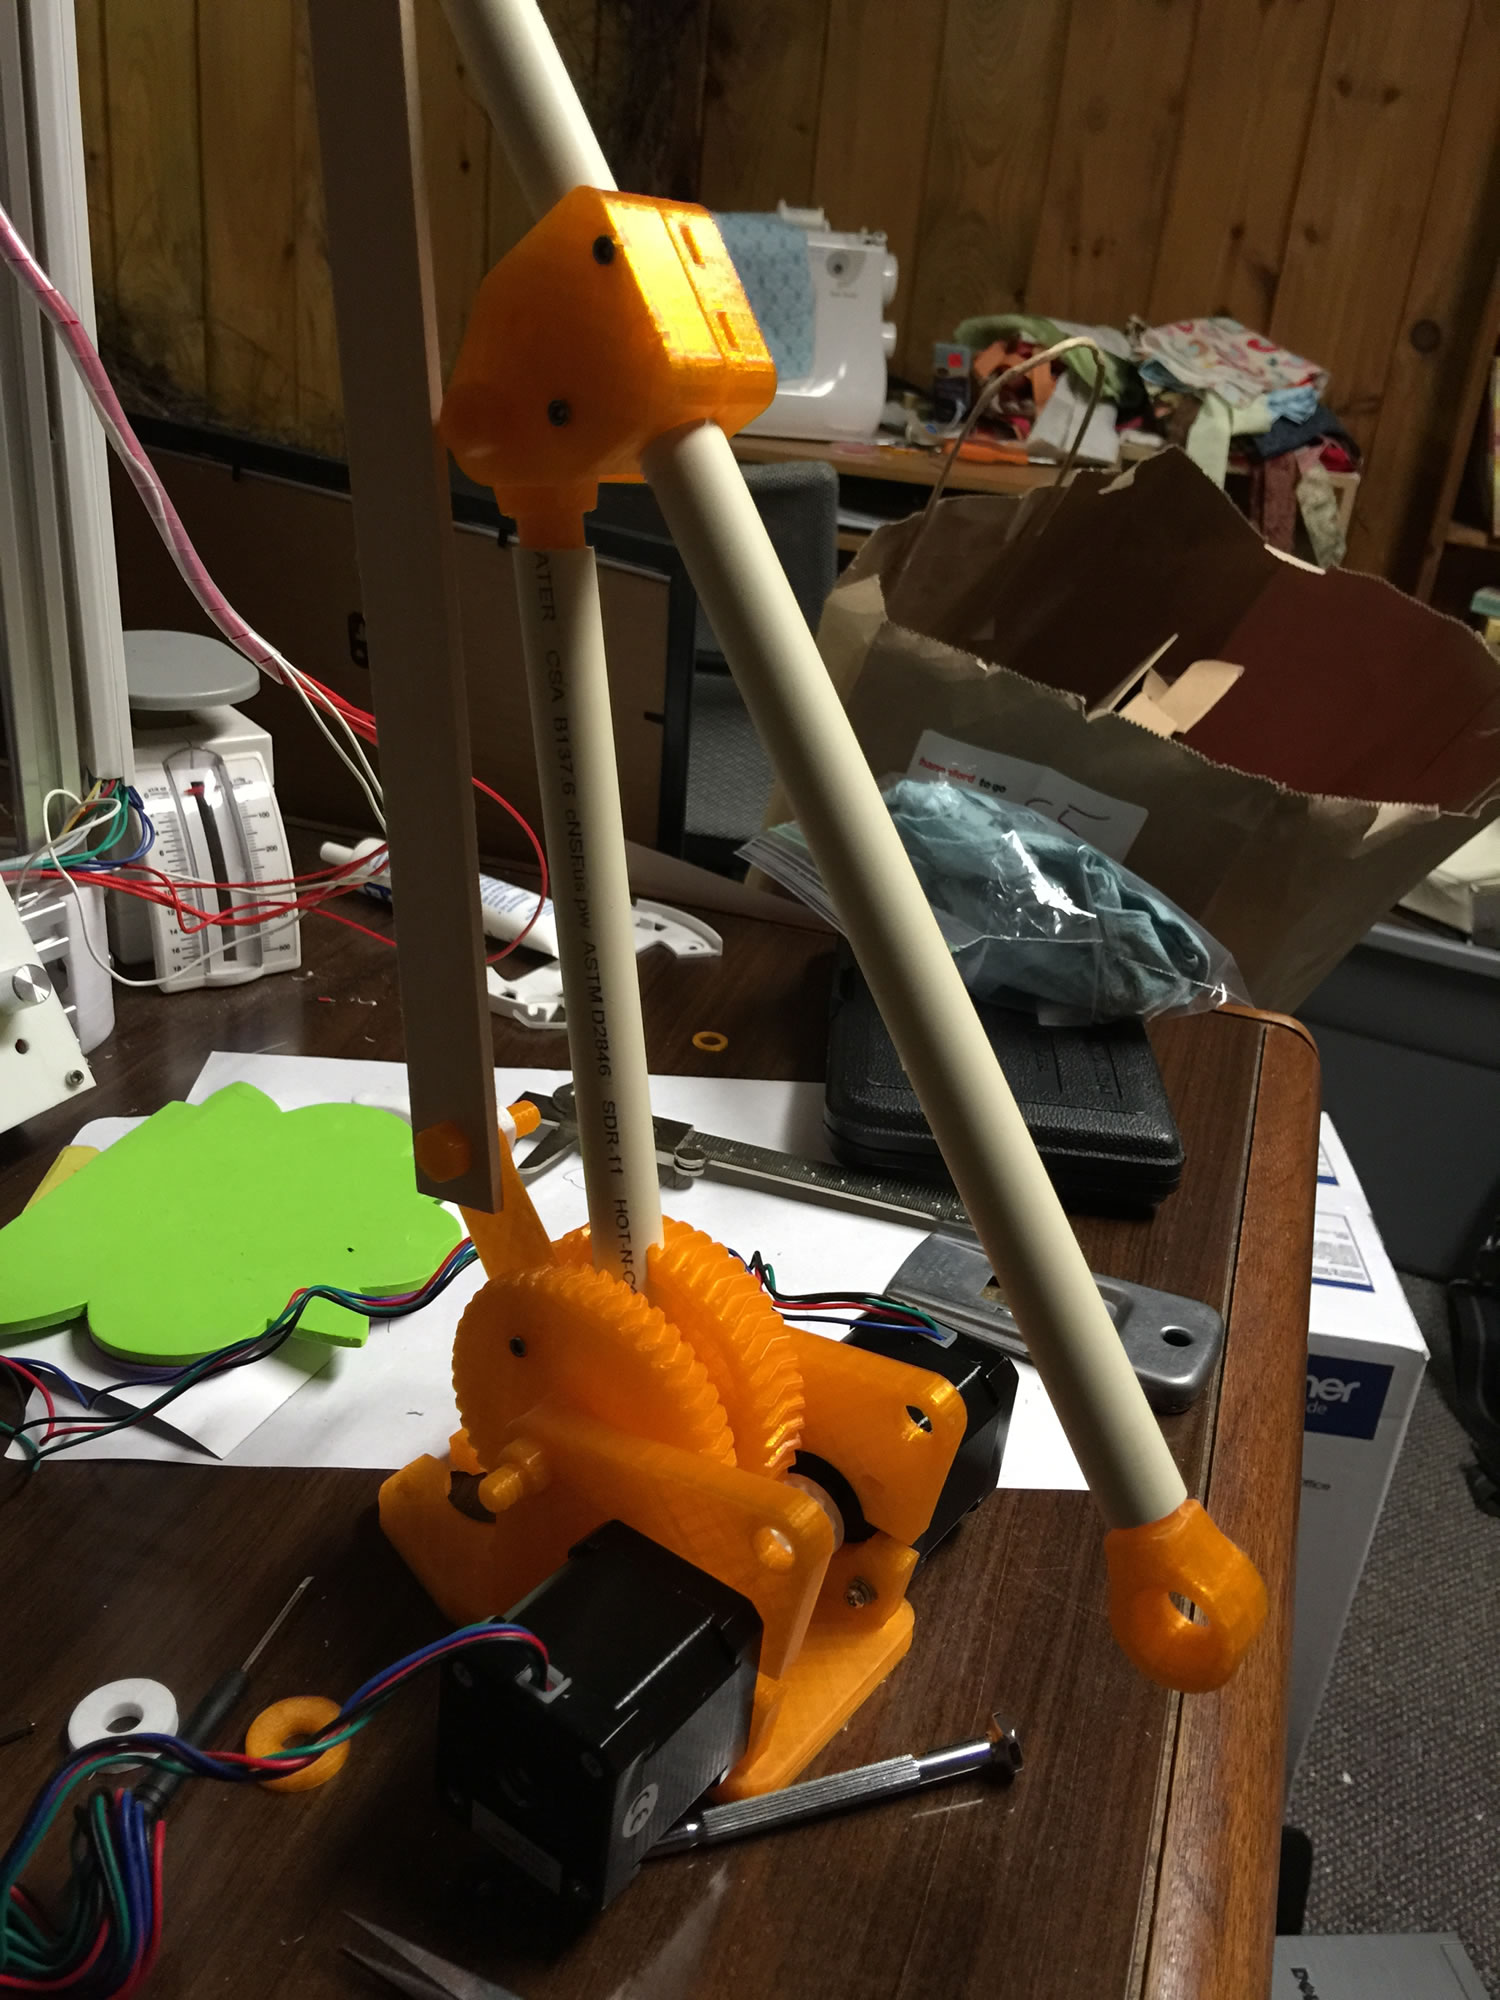
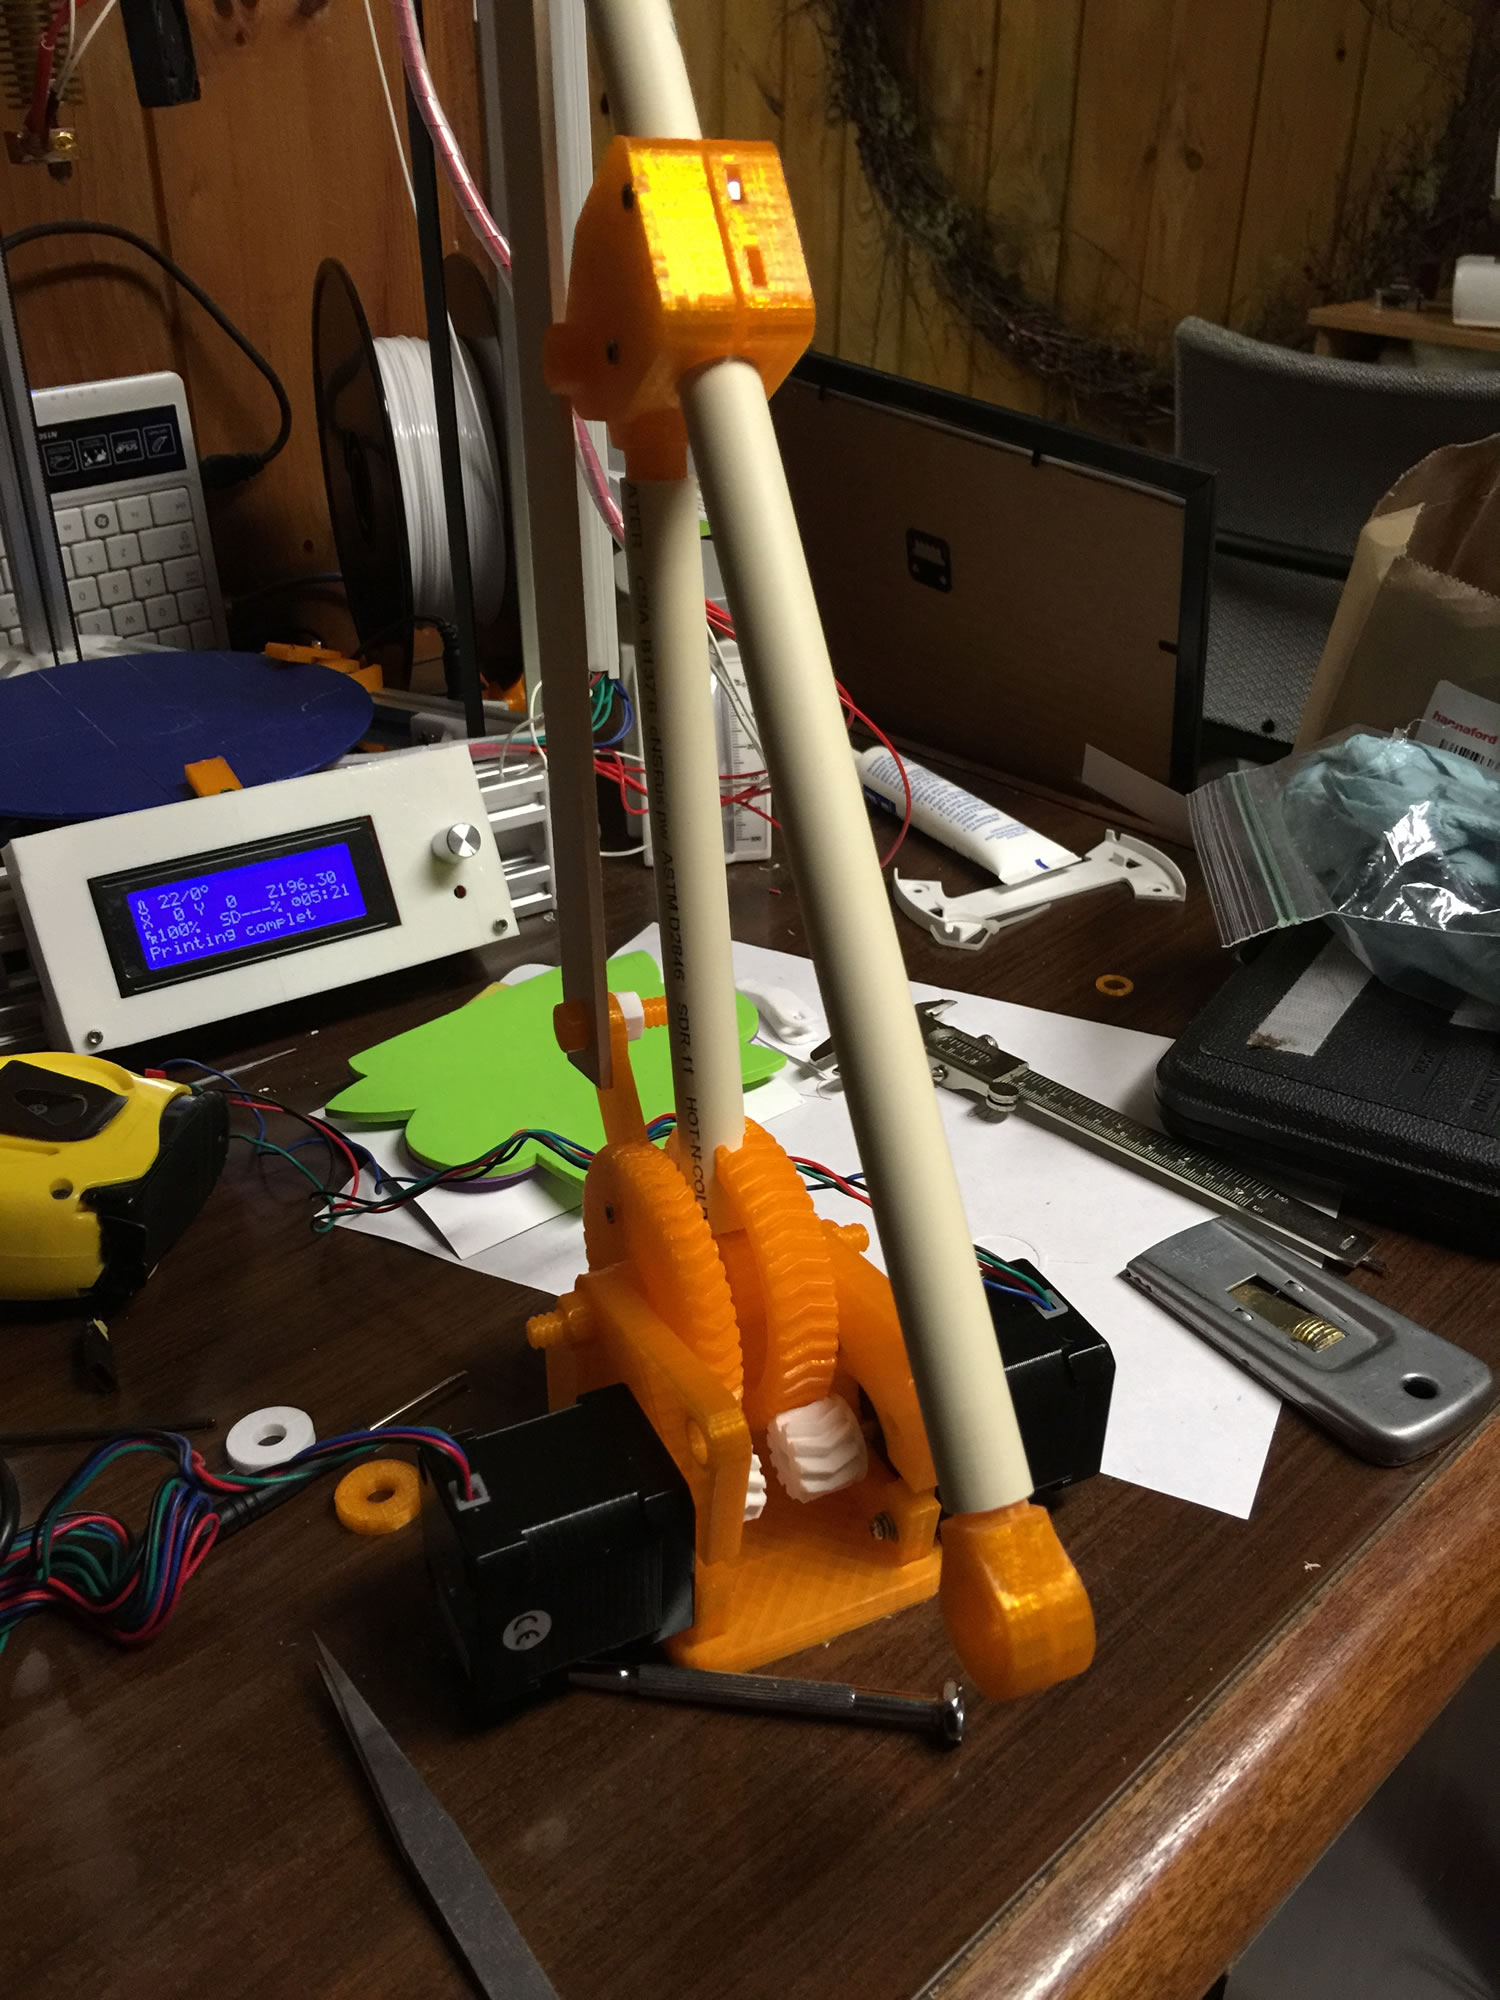
I’ve got it using pretty simple g-code right now. The software is going to be the kicker for this. I will end up having it work pretty similar to 3d printer to pic things up and move them. I’d like the software to be pretty intuitive to the user, drag and drop “locations” and loops to handle tedious tasks. =)
A buddy an I went in on a 10 pack of some 84oz/in torque steppers….and those things hold pretty well. With the motors engaged, I can pick up the whole thing by the end of the arm and it doesn’t budge. =)
Will post more as I progress. Time for this is short but still fun to play with when I can.
Battery upgrade for Parrot Rolling Spider!
So I was able to snag one of the little Rolling Spider qu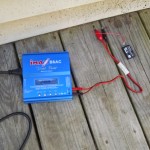 ads off a guy on Craigslist for $25! Figured something would be wrong and sure enough, the battery was junk. So I tried to save the battery…recharging lipos that are below 3.3v is risky sometimes but this seemed to charge fine once I got it up to 3.3.
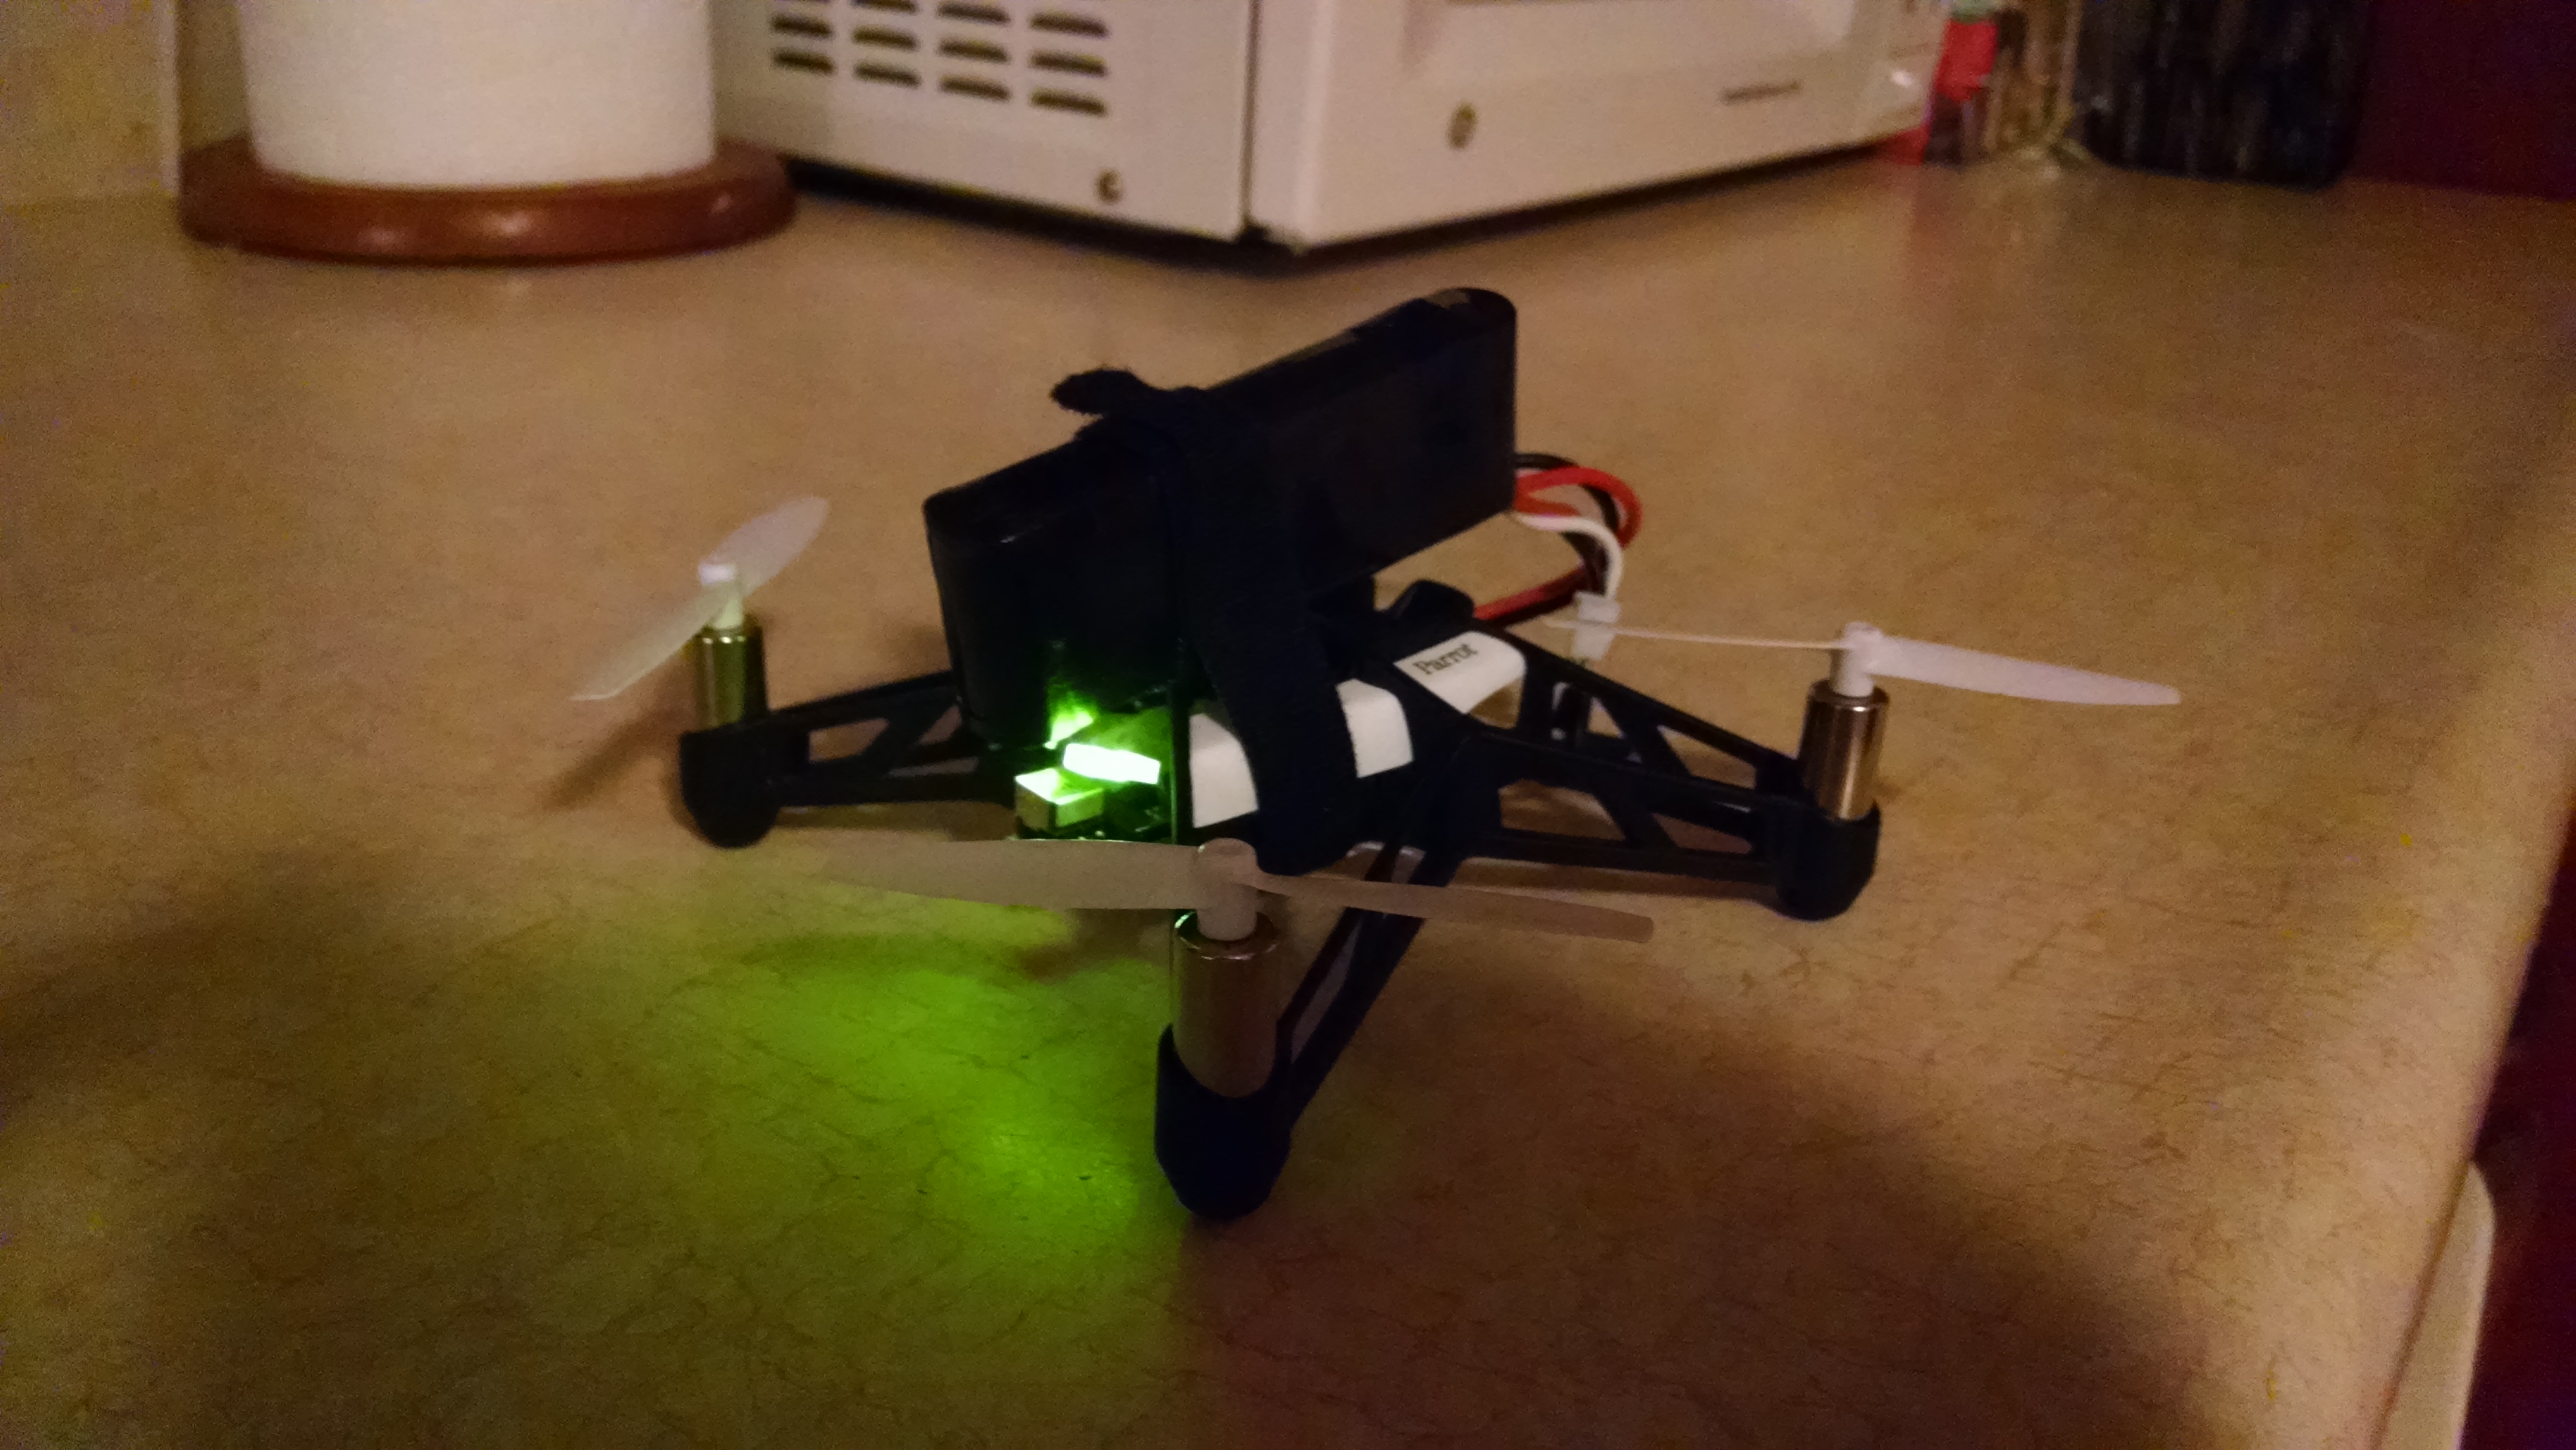
 Once I got it charged it powered on fine and I was able to take it for a quick flight! Buuutt…the battery lasted like 15 seconds. I was able to grab a quick picture during flight though!
So…I decided to see if I would figure out what the battery leads do to potentially wire up a better battery to it. You can take off the “face” of the spider and then unscrew the bottom piece. Getting the board out, you have to bend the LED “eyes” up a little so be 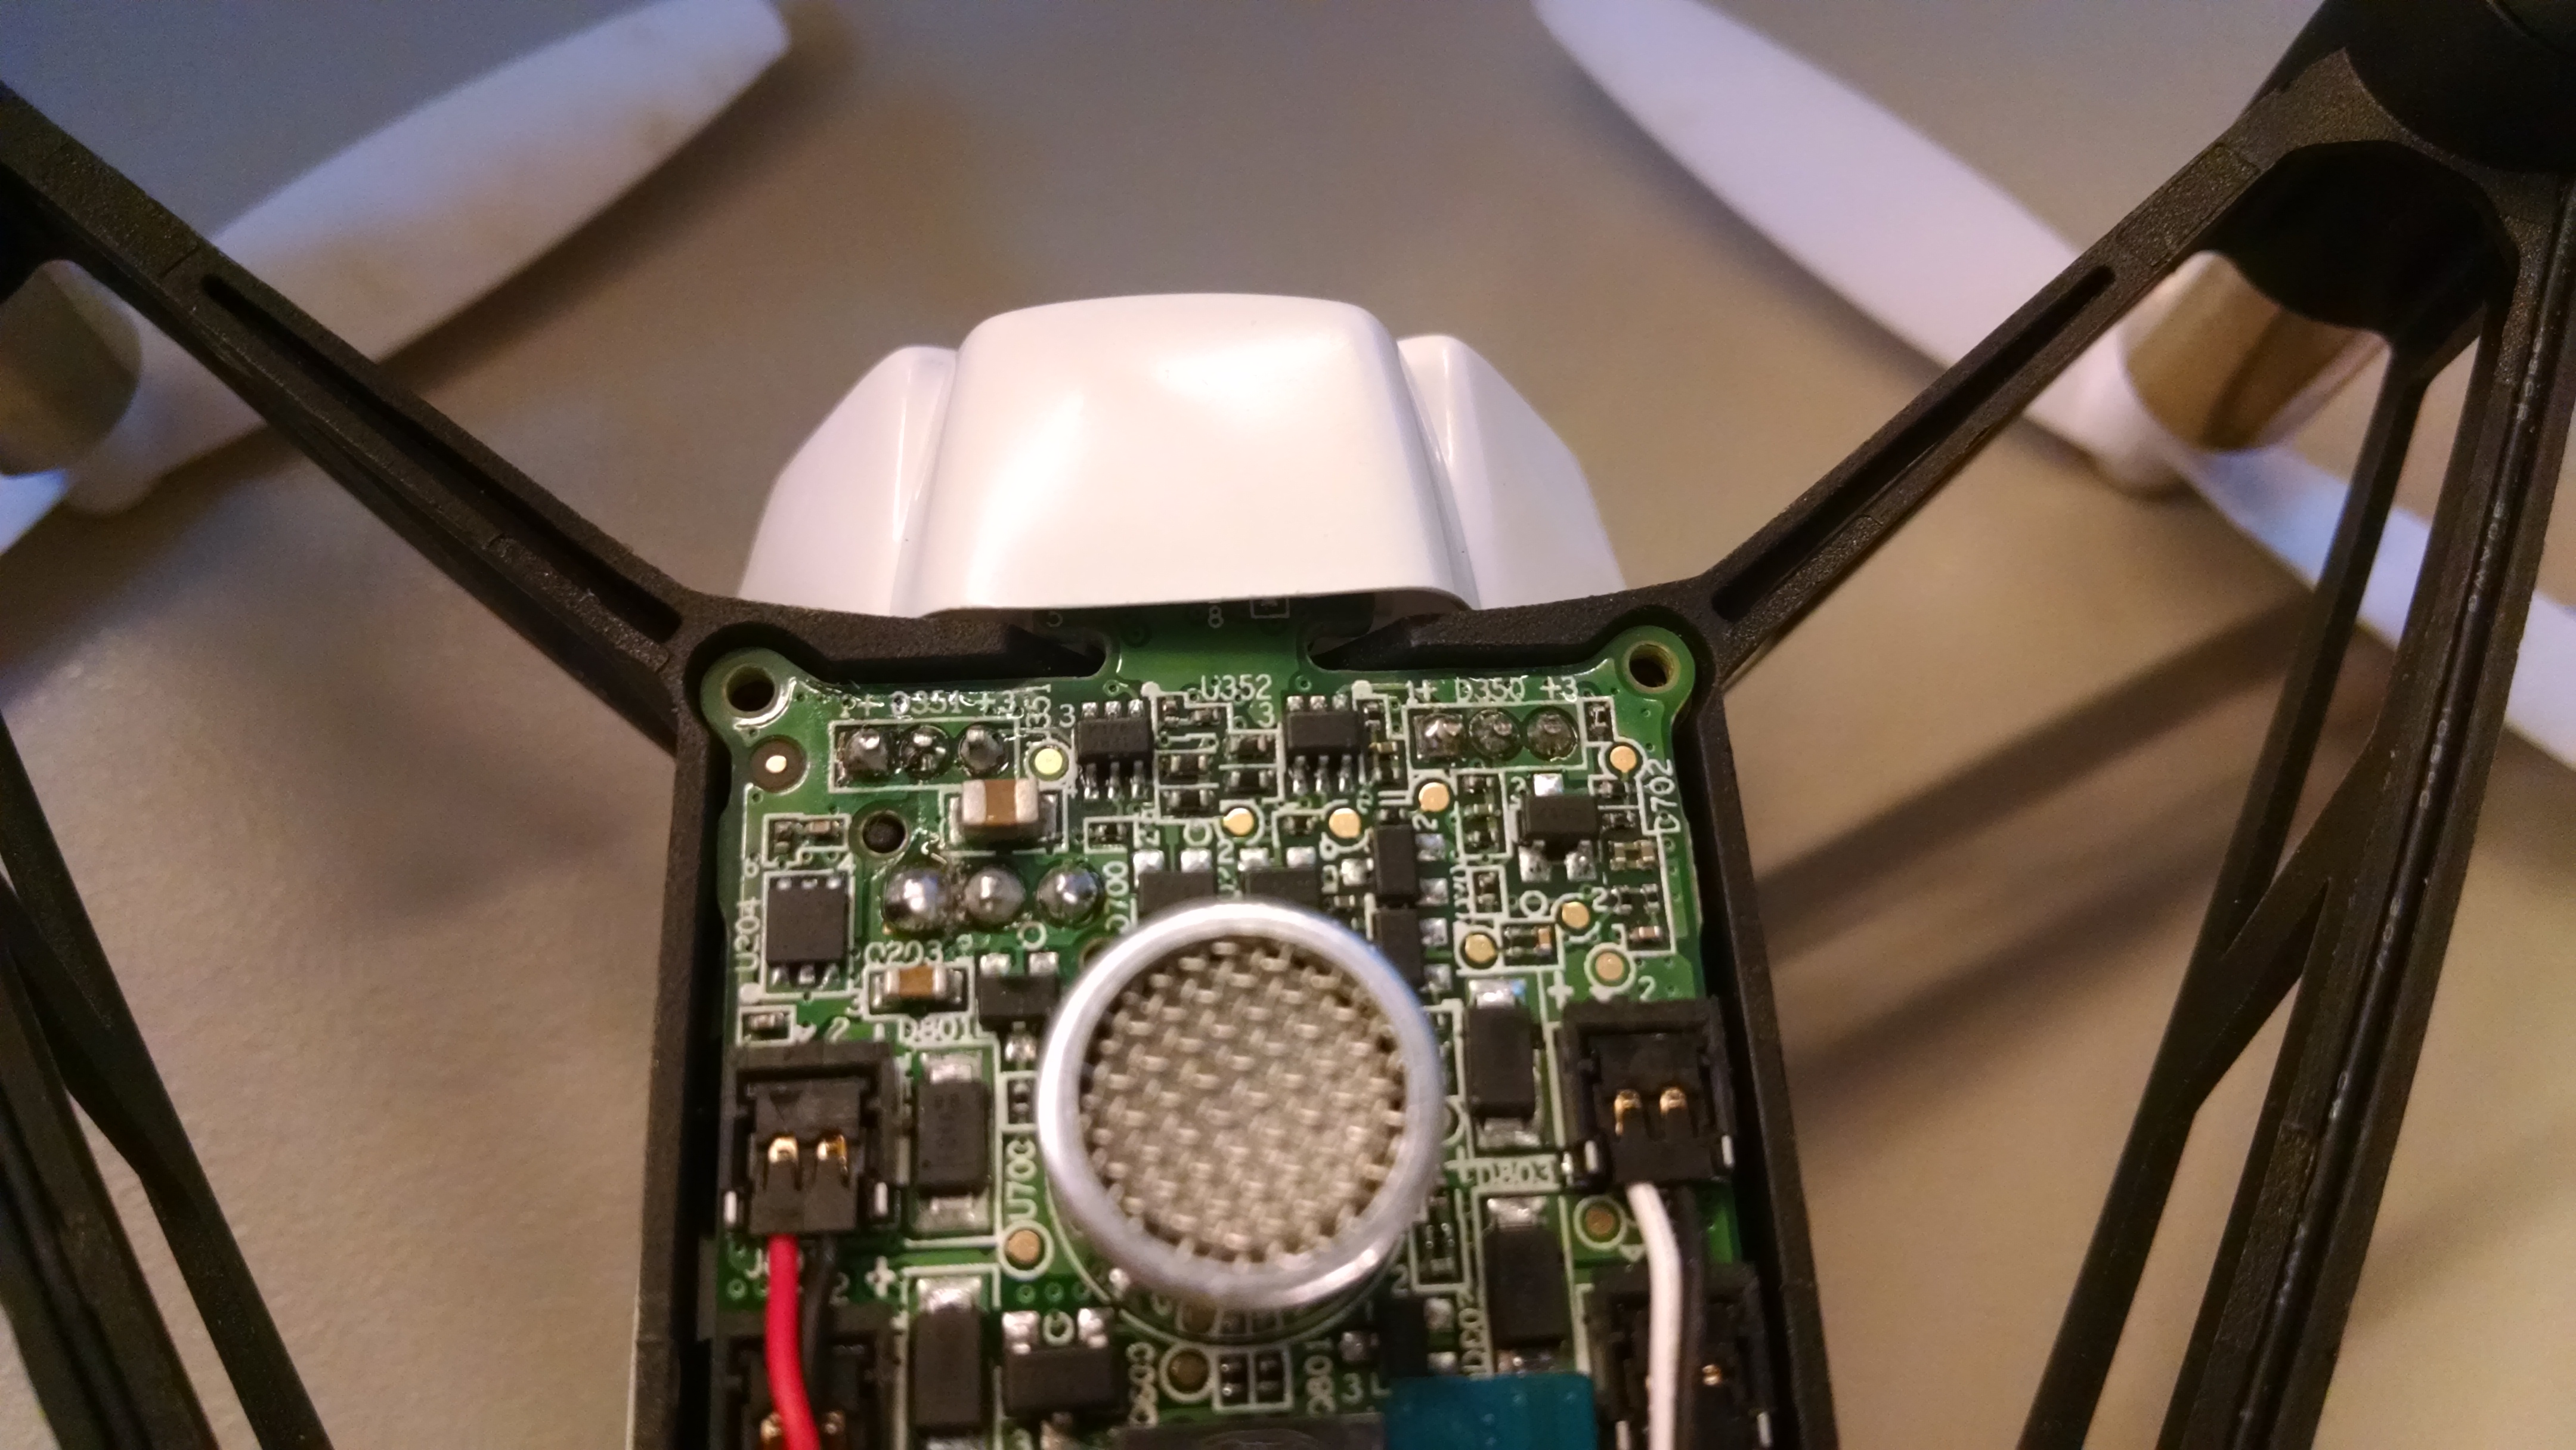 careful when doing that. I was able to get the board out and solder some wires on to the “inside” leads. Looks like the lead closest to the side (if you’re looking from the top and the “eyes” facing up, it would be the right) is the positive and the other 2
 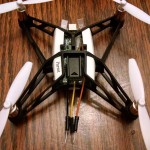 seems to be ground (-). I wired all 3 just in case. It was a pain as I’m not very good at soldering and ended up accidentally putting a glob of solder connecting both negative leads. I had to use my dremel and cut it out. I’m amazed I didn’t cut something else by accident.
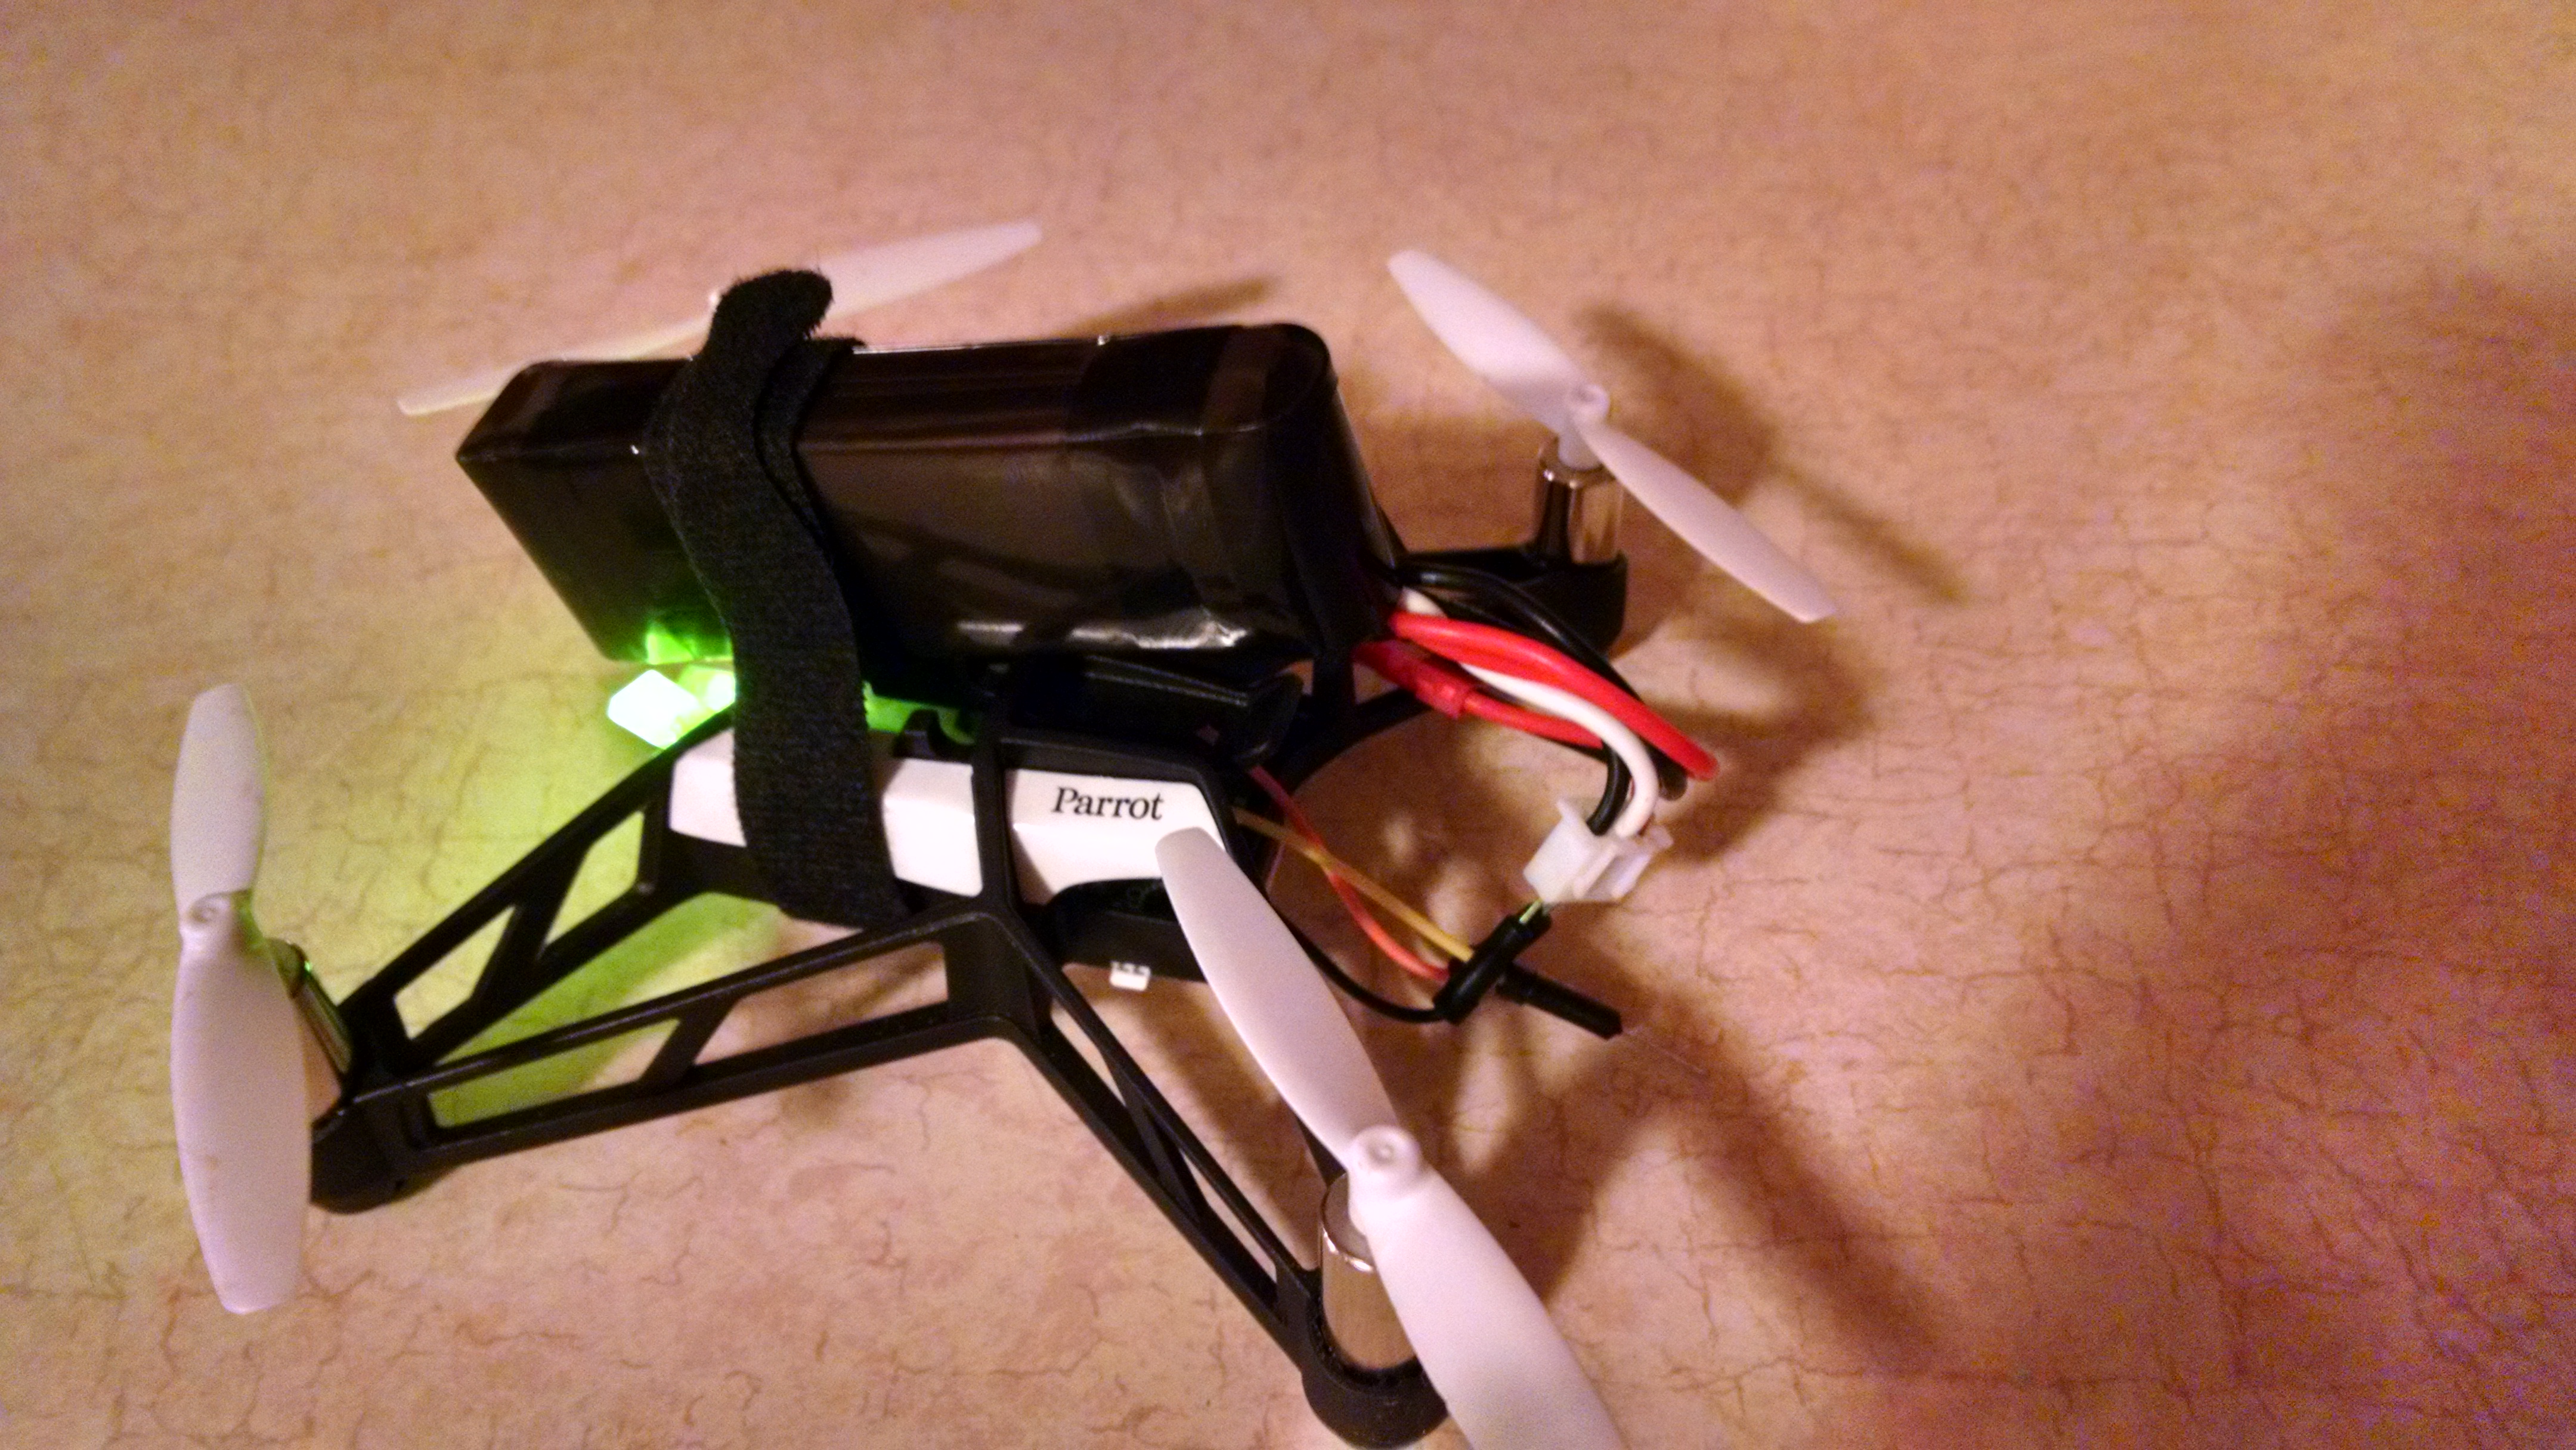
Once I got the wires done, I found that I just use the positive and the opposing ground (not the middle) is all it needs to power on! All I had were 2 cell lipos so I rigged it to the top. Needless to say, it was too heavy but it worked!!! Pretty excited! Â Looks like I’ll be purchasing some 1s lipos in the near future. =)
Tessel.io
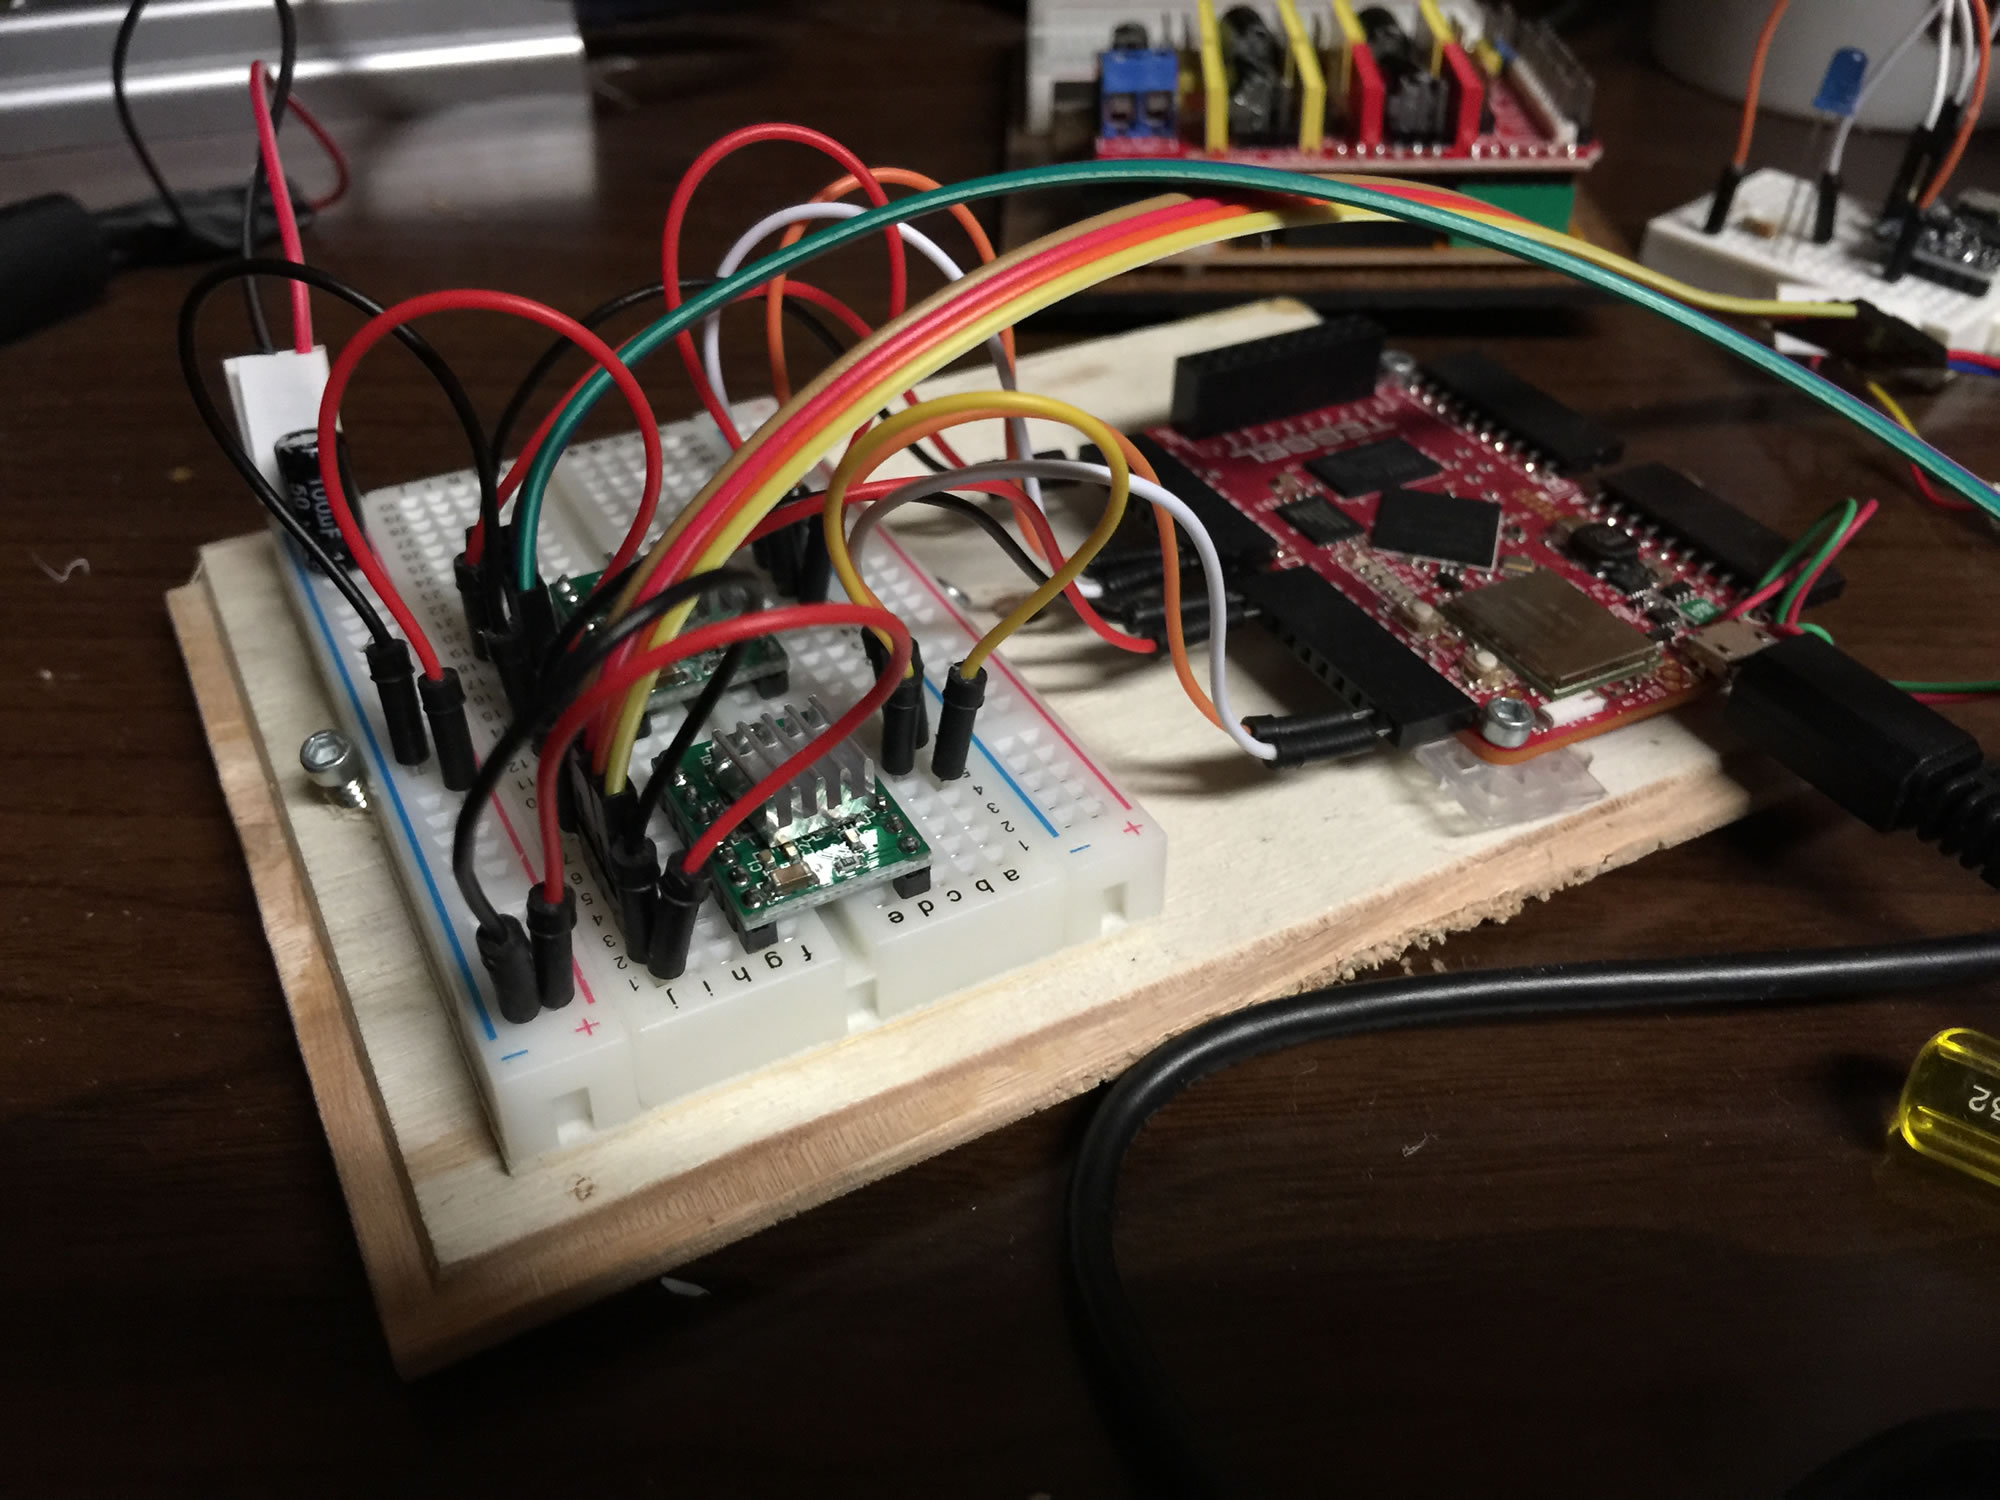
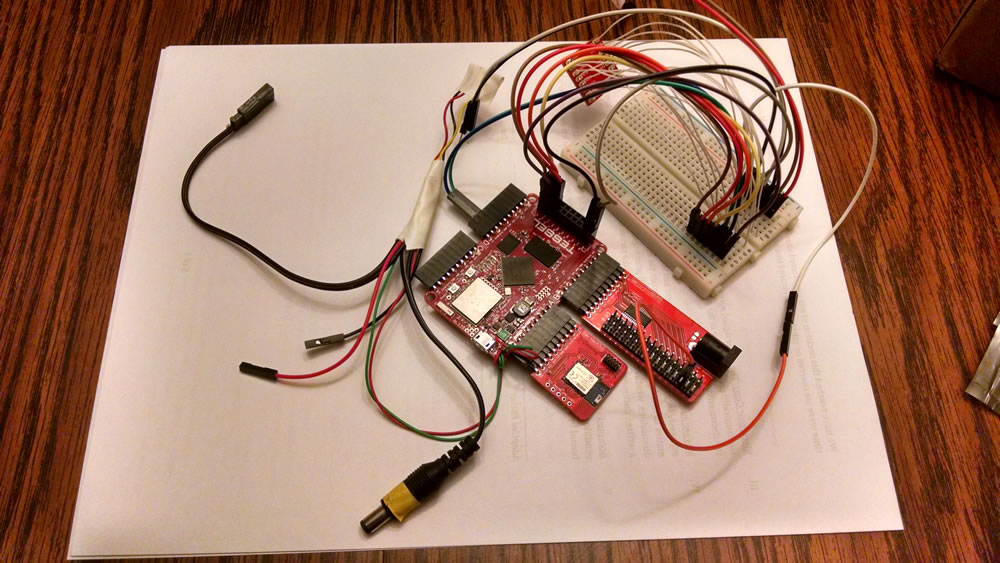 So I was able to get my hands on a tessel board and it has been a lot of fun! I’ve been toying with simple servo controls all the way to the Bluetooth Low Energy module (learning that from scratch was interesting!).
Using the servos I made a little arm to pick things up…but since it is made out of balsa wood, it is pretty flimsy.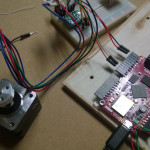
I was able to get my hands on a stepper motor and get that working with the tessel so ideally I’ll keep going the same route to have the “arm” move up and down a track knowing it’s position as it goes. Maybe even have the arm be able to do a full 360 twist as well to be able to work on both sides of the track. Check out a video of what I have so far here.
The cool thing about the tessel is it’s native language is javascript so most developers coming from a web background can easily get to tinkering with hardware/electronics with it!
Will be exciting to see what others pull off with this thing!