Posts By Sean
Birdbox Update!
In my original post, I was hoping to capture some birds building a nest and laying/hatching eggs….but to no avail. Months have gone by with hardly any activity so I’ve stopped checking it. Well, I checked yesterday and found out a gray squirrel has made a nest and had babies! In checking the files, there are 100s of videos to go through. Still trying to sift through them all but will post more interesting ones as I find them. In the meantime, here is a video of the little ones nursing. =)
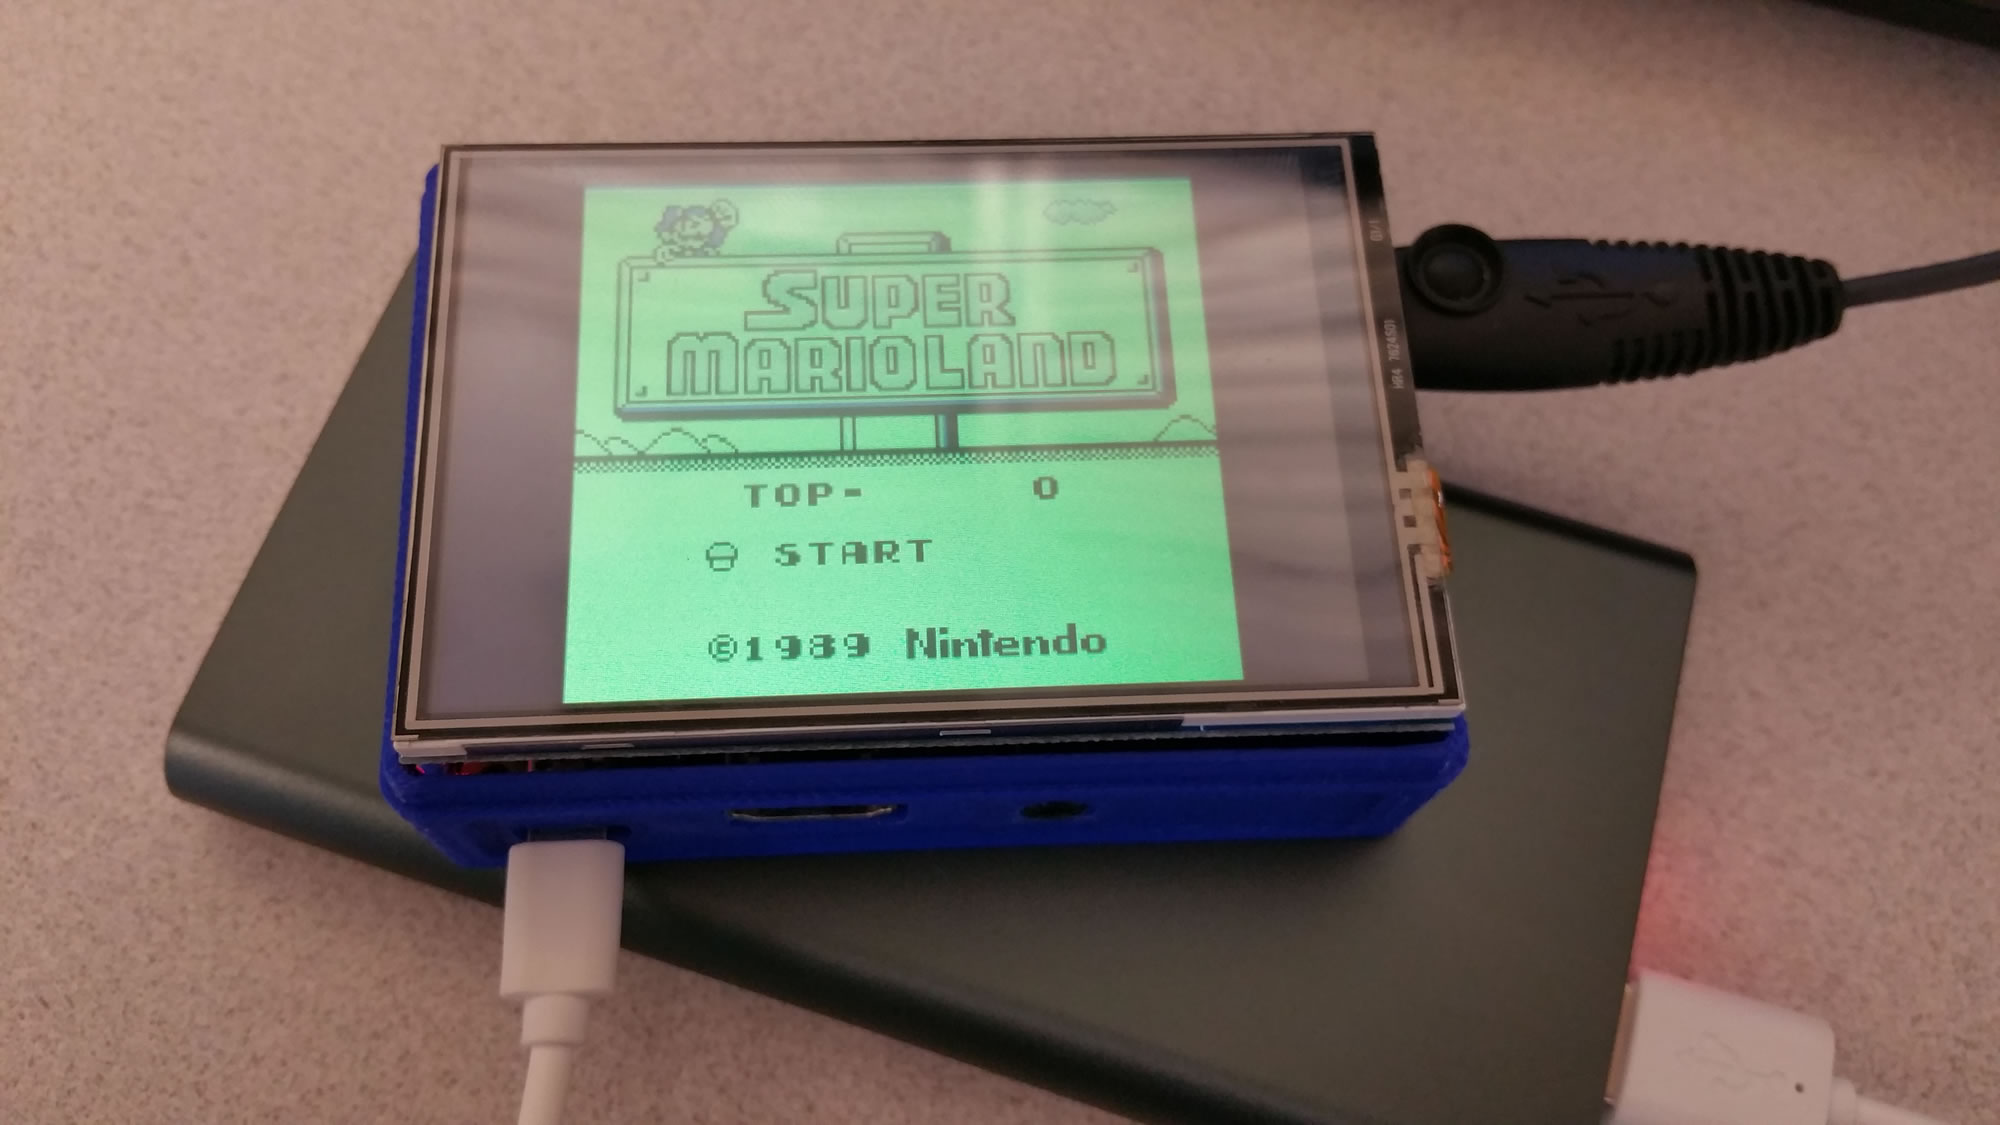
Pi Zero and cheap ebay 3.5″ display
So I ordered one of these puppies because I’m cheap. Of course, there were no instructions with it so I did some searching around on other similar listings and found one that gave a very vague set of instructions right in the listing. Long story short, I found it is pretty much like the waveshare displays so I went with those instructions.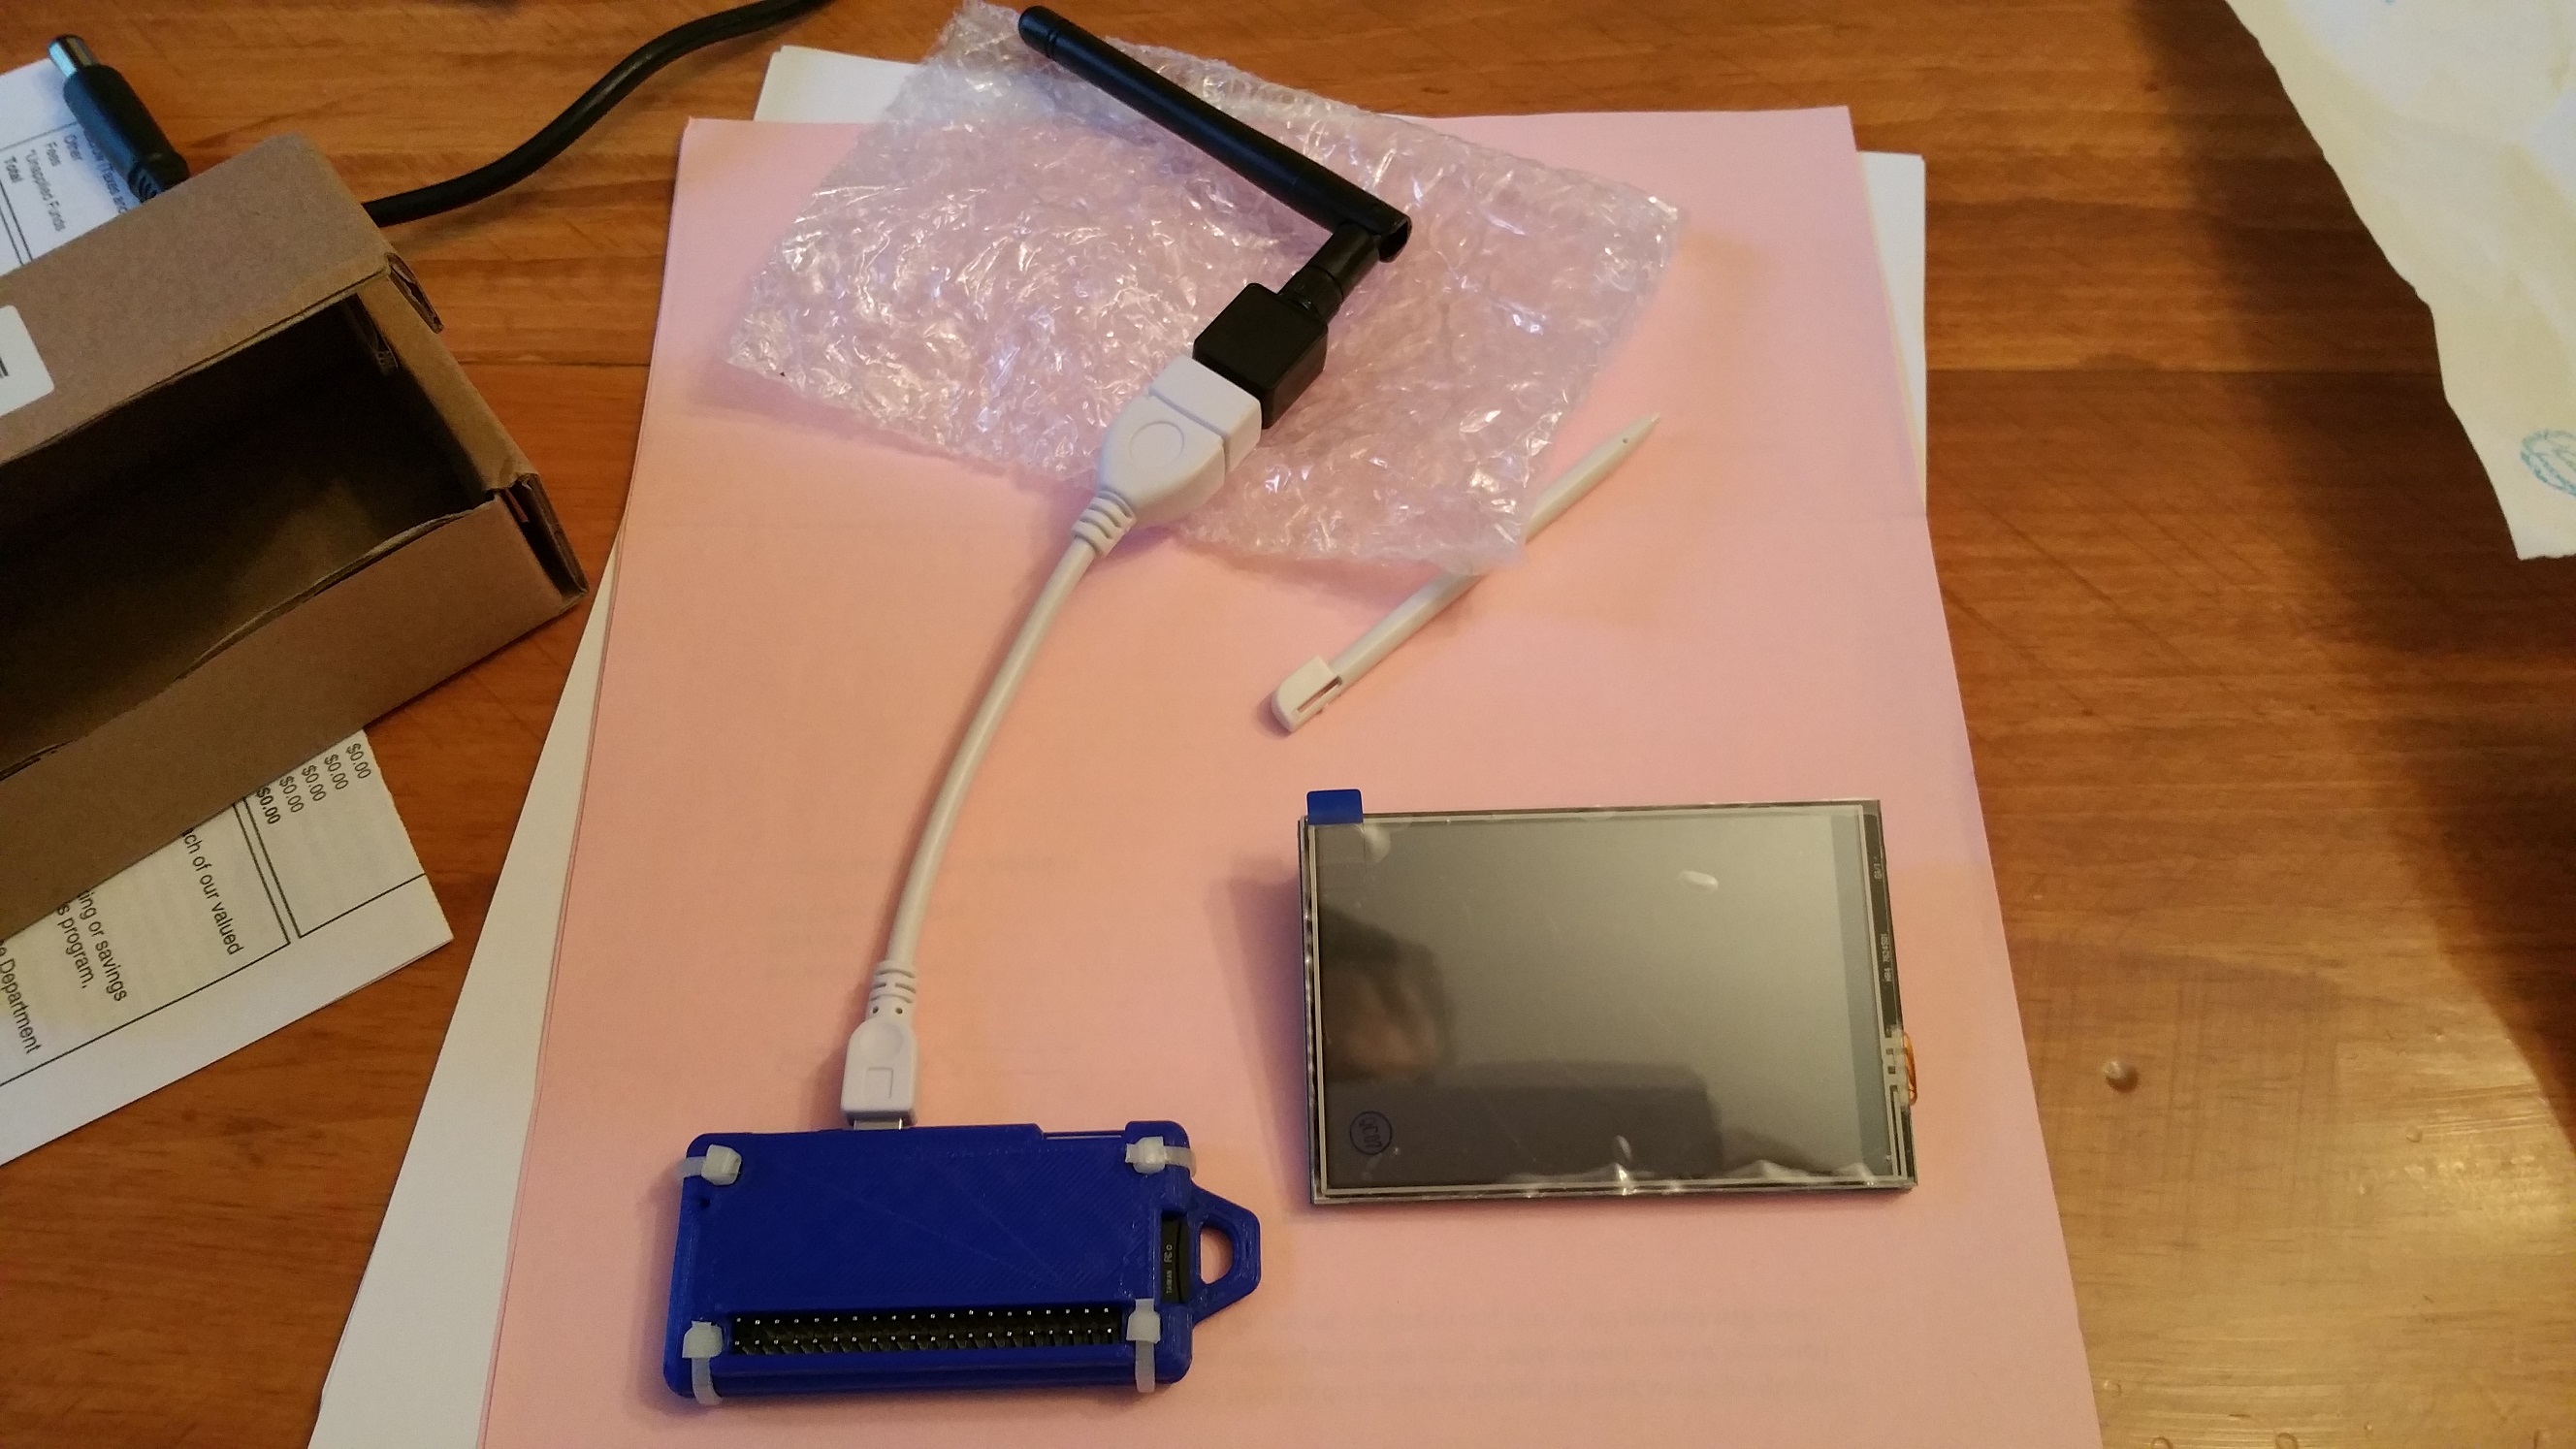
In the end, I couldn’t get it up and running on my Raspberry Pi 3…the screen would just stay white. =( I do want to add that I used the lastest raspbian image from the Pi foundation site, I did NOT try one of the pre-made waveshare images. I’m always hesitant to use some other pre-made images…maybe it’s just the conspiracy theorist in me. I have a Pi 2 I might try it on at some point but just for kicks, I went straight for my Pi Zero. =)
Pretty much, followed the waveshare instructions for it and it worked fine! I also should add that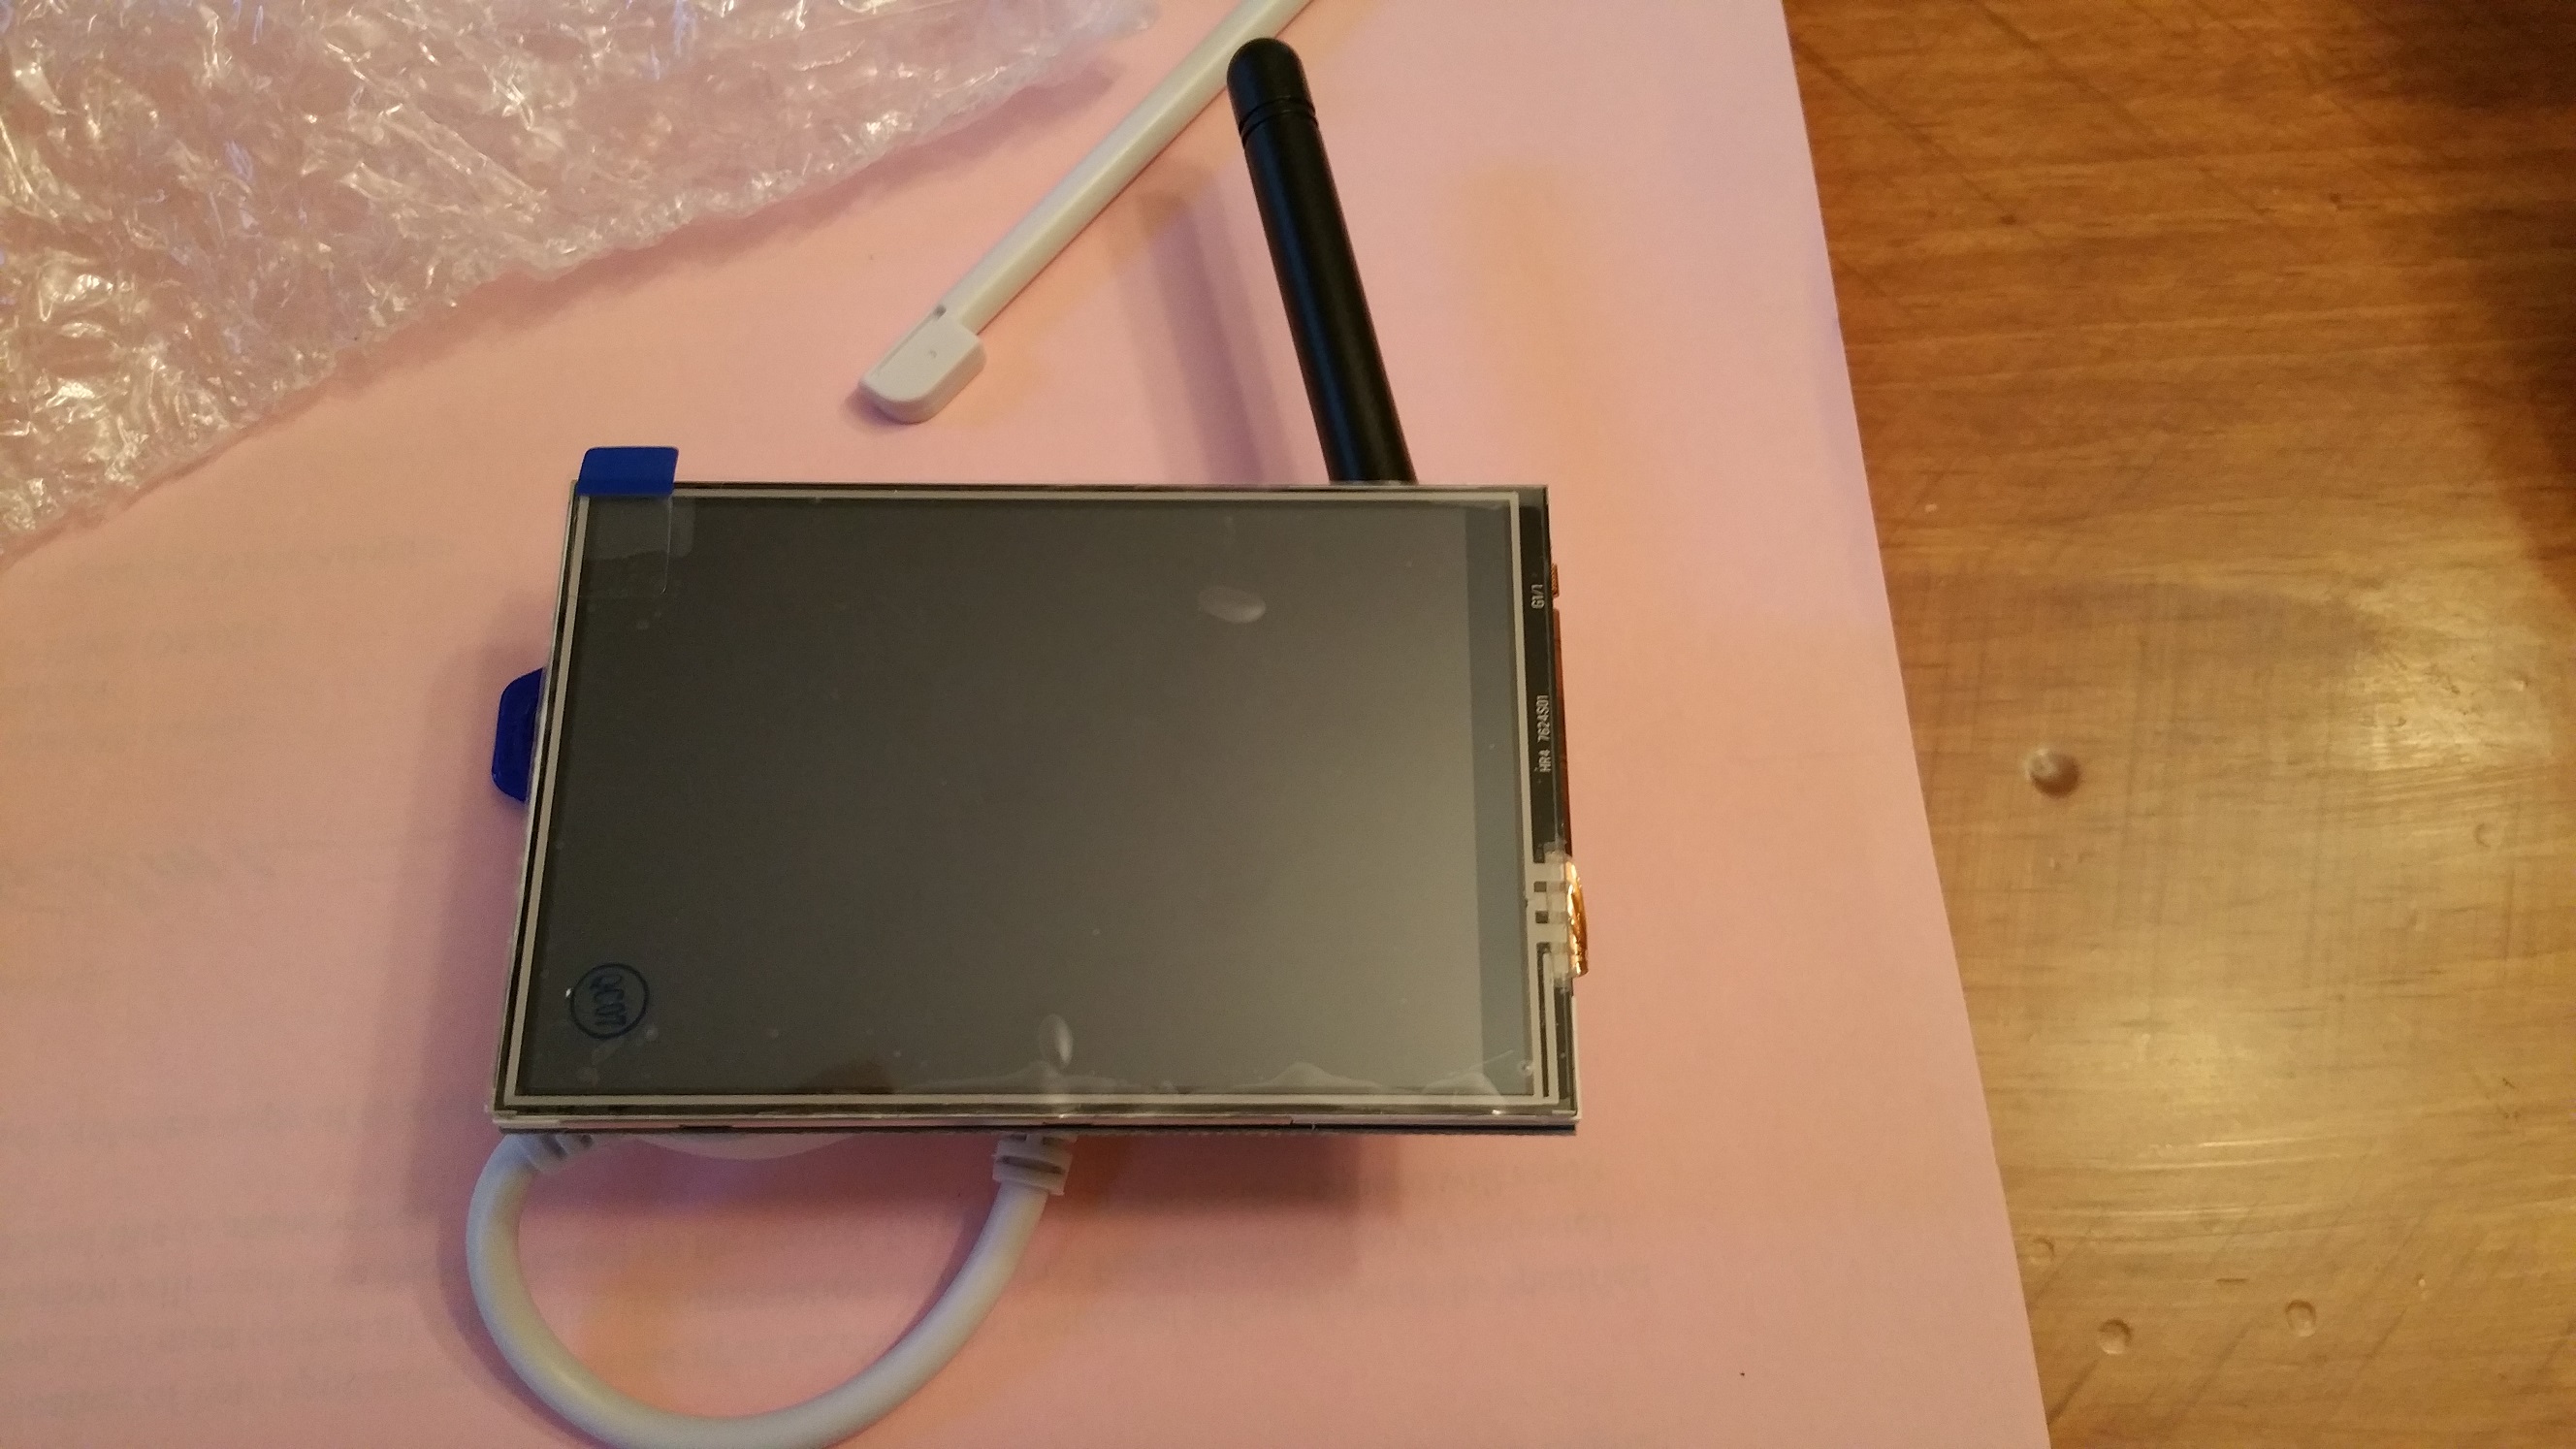 when I started with the Pi Zero, I didn’t plug the screen in at first…I followed the instructions and when it rebooted, I shut it down then plugged in the screen and turned it on with success. When I tried with the Pi 3, I plugged the screen in right from the start. Don’t know if that made a difference or not.
Luckily, I didn’t have to calibrate the screen as it seemed correct. BUT…I couldn’t do a right click! After some digging, I found this site. The key pieces here are to modify the /etc/X11/xorg.conf.d/99-calibration.conf….and when you modify that, modify the one that is appropriate in the LCD-show directory where first downloaded the 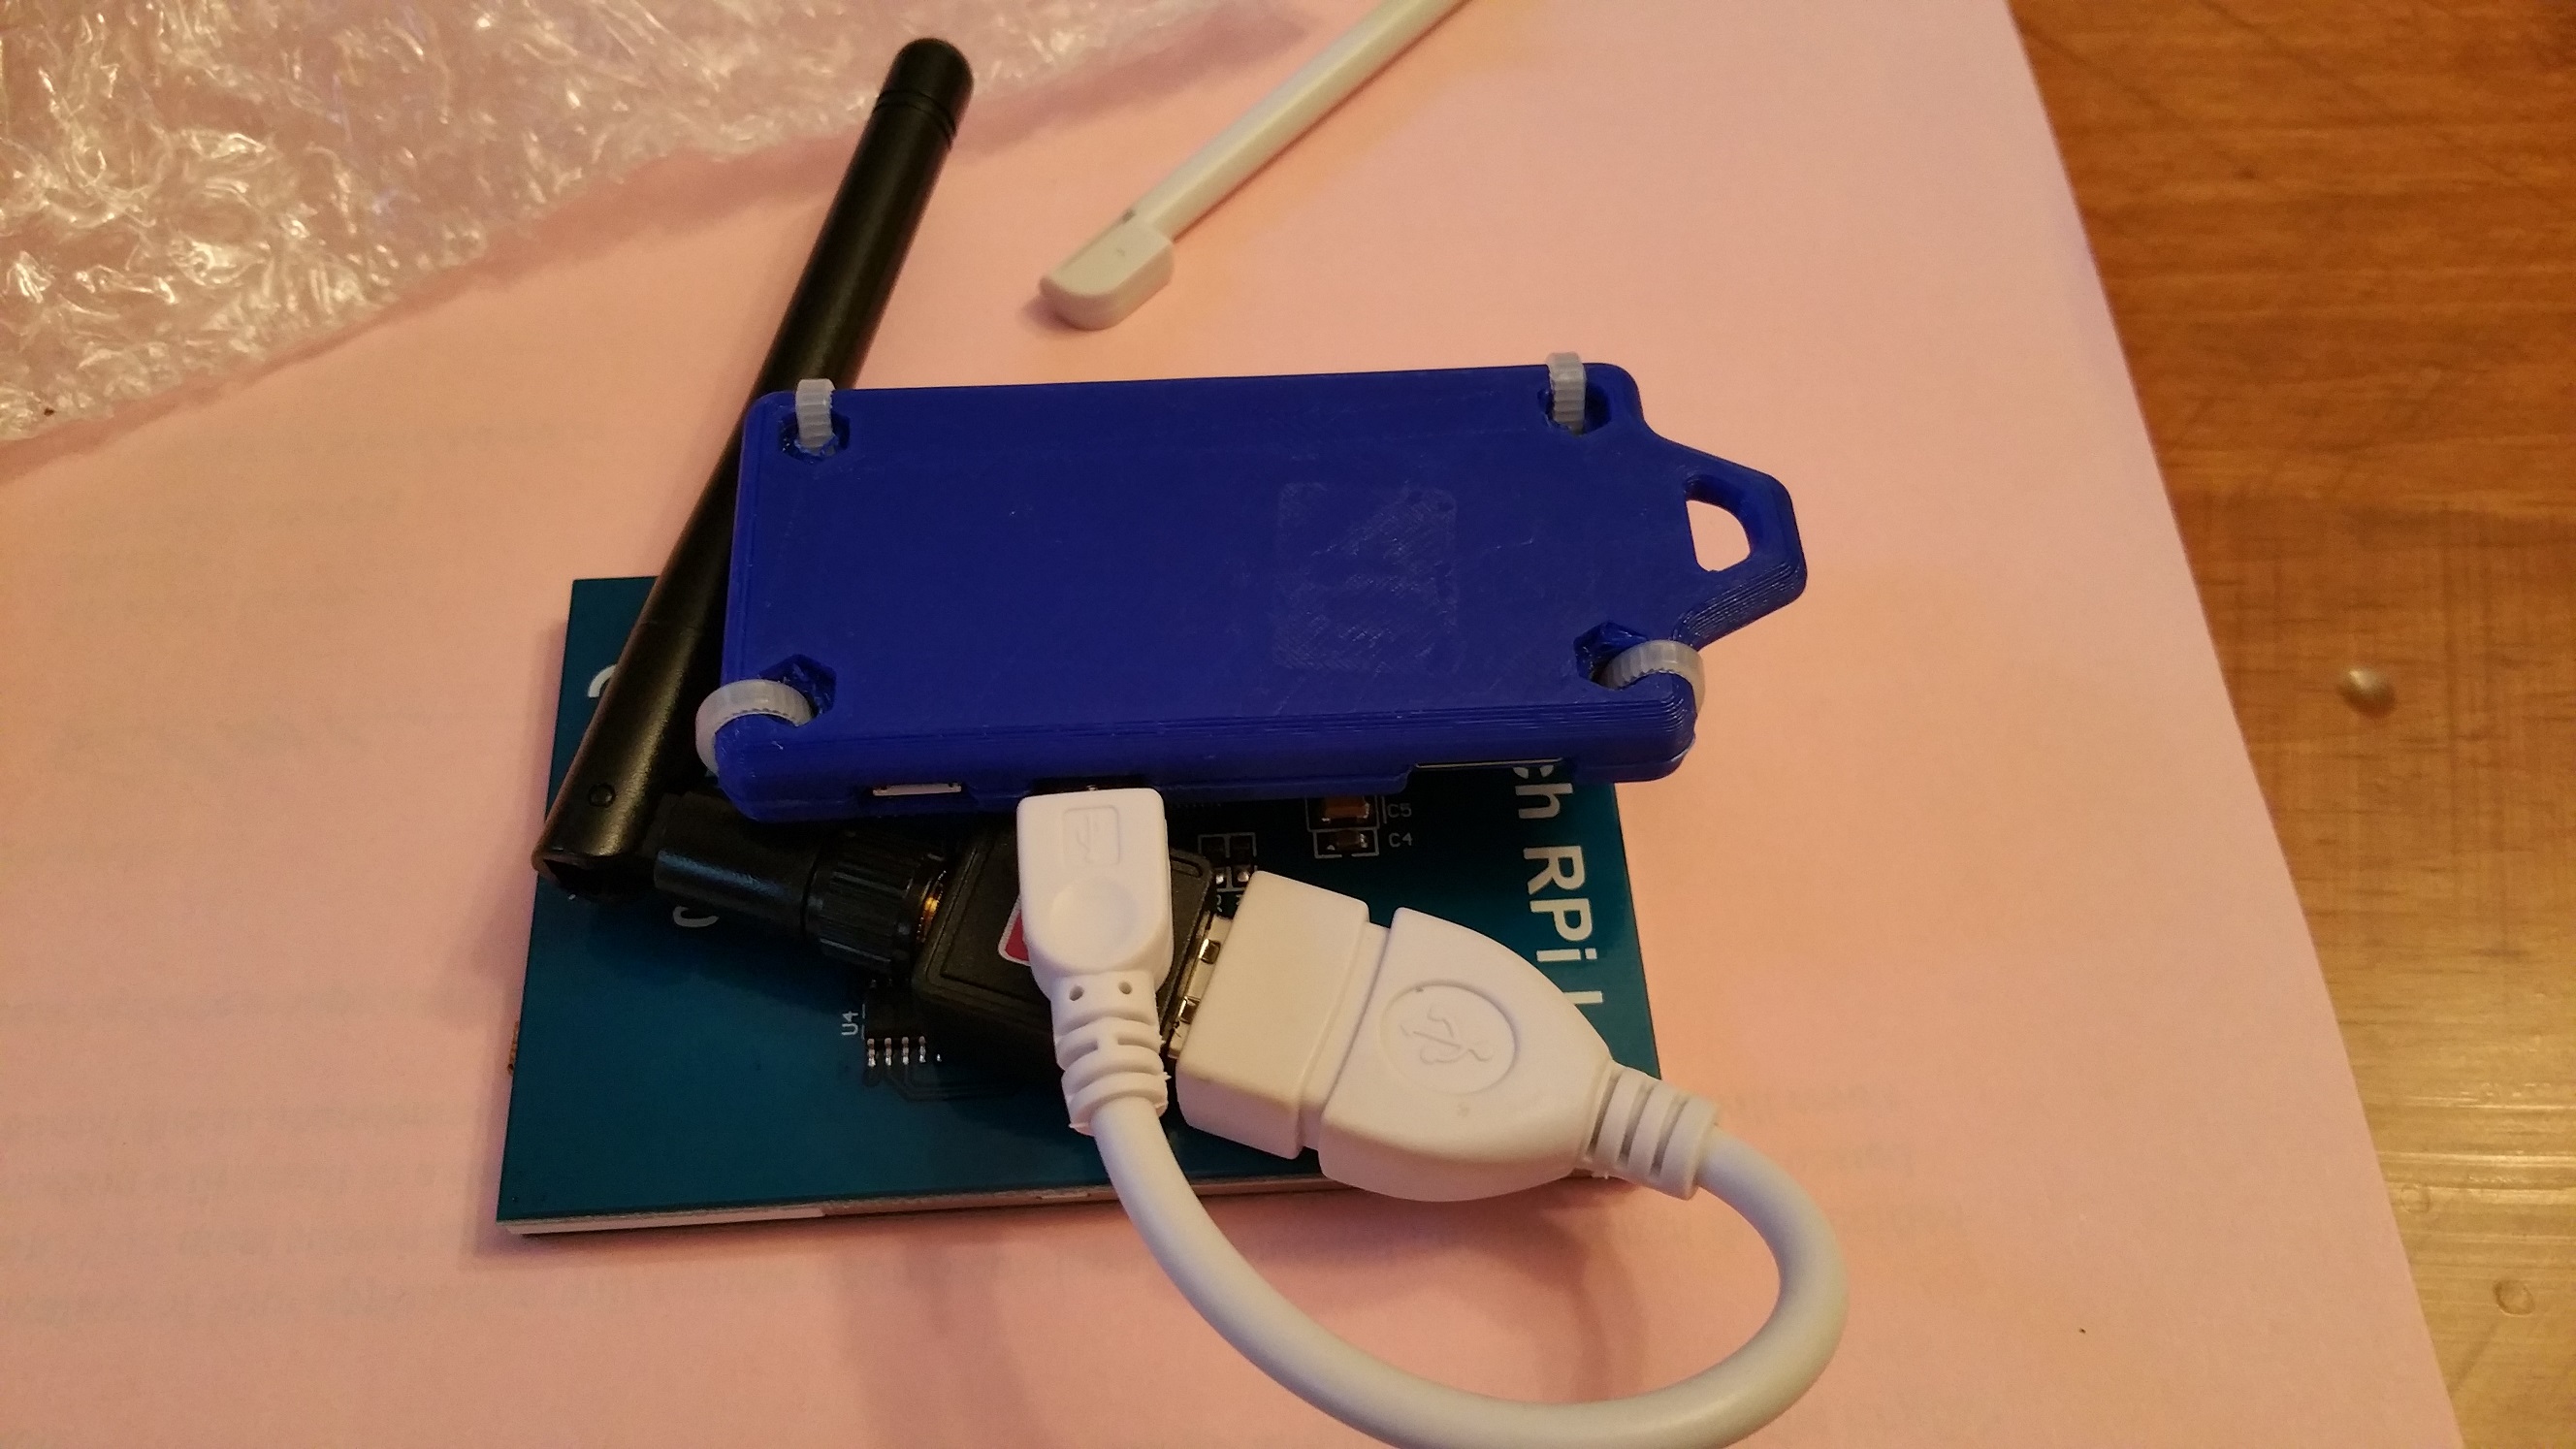 drivers…because if you switch back and forth between HDMI and your display, it will replace it as well.
The only lines you care about adding in are the “EmulateThirdButton***” options. You don’t need to touch anything else. Once you modify that file, save and reboot and voila! You can now press and hold for a right click!
Next steps for me are to get a battery (and charging circuit?) for this little guy…well..and a keyboard. Might try retro pie as well. =)
Looking at the pin-out, I’m pretty sure there are some spare GPIO pins in the ones that it looks like it is using. Found this ebay listing which looks identical except it has a gap where it plugs in.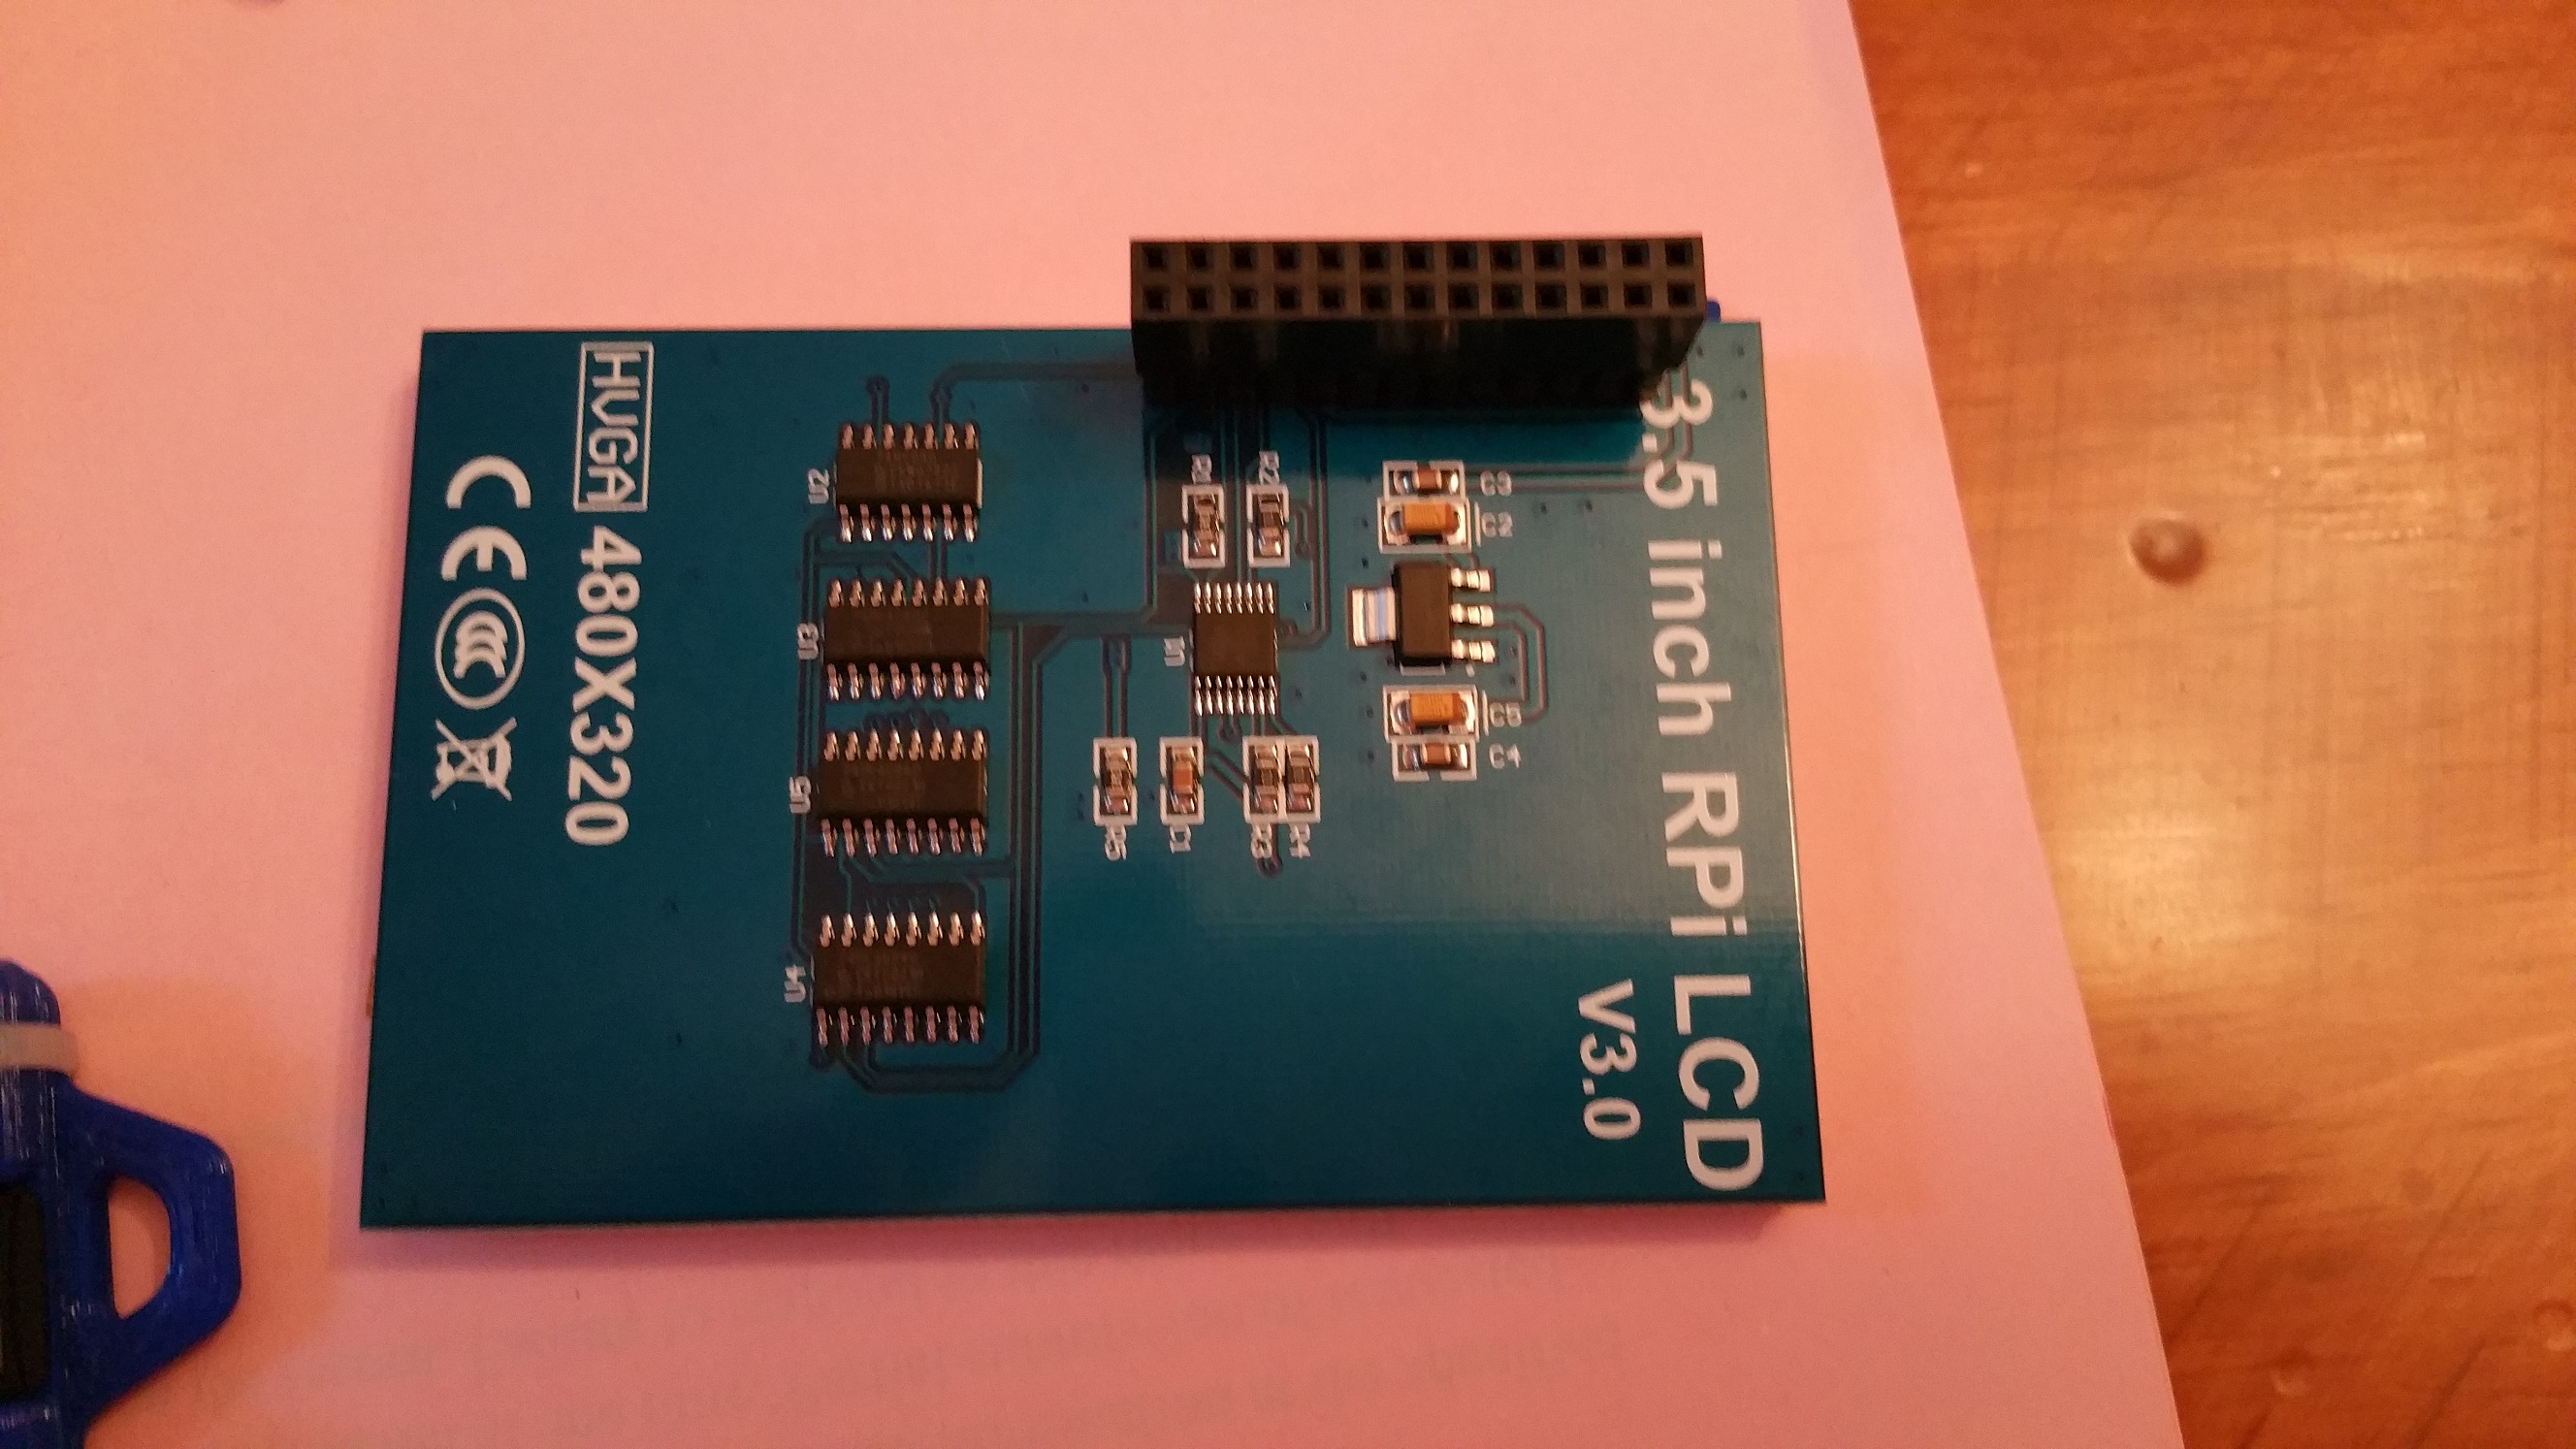

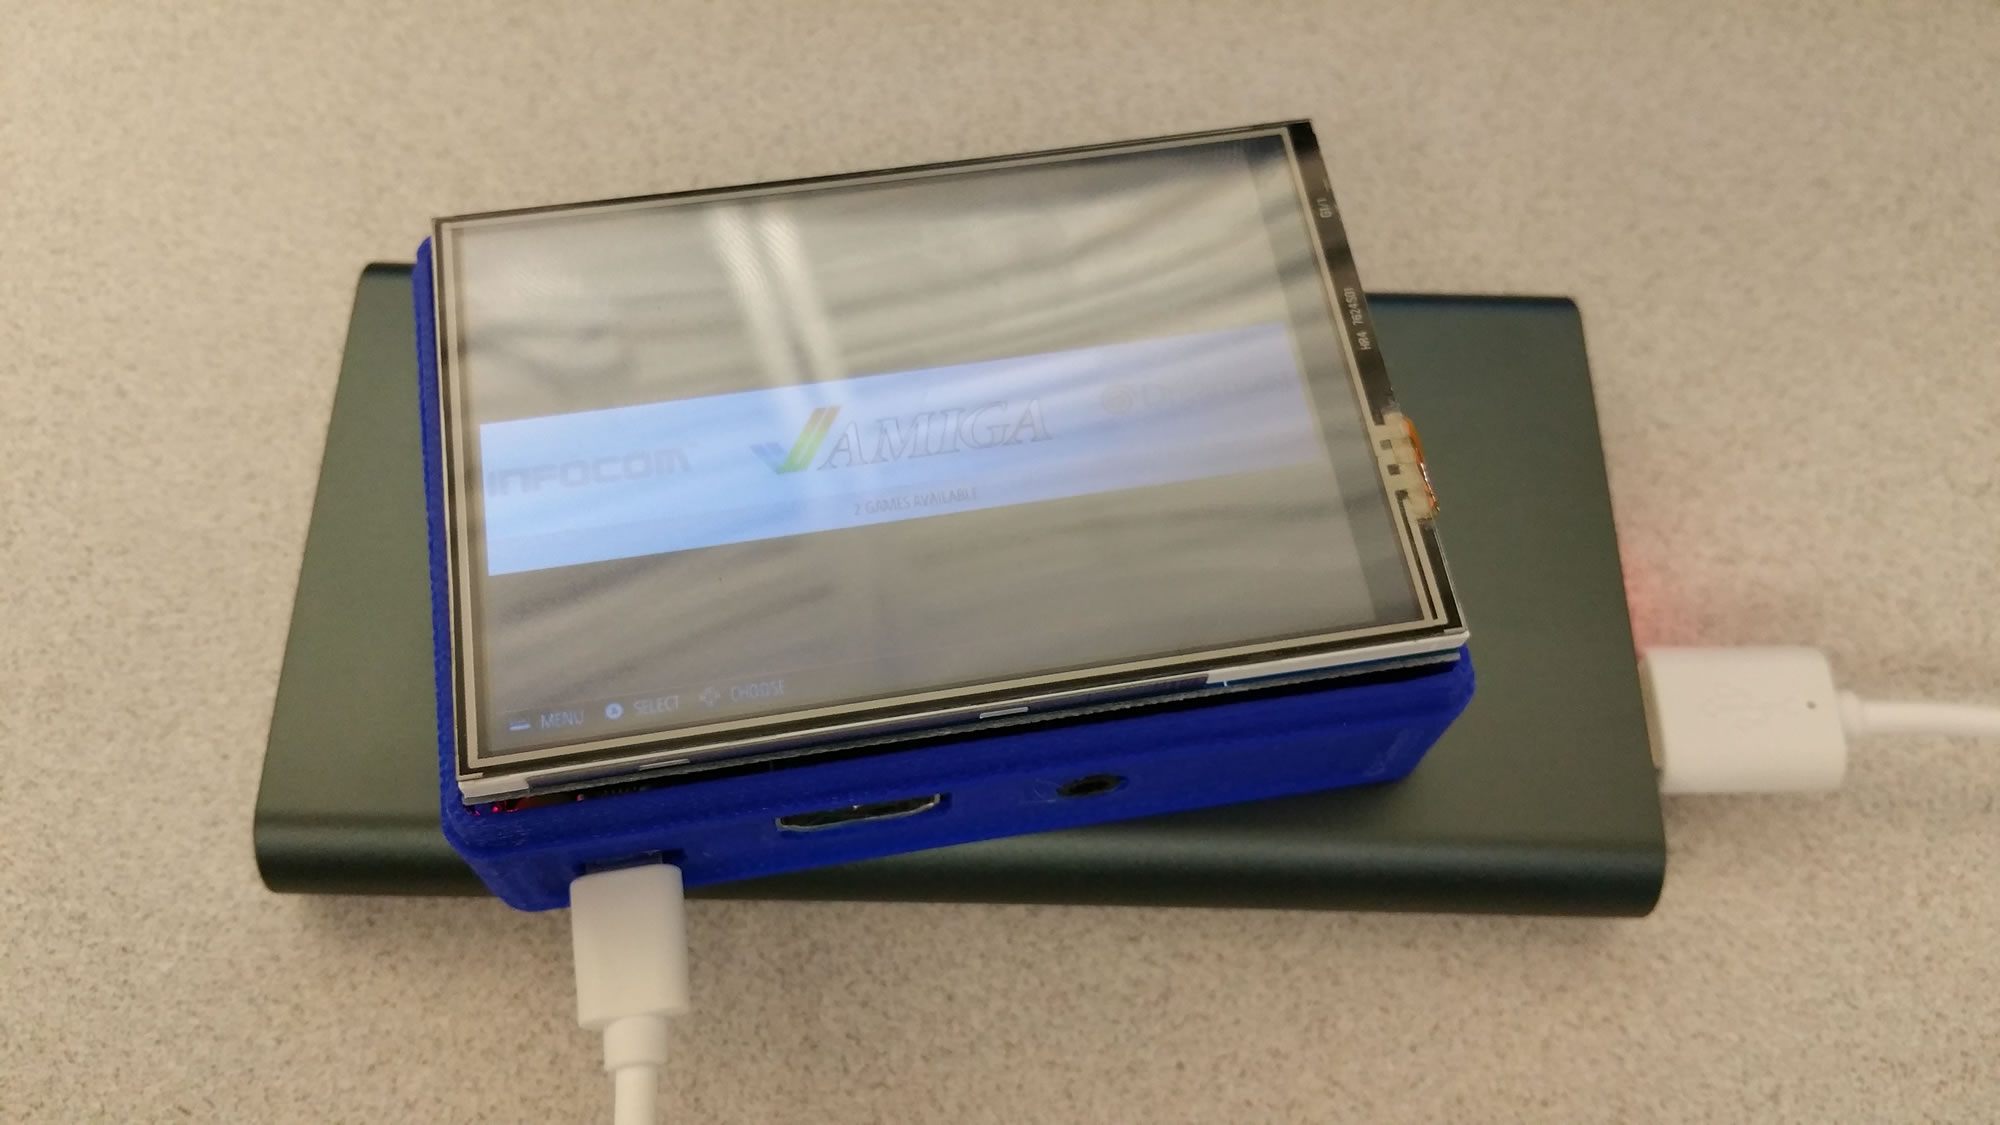
UPDATE: totally just got this working with RetroPie! After setting up the LCD drivers, you have to have the framebuffer send to the TFT. Found a post here that explains what to do…just have to change things for the 35a LCD is all. Worked like a charm. I have to play with the speed a little as it is kind of laggy but still pretty cool!
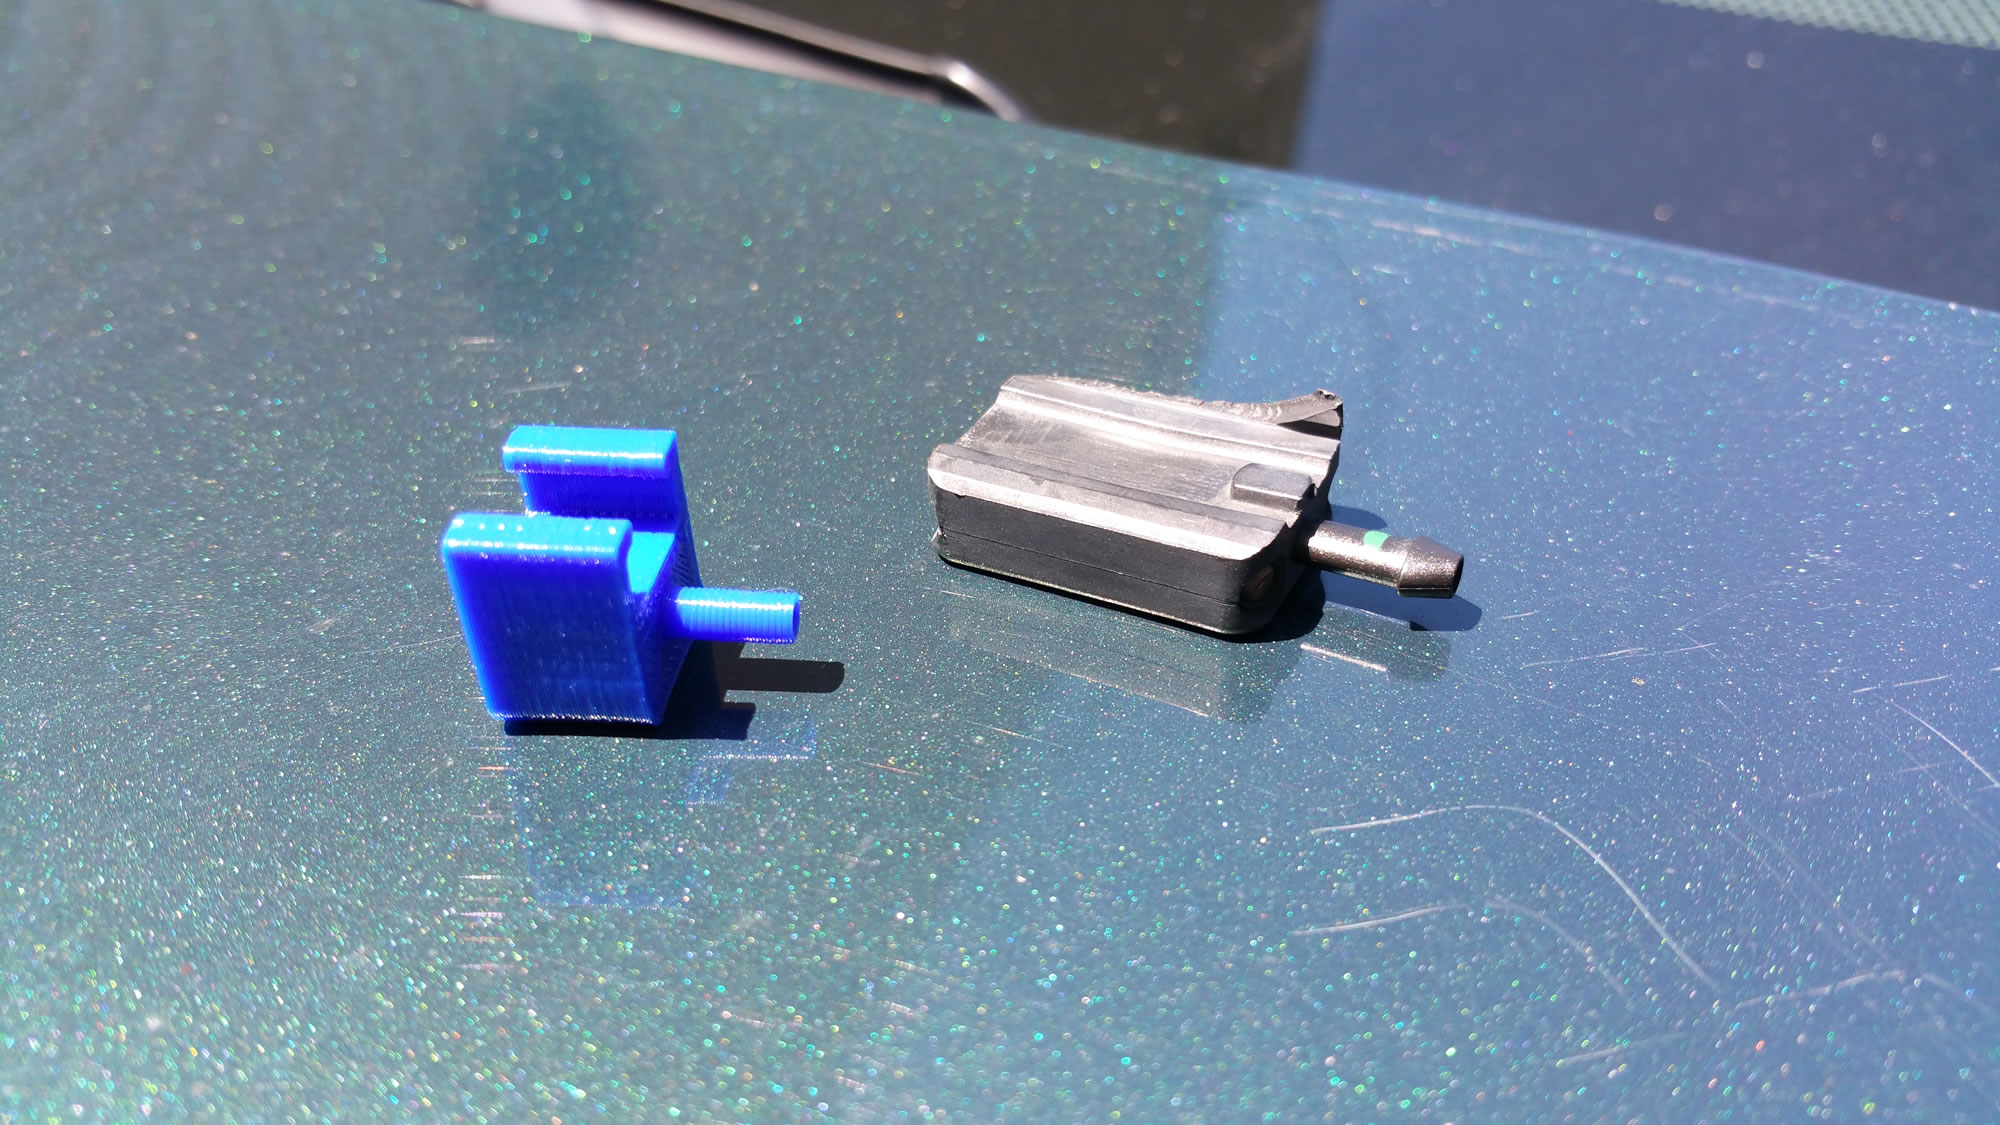
3d Printed wiper sprayer
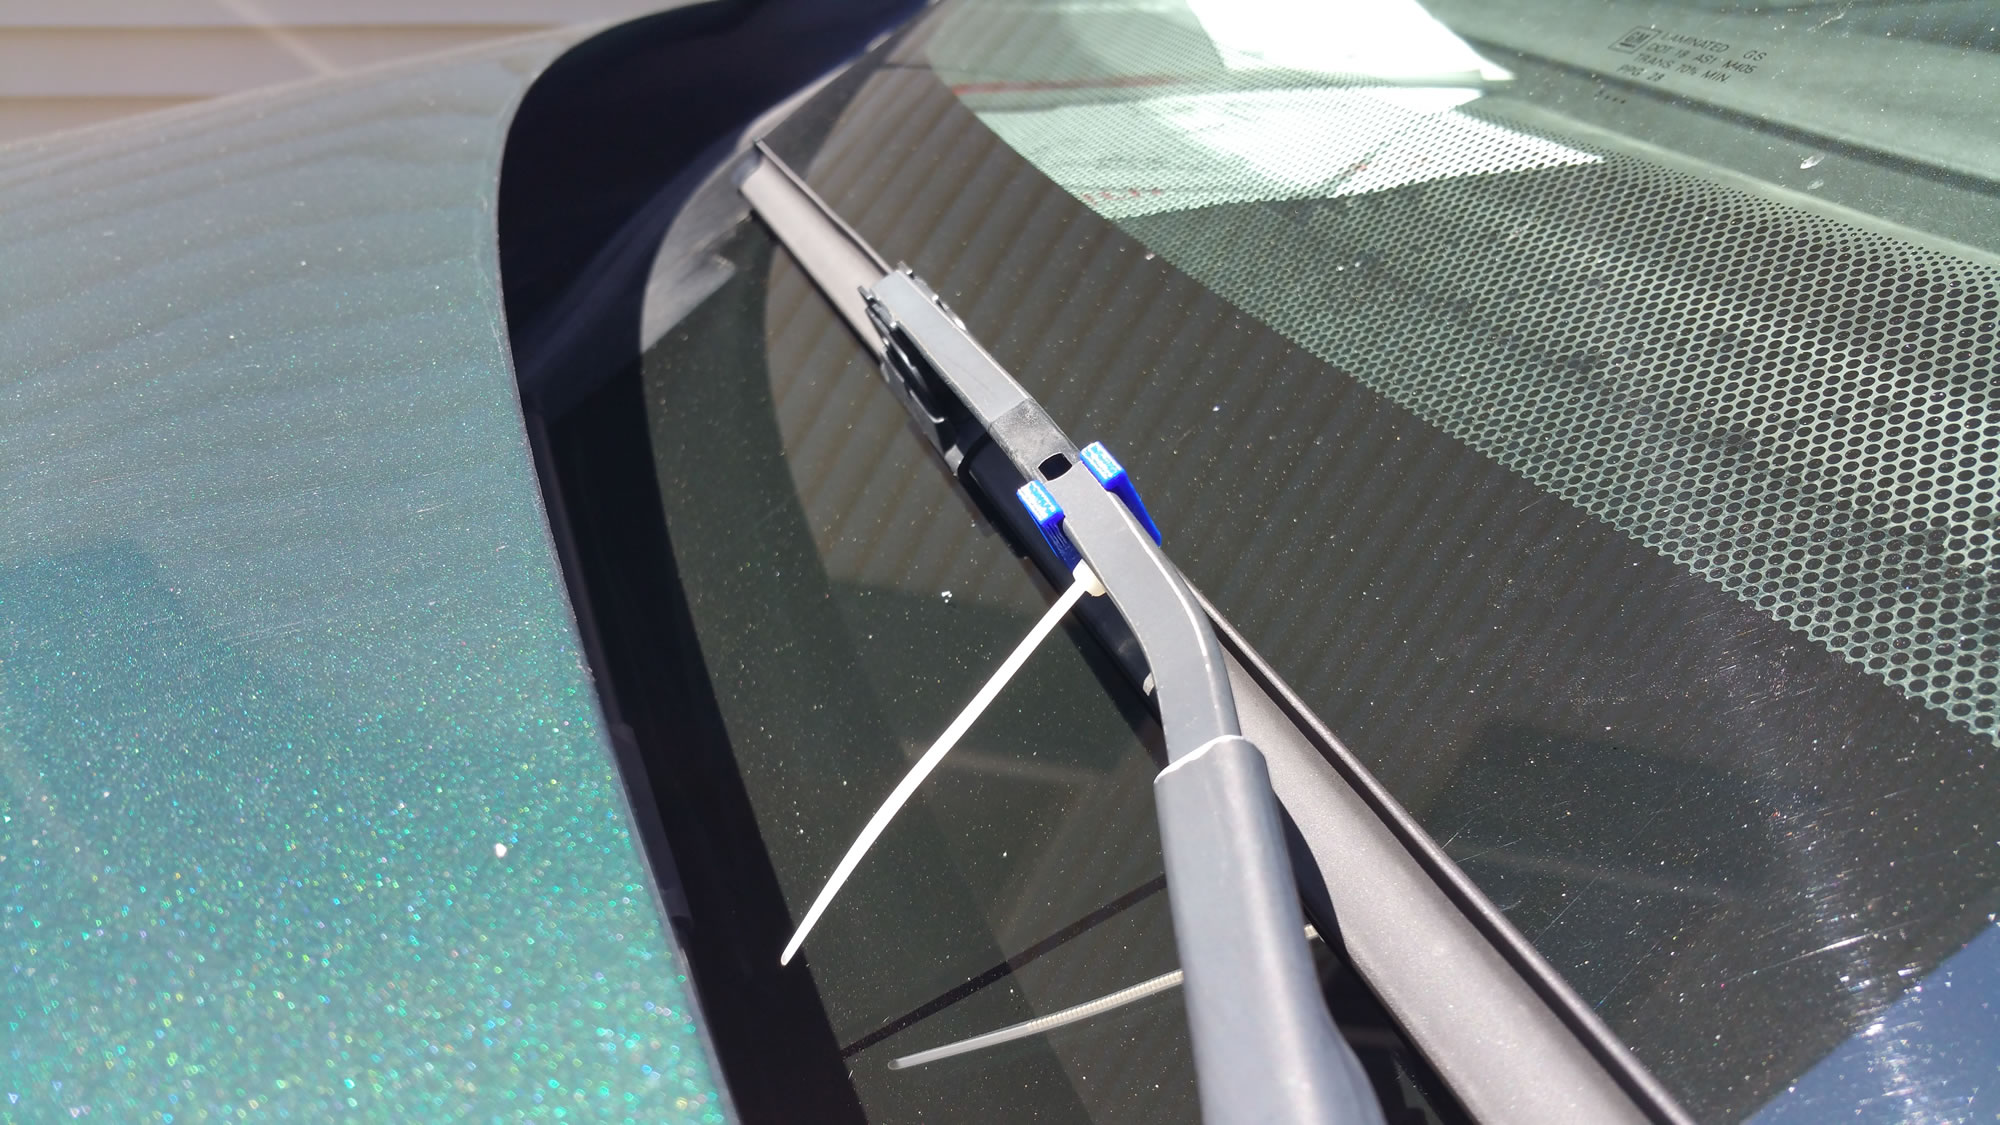
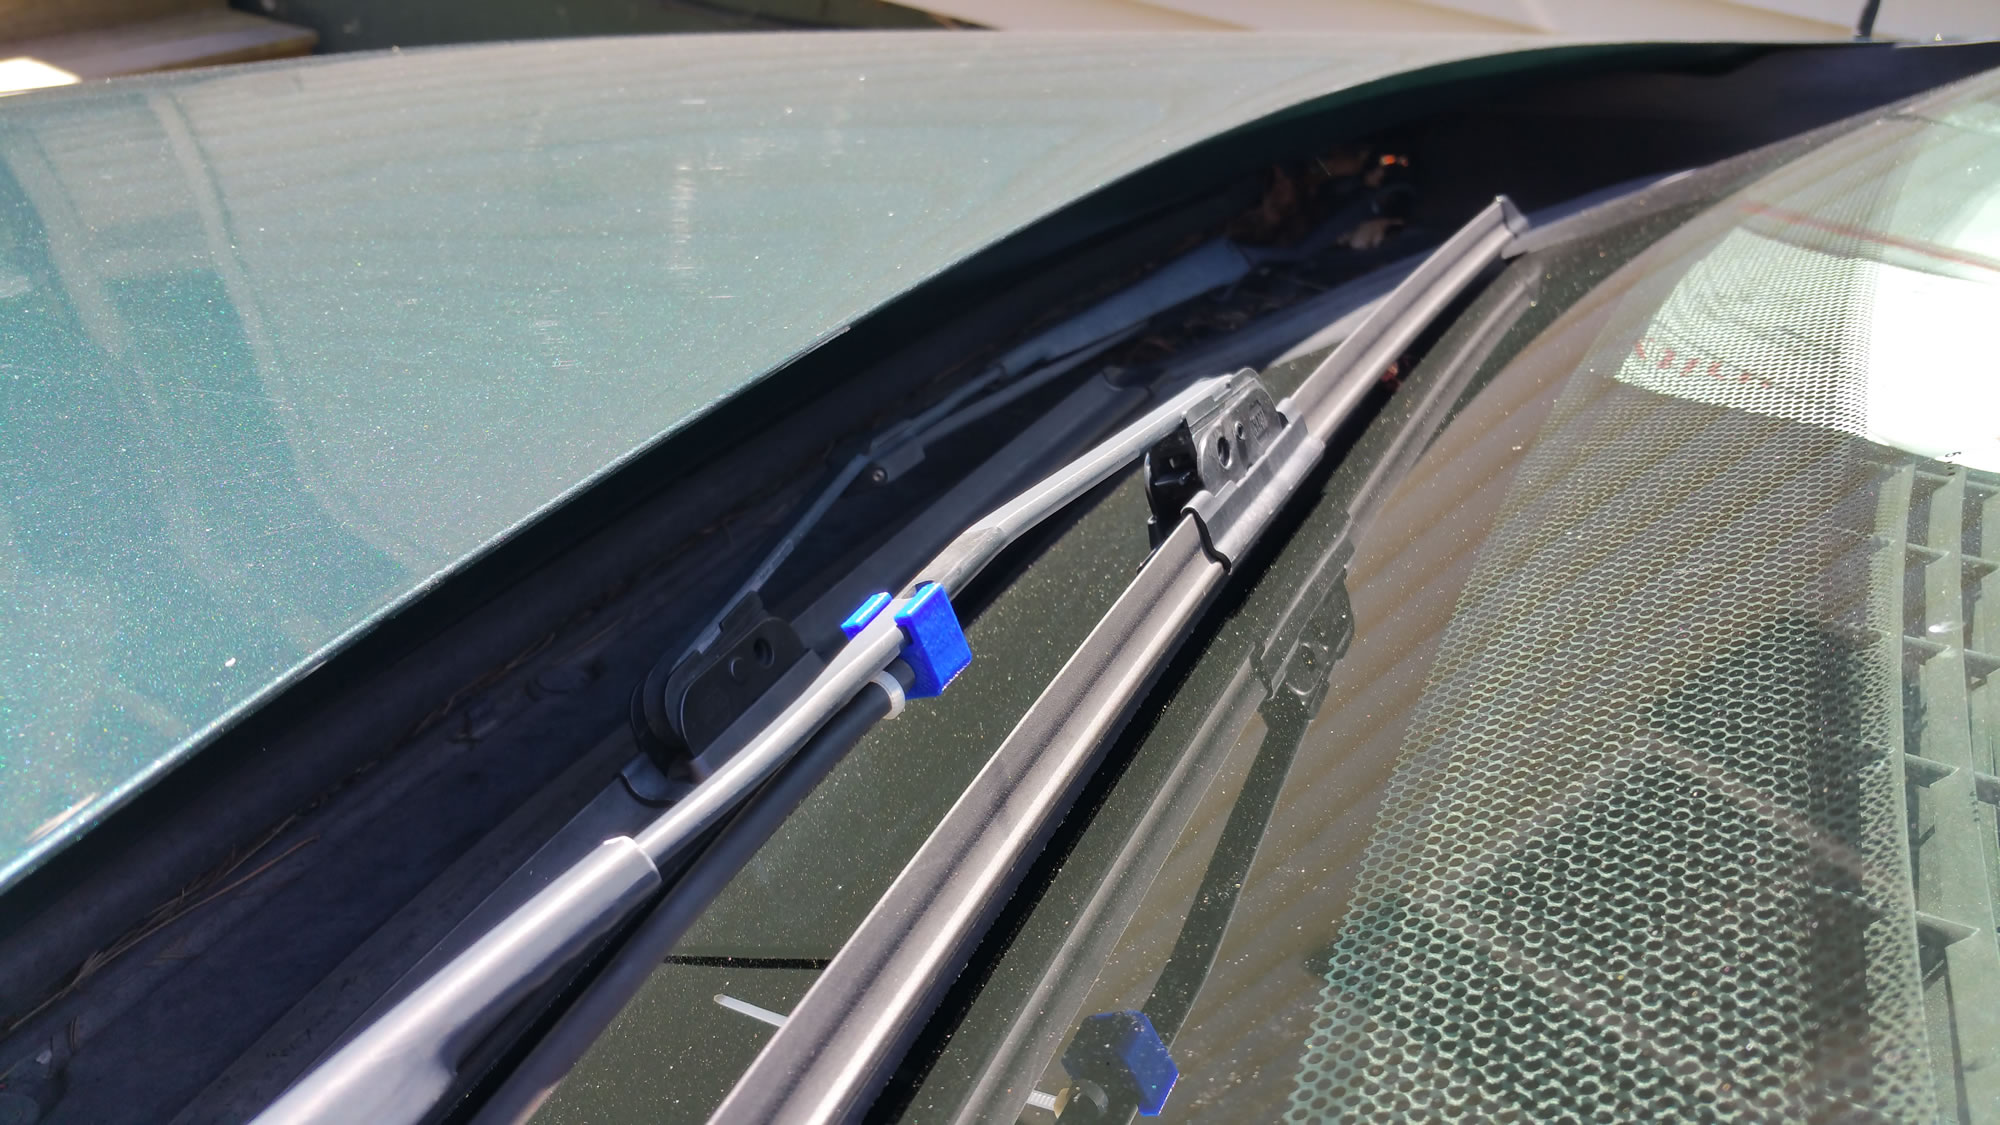
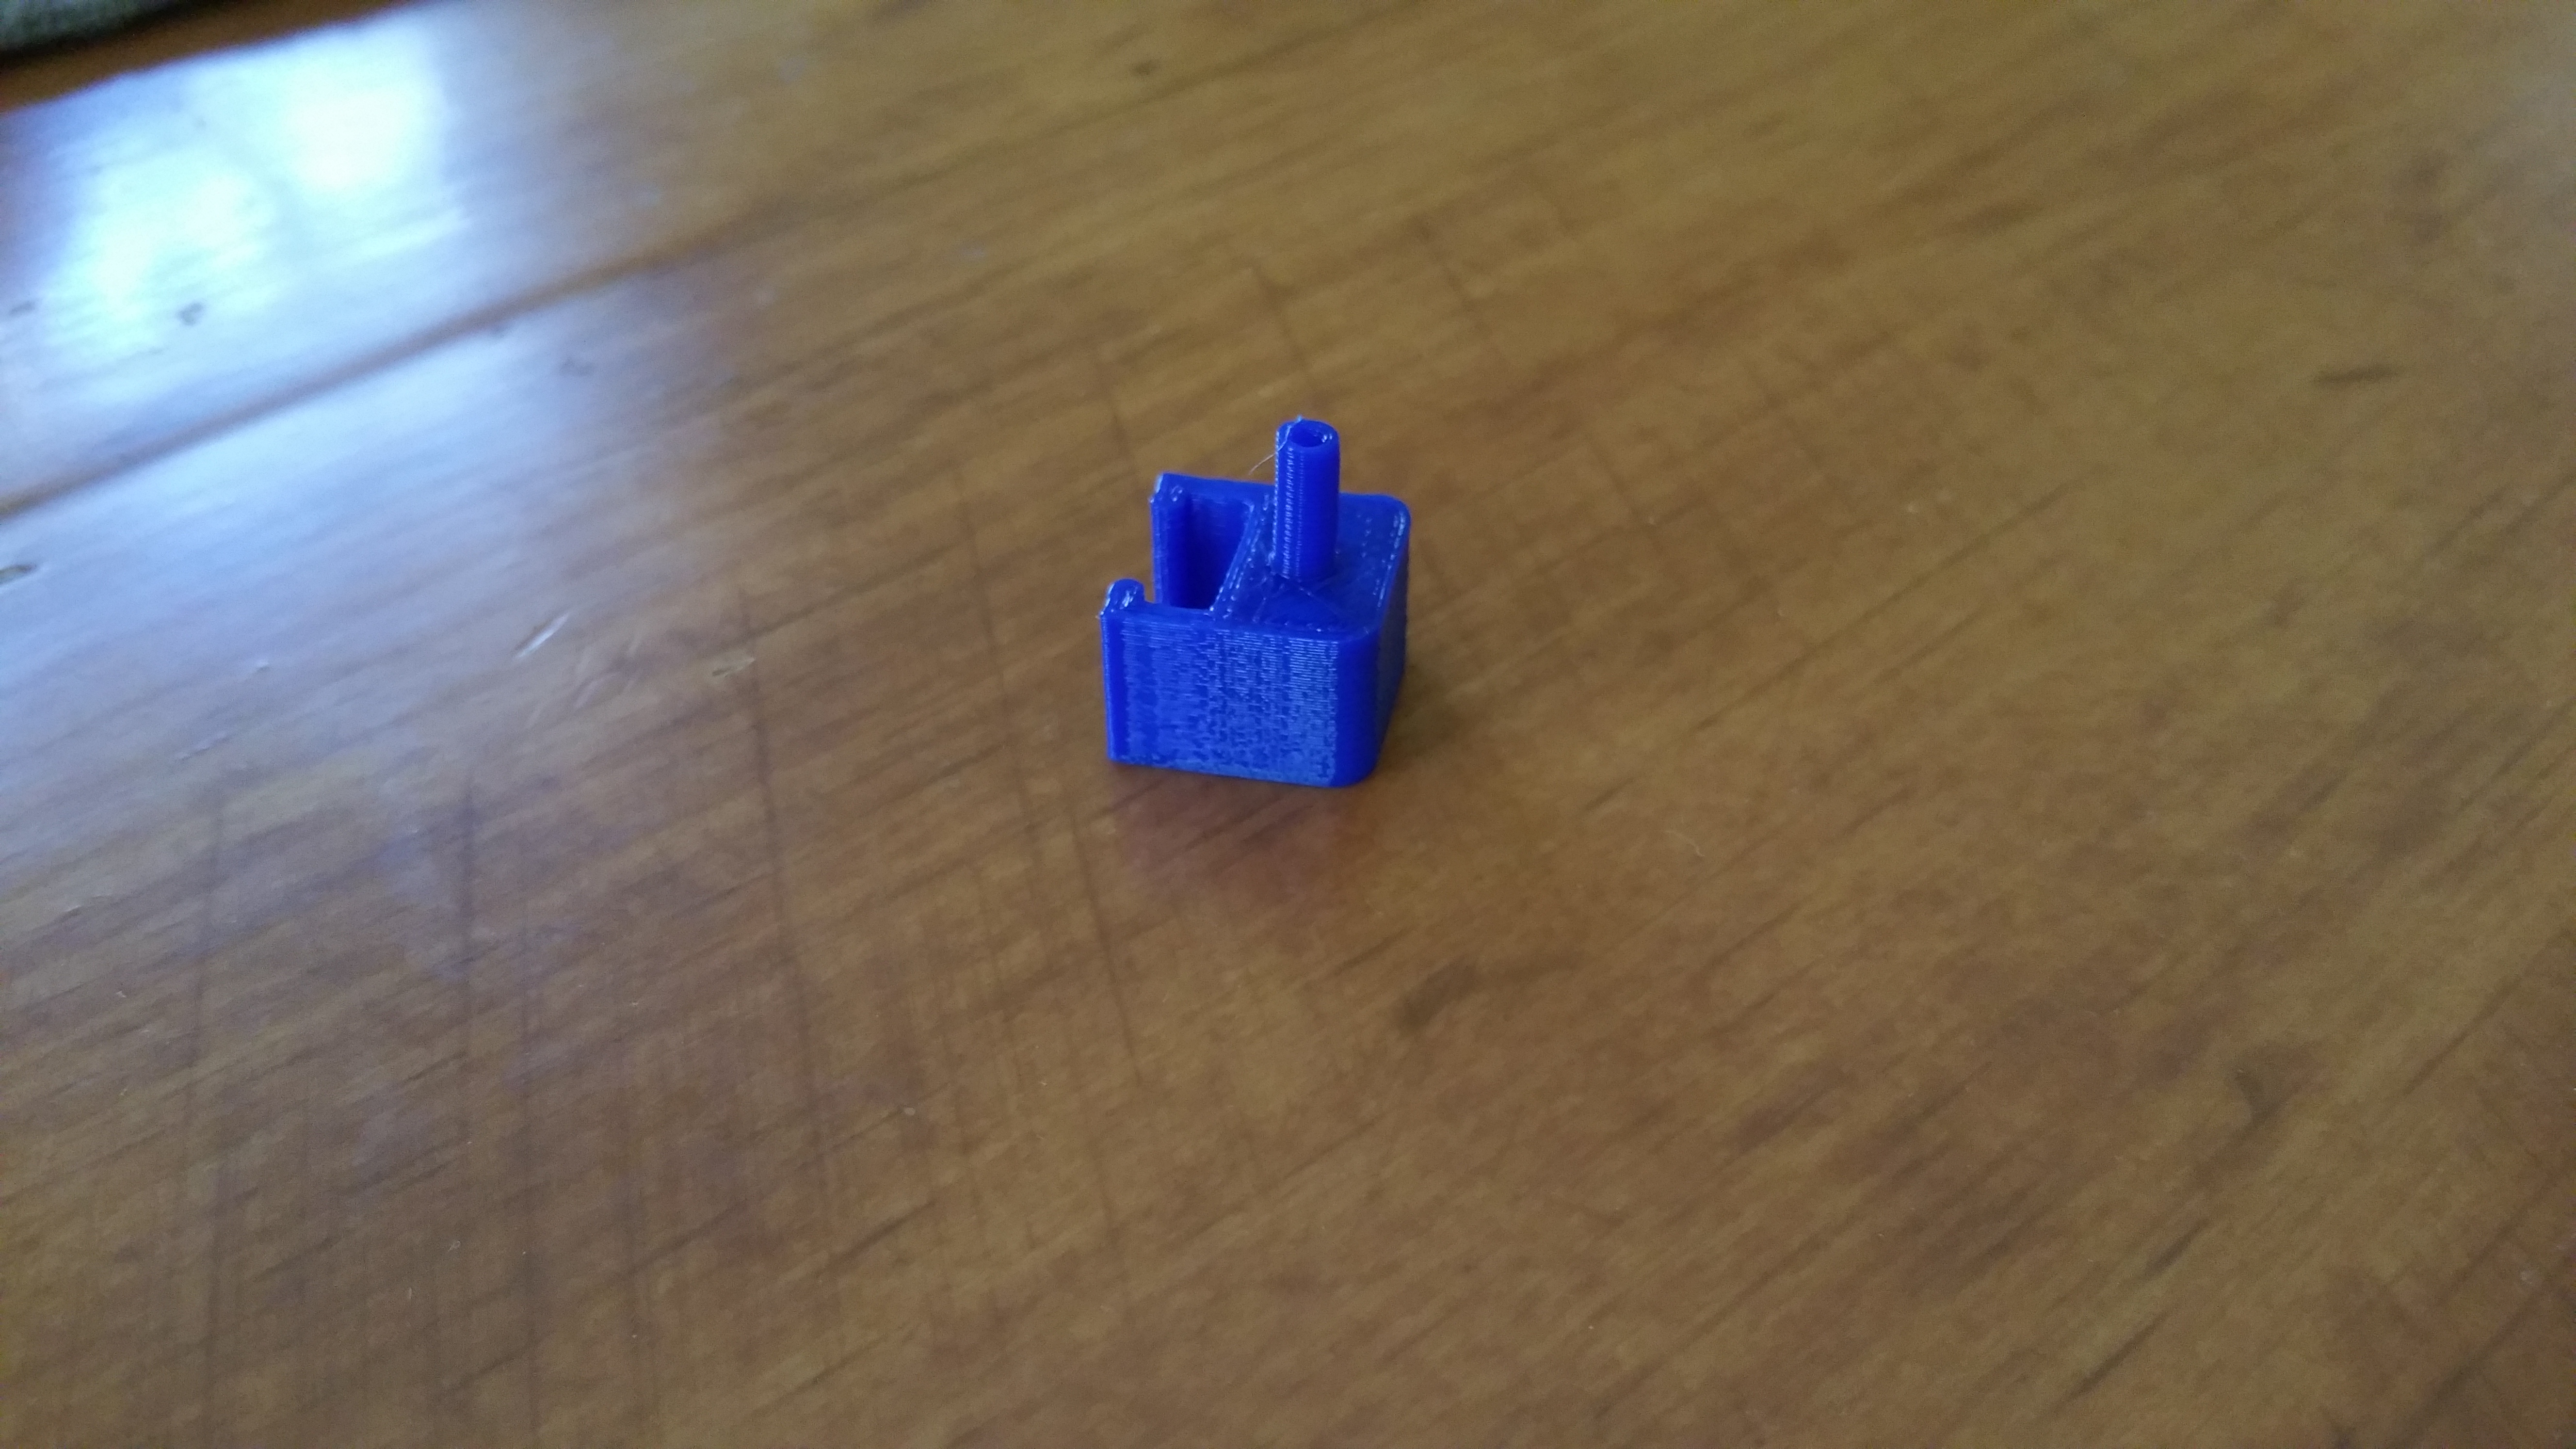
Thought I’d make a little post on a 3d printed part I just did for my van. The wiper washer broke on the driver’s side blade and just for kicks, I searched Thingiverse to see if someone had designed something similar and someone did!
I printed one out and with a zip-tie to hold the hose on, it works pretty decent. It seems to shoot the spray right at the blade but at least now it’s not flapping around like it was before.
P.S. this is for my 2006 Chevy Uplander…in case anyone is interested
Raspberry Pi Bird Box
I love it when I can get my wife roped into these things! Was able to get my hands on a couple more Raspberry Pi’s…in telling my wife what these things are capable of the wheels start turning in her head…”Could you have them watch birds make a nest in a birdhouse?” Of course I can!
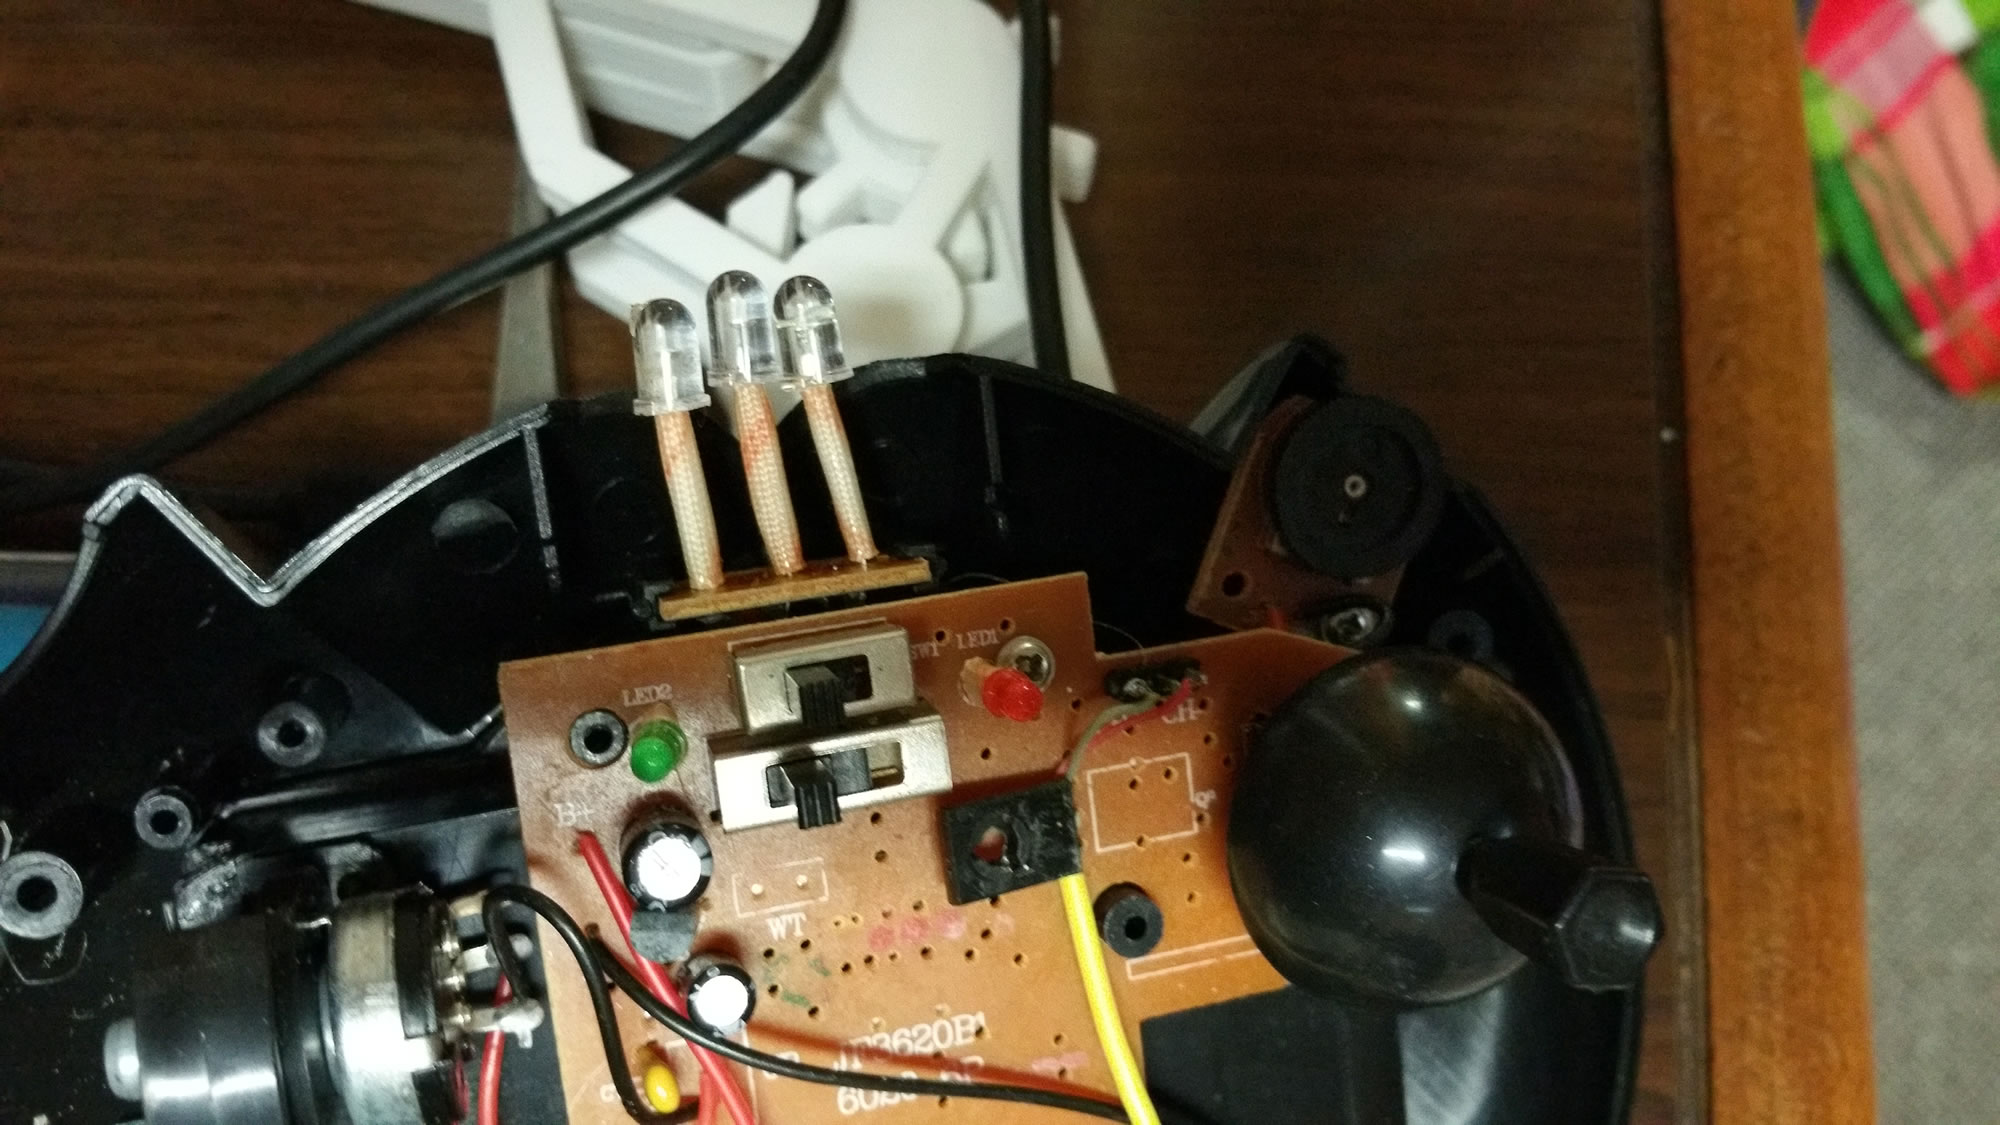
So…what did I need? I needed a Raspberry Pi (of course)….the Pi NoIR camera and an infrared LED. I ended up steeling an LED off an old little toy helicopter I had that broke. The radio used LED to talk to the helicopter. I knew I could use this someday! You could use an old TV remote as well. Make sure to pay attention to + and – leads on it when you’re taking it apart…because it does matter!
It only took one ir led for me. Hook the negative (-) of the led to a 200ohm resistor (red black black for the colors…220 ohm or 200 will work) and then put the other end of the resistor on the ground pin of the GPIO on the Raspberry Pi. Then put the pos (+) of the led on the 5v of the GPIO of the Pi. Do this while it’s not turned on of course.