Posts Tagged: raspberrypi
NodeJS Garden Bench
The need
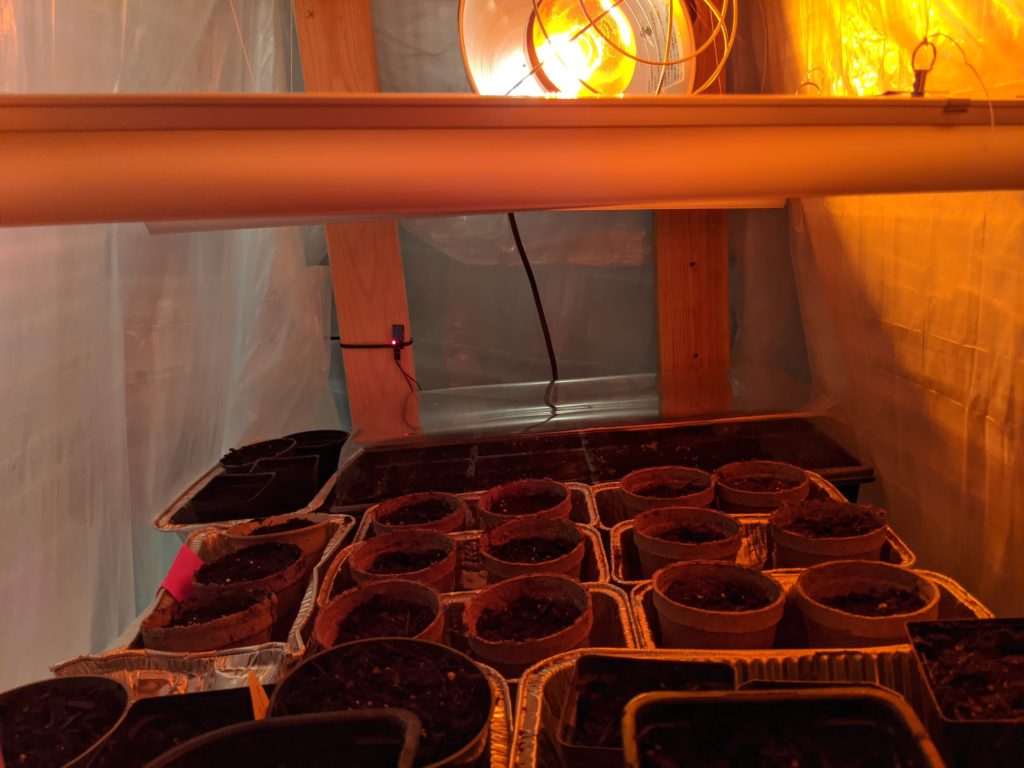
My wife wanted to start her own seeds this year but here in Maine, you have to do that inside and also make sure you keep the right temperature during the day and night. #RaspberryPiToTheRescue !!
Took a bunch of scrap pieces of wood that I had to make the bench itself so it doesn’t look pretty but it works. We just covered it with some painter’s drop-cloths to hold the heat.
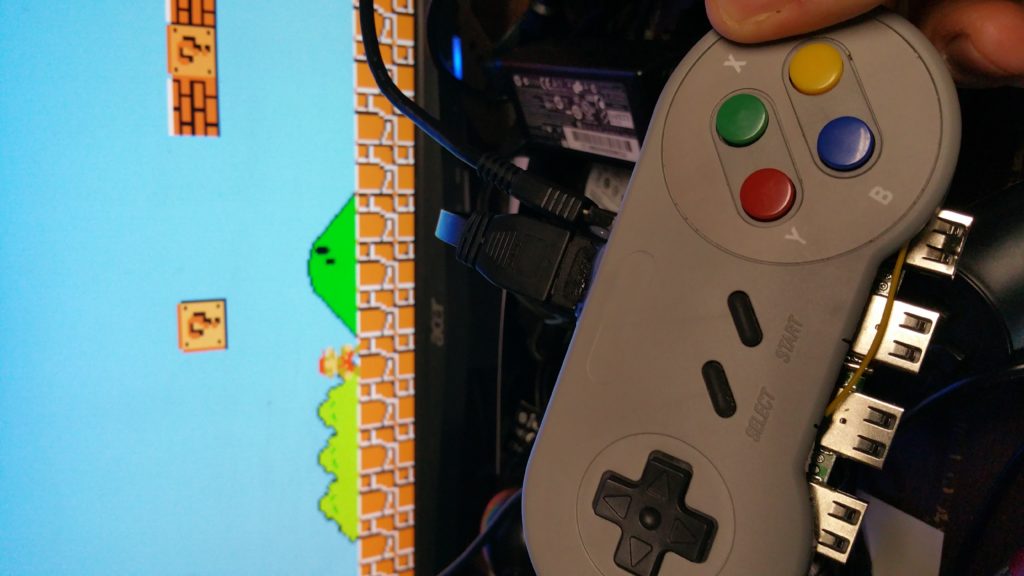
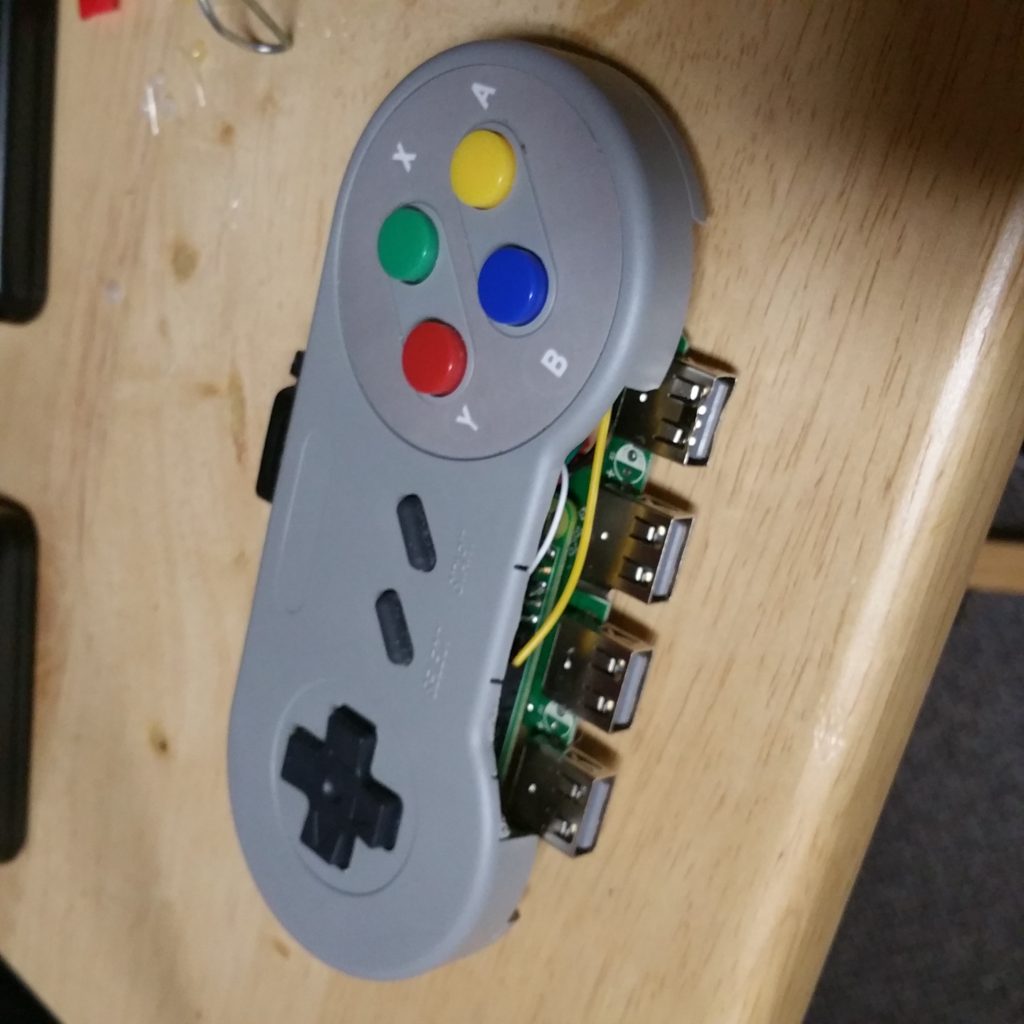
RetroPie Controller
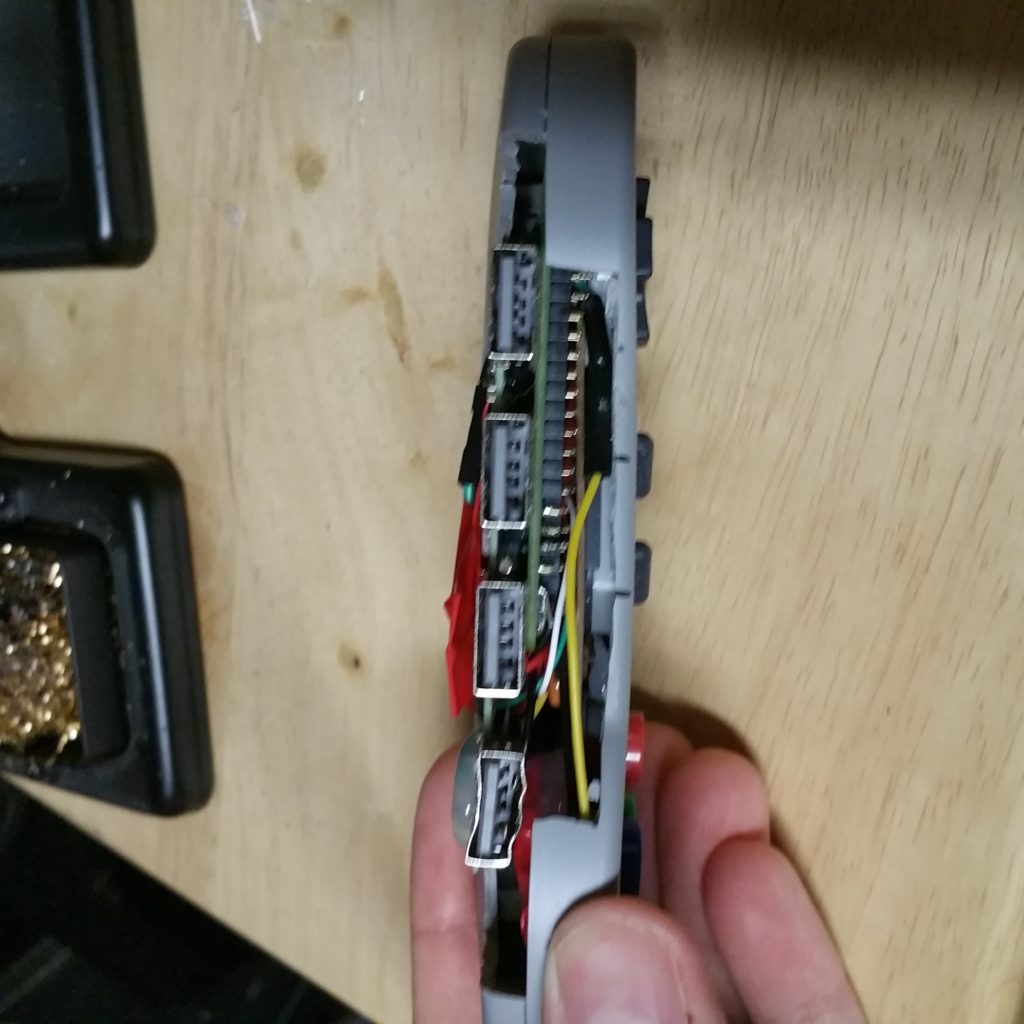
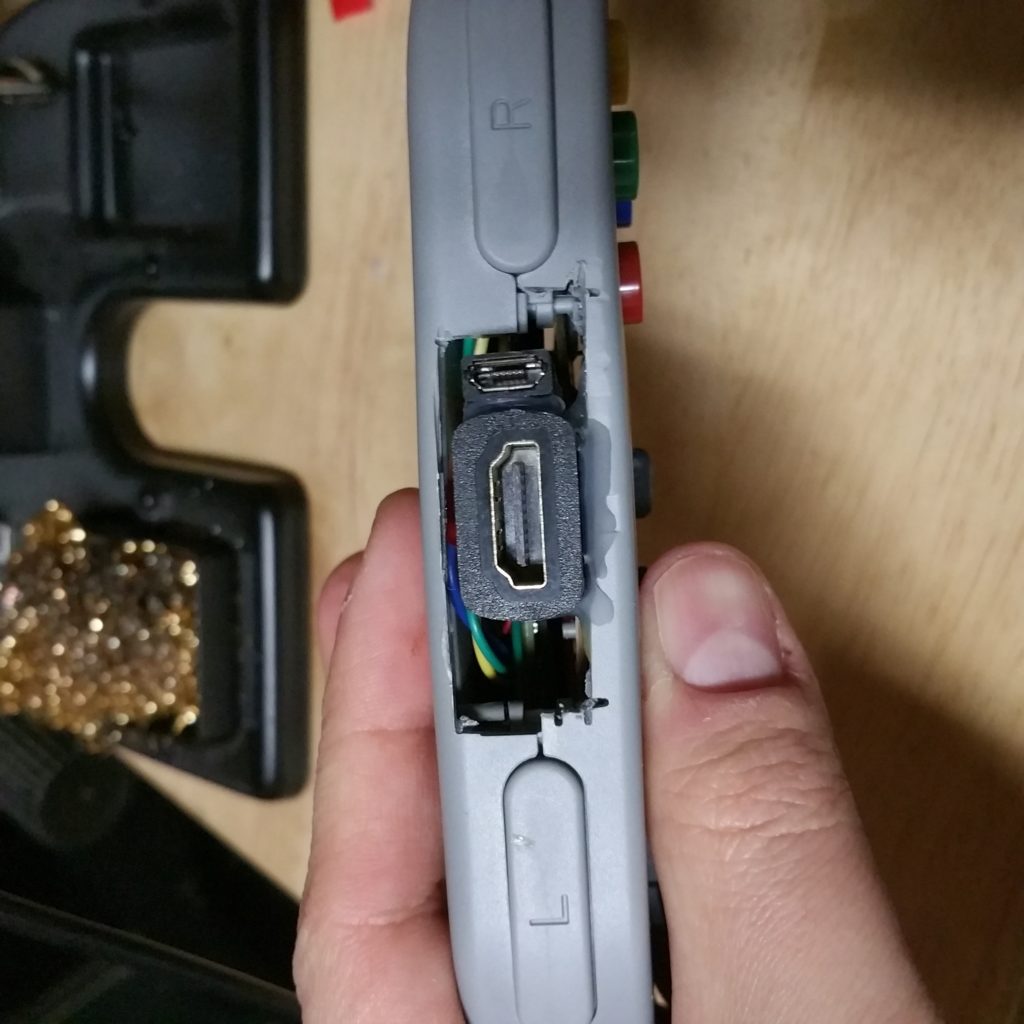
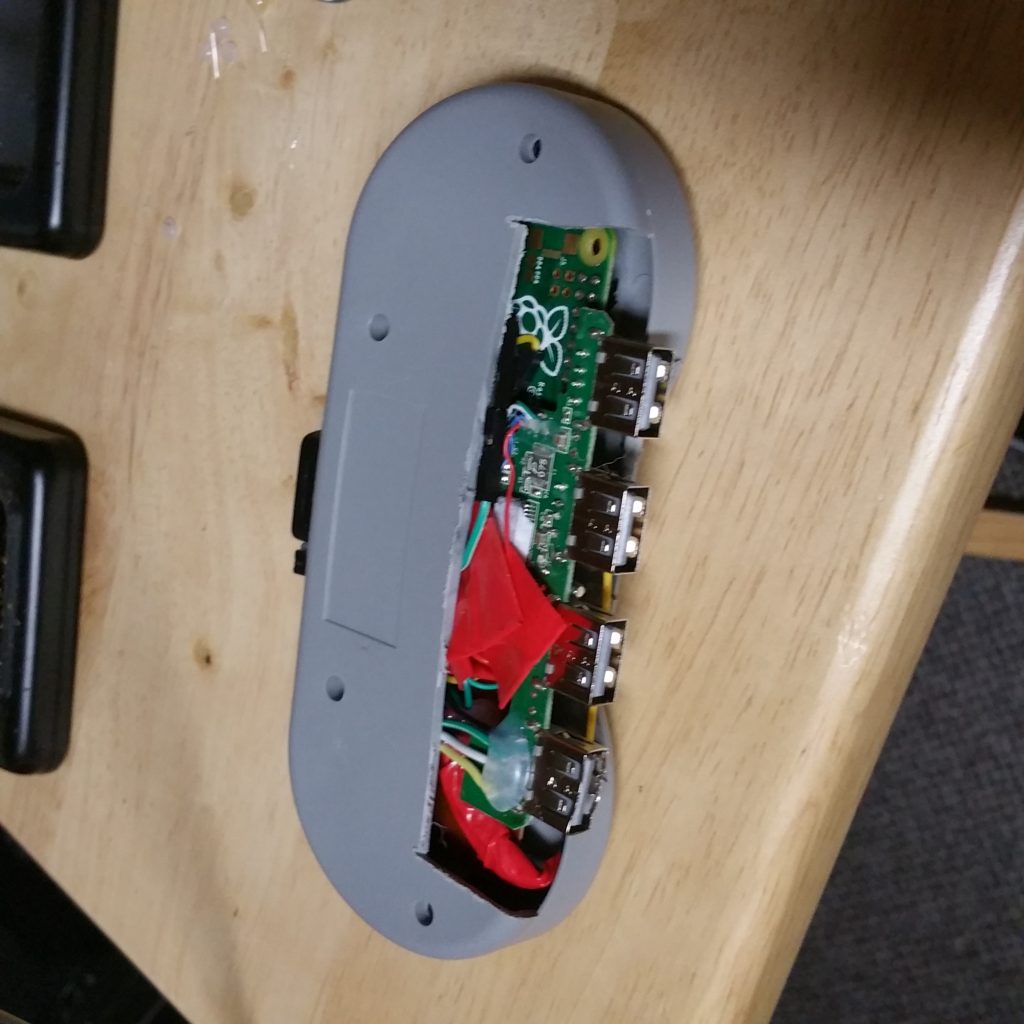
I’ve had a USB SNES controller for a while and kept wanting to throw a Pi Zero in it, but I also wanted a USB hub to be part of it somehow. I have been sitting on it for a while but couldn’t seem to get things to fit in nicely. Well, today I decided not to care about form so I could have function. So I present the ugliest controller build your eyes have seen!
Obviously, not pretty, but at least I can plug in a mouse and keyboard or whatever when needed.
Birdbox Update!
In my original post, I was hoping to capture some birds building a nest and laying/hatching eggs….but to no avail. Months have gone by with hardly any activity so I’ve stopped checking it. Well, I checked yesterday and found out a gray squirrel has made a nest and had babies! In checking the files, there are 100s of videos to go through. Still trying to sift through them all but will post more interesting ones as I find them. In the meantime, here is a video of the little ones nursing. =)
Raspberry Pi Bird Box
I love it when I can get my wife roped into these things! Was able to get my hands on a couple more Raspberry Pi’s…in telling my wife what these things are capable of the wheels start turning in her head…”Could you have them watch birds make a nest in a birdhouse?” Of course I can!
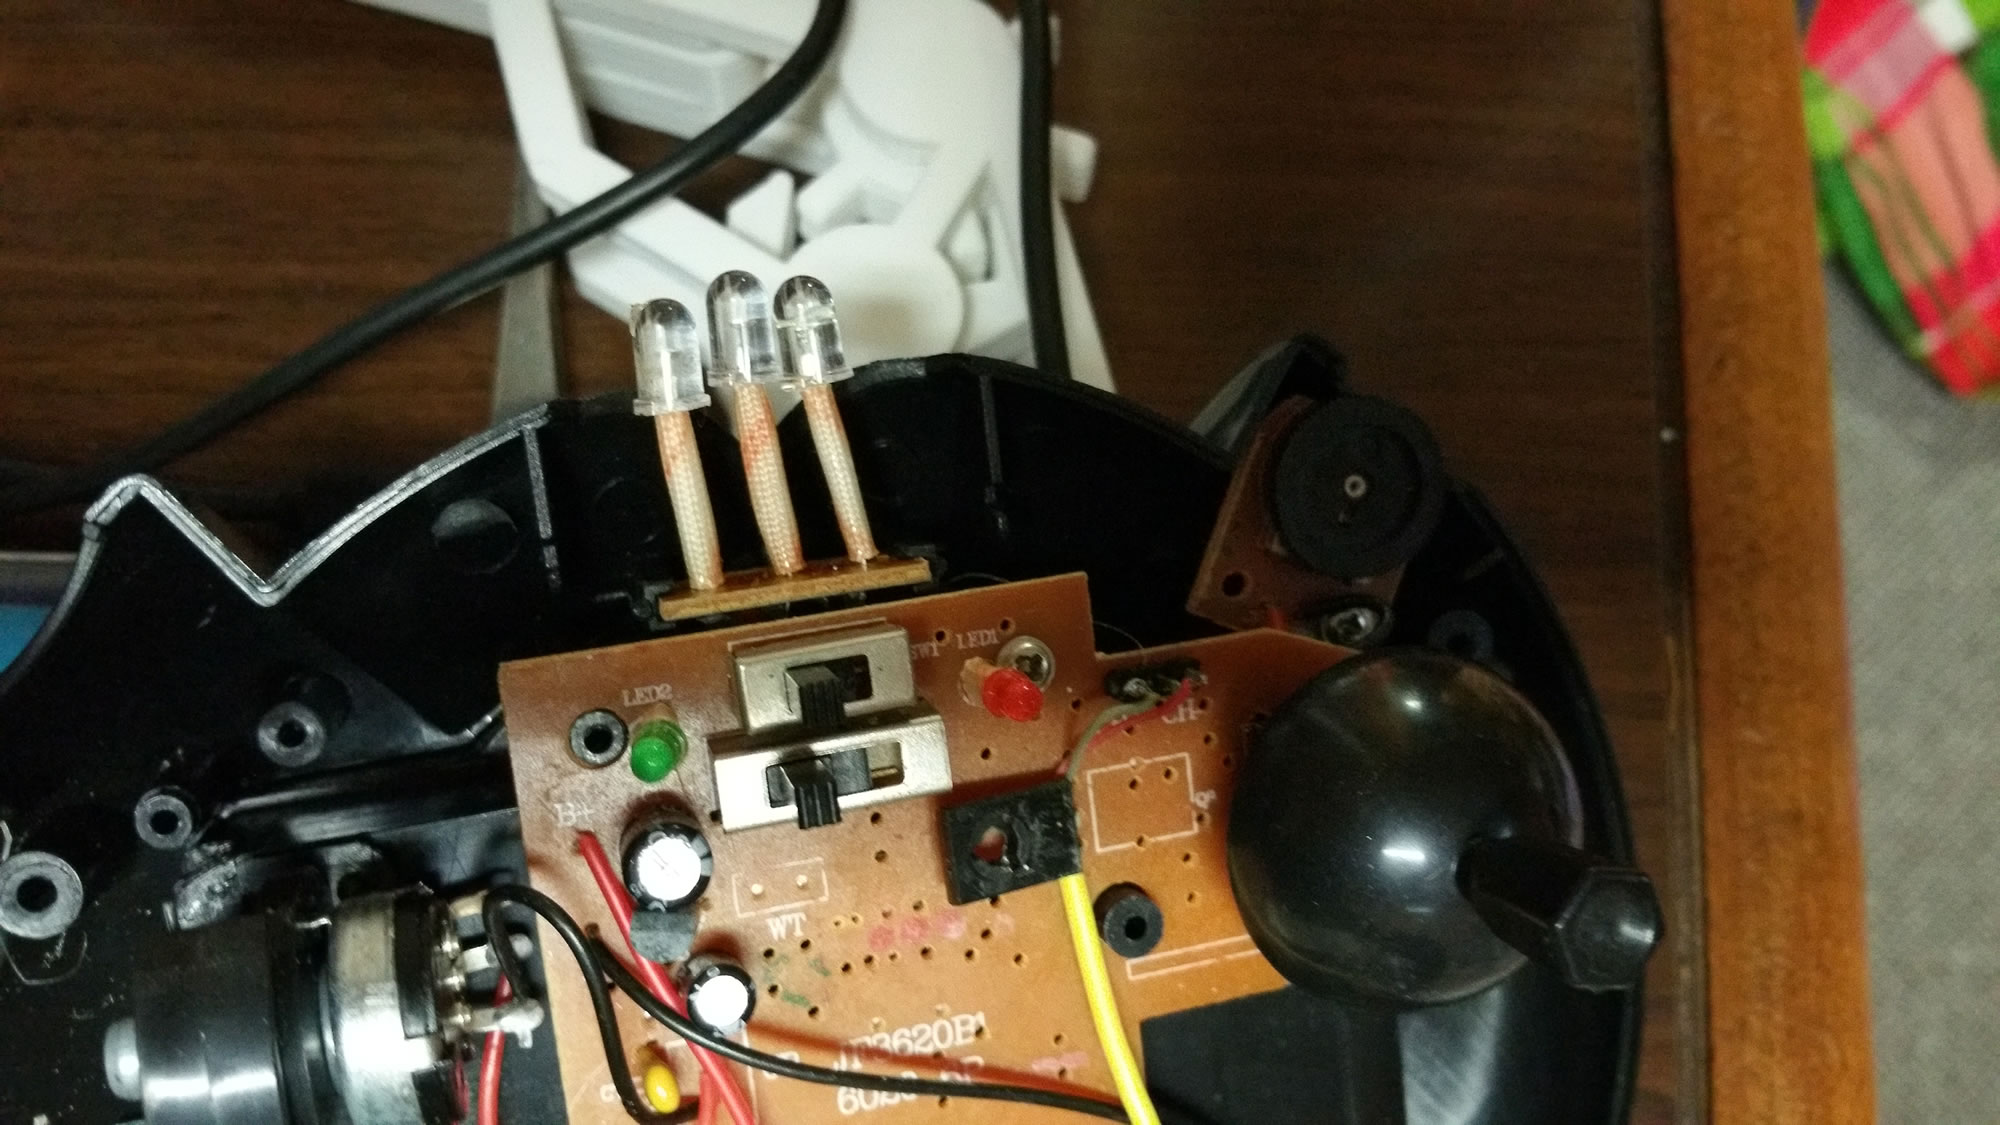
So…what did I need? I needed a Raspberry Pi (of course)….the Pi NoIR camera and an infrared LED. I ended up steeling an LED off an old little toy helicopter I had that broke. The radio used LED to talk to the helicopter. I knew I could use this someday! You could use an old TV remote as well. Make sure to pay attention to + and – leads on it when you’re taking it apart…because it does matter!
It only took one ir led for me. Hook the negative (-) of the led to a 200ohm resistor (red black black for the colors…220 ohm or 200 will work) and then put the other end of the resistor on the ground pin of the GPIO on the Raspberry Pi. Then put the pos (+) of the led on the 5v of the GPIO of the Pi. Do this while it’s not turned on of course.