Raspberry Pi Zero
 The Raspberry Pi Zero is simply a micro computer that is only $5! These little guys are hard to get…sold out most places in the US as soon as they arrive. There are some Micro Centers that have them in stock…but the closest one for me is in Mass and that is a bit of a drive. Reddit community to the rescue!
So some people in the Cambridge area posted pics showing the the Micro Center there had them in stock. I put out a simple request to see if someone would buy one for me & ship it & I would reimburse them….someone did!
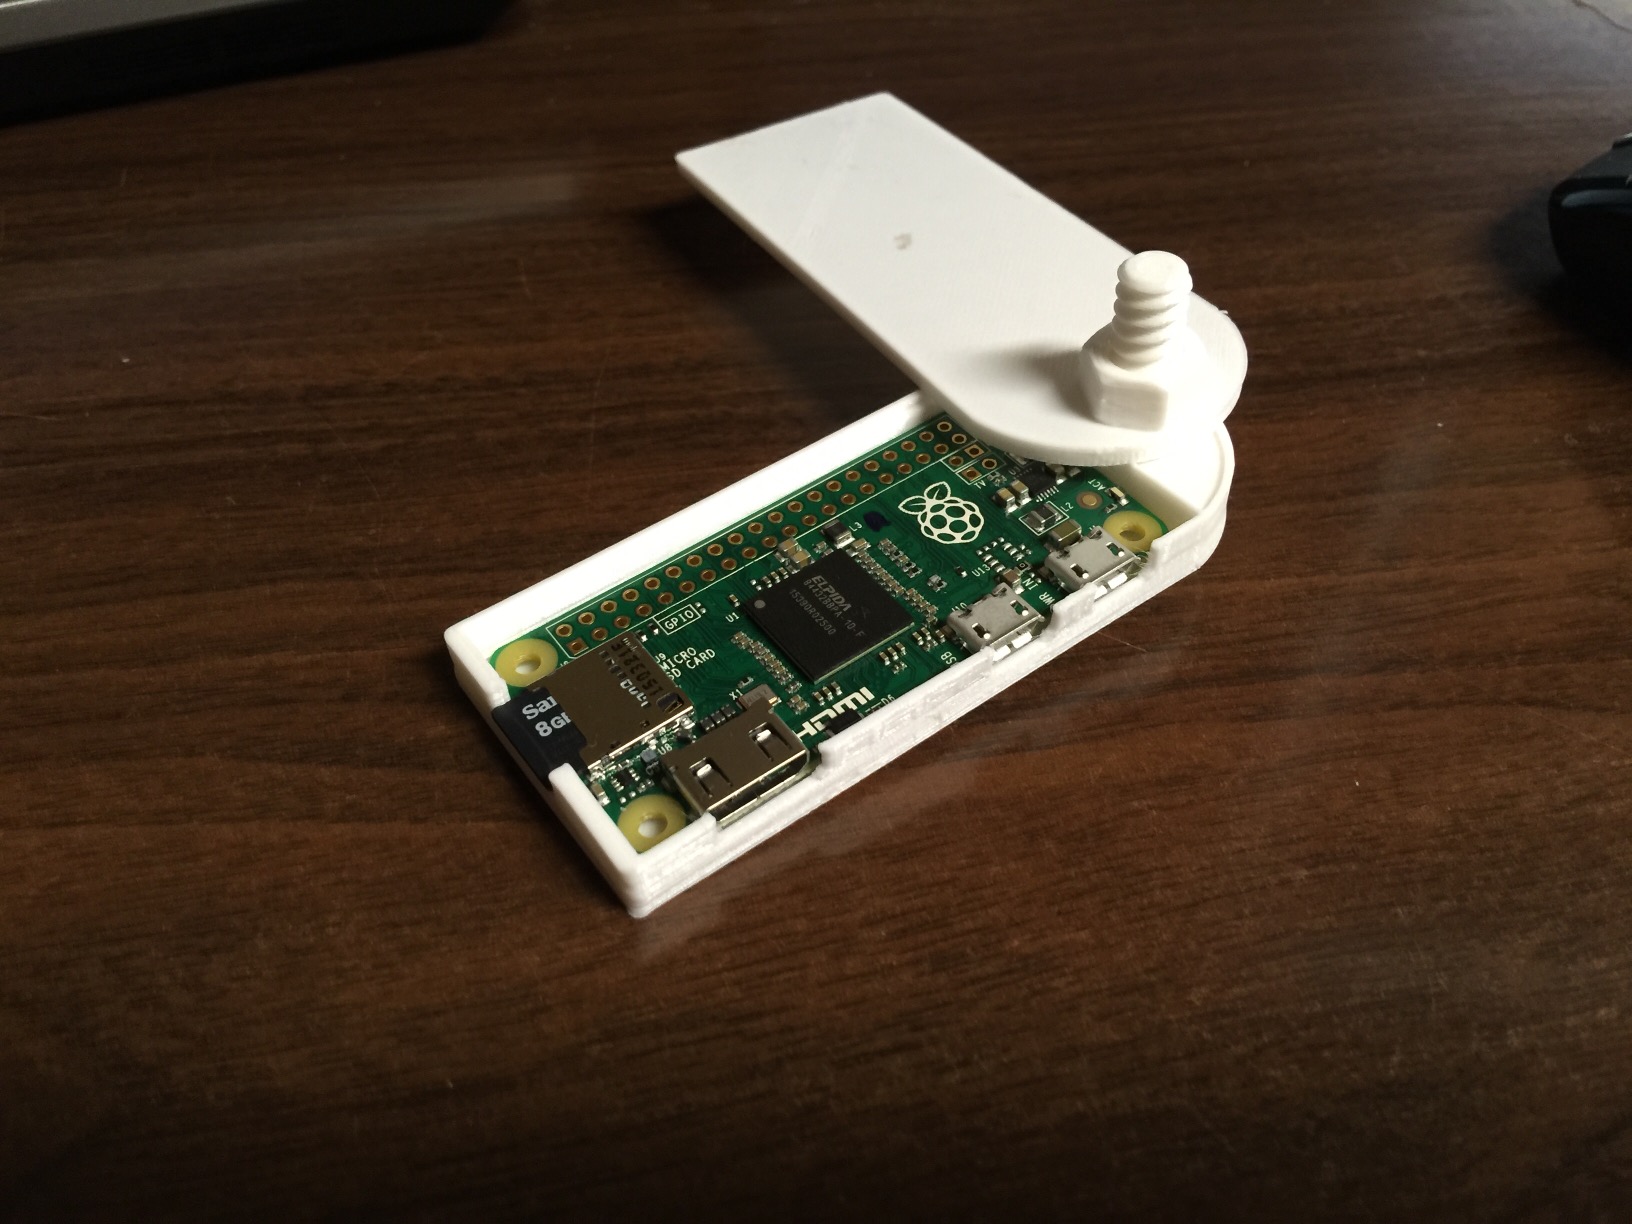
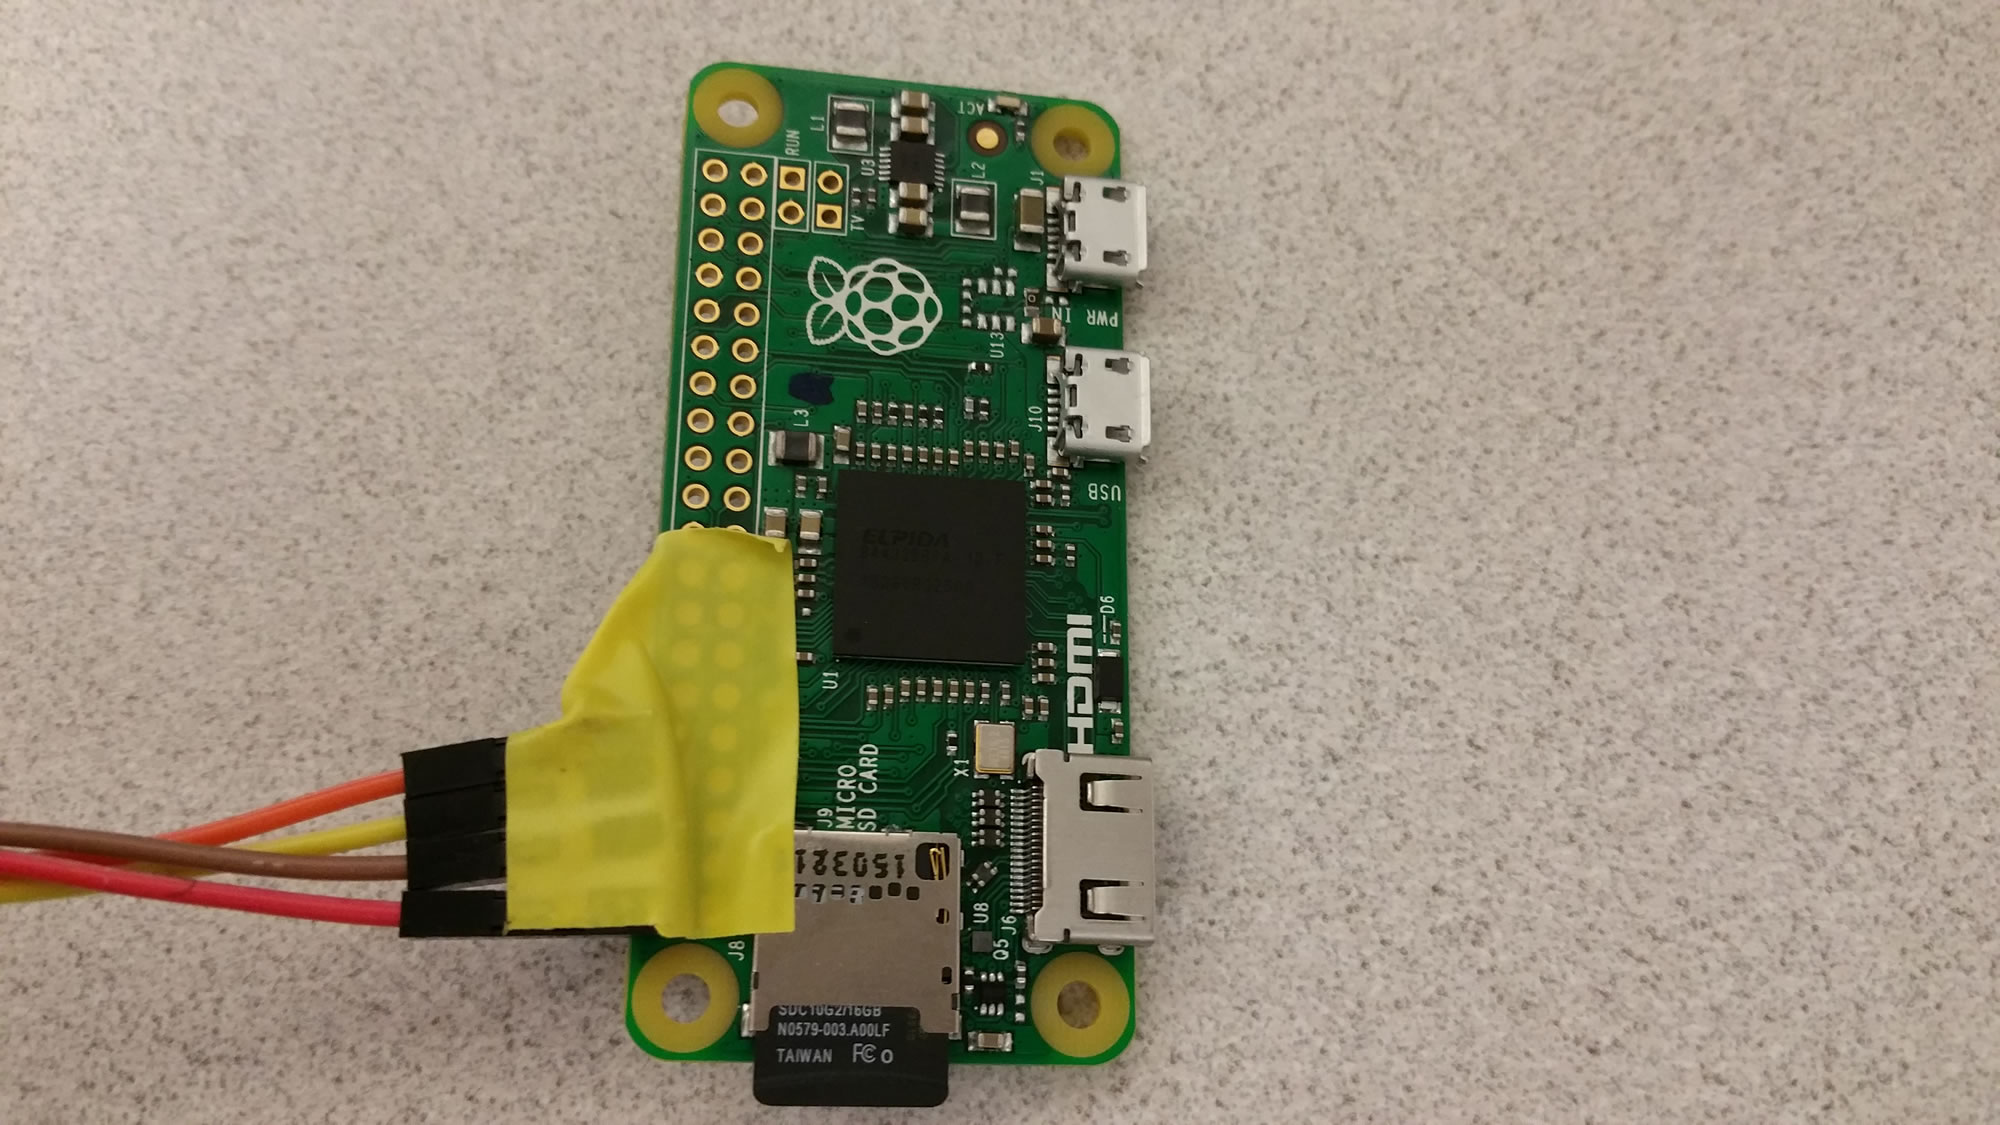
I now have this cool little computer with GPIO outputs. I could turn it into a USB gadget if I want…or another little retro gaming station. I’m leaning more towards a USB gadget of some sort…simply because it has a nice small form factor and I need to get my creative juices flowing. To do that, I need a console cable as to be able to get into the pi zero without having to hook up a keyboard. I ordered this little guy from ebay (a USB to TTL with 3.3v conversion). What makes talking to the pi zero via serial tricky is that most serial talks with a voltage of 5 volts…but the GPIO pins on the raspberry pis all talk with a 3.3v…so you will either need a converter of some sort, or this little USB to TTL to do the work for you.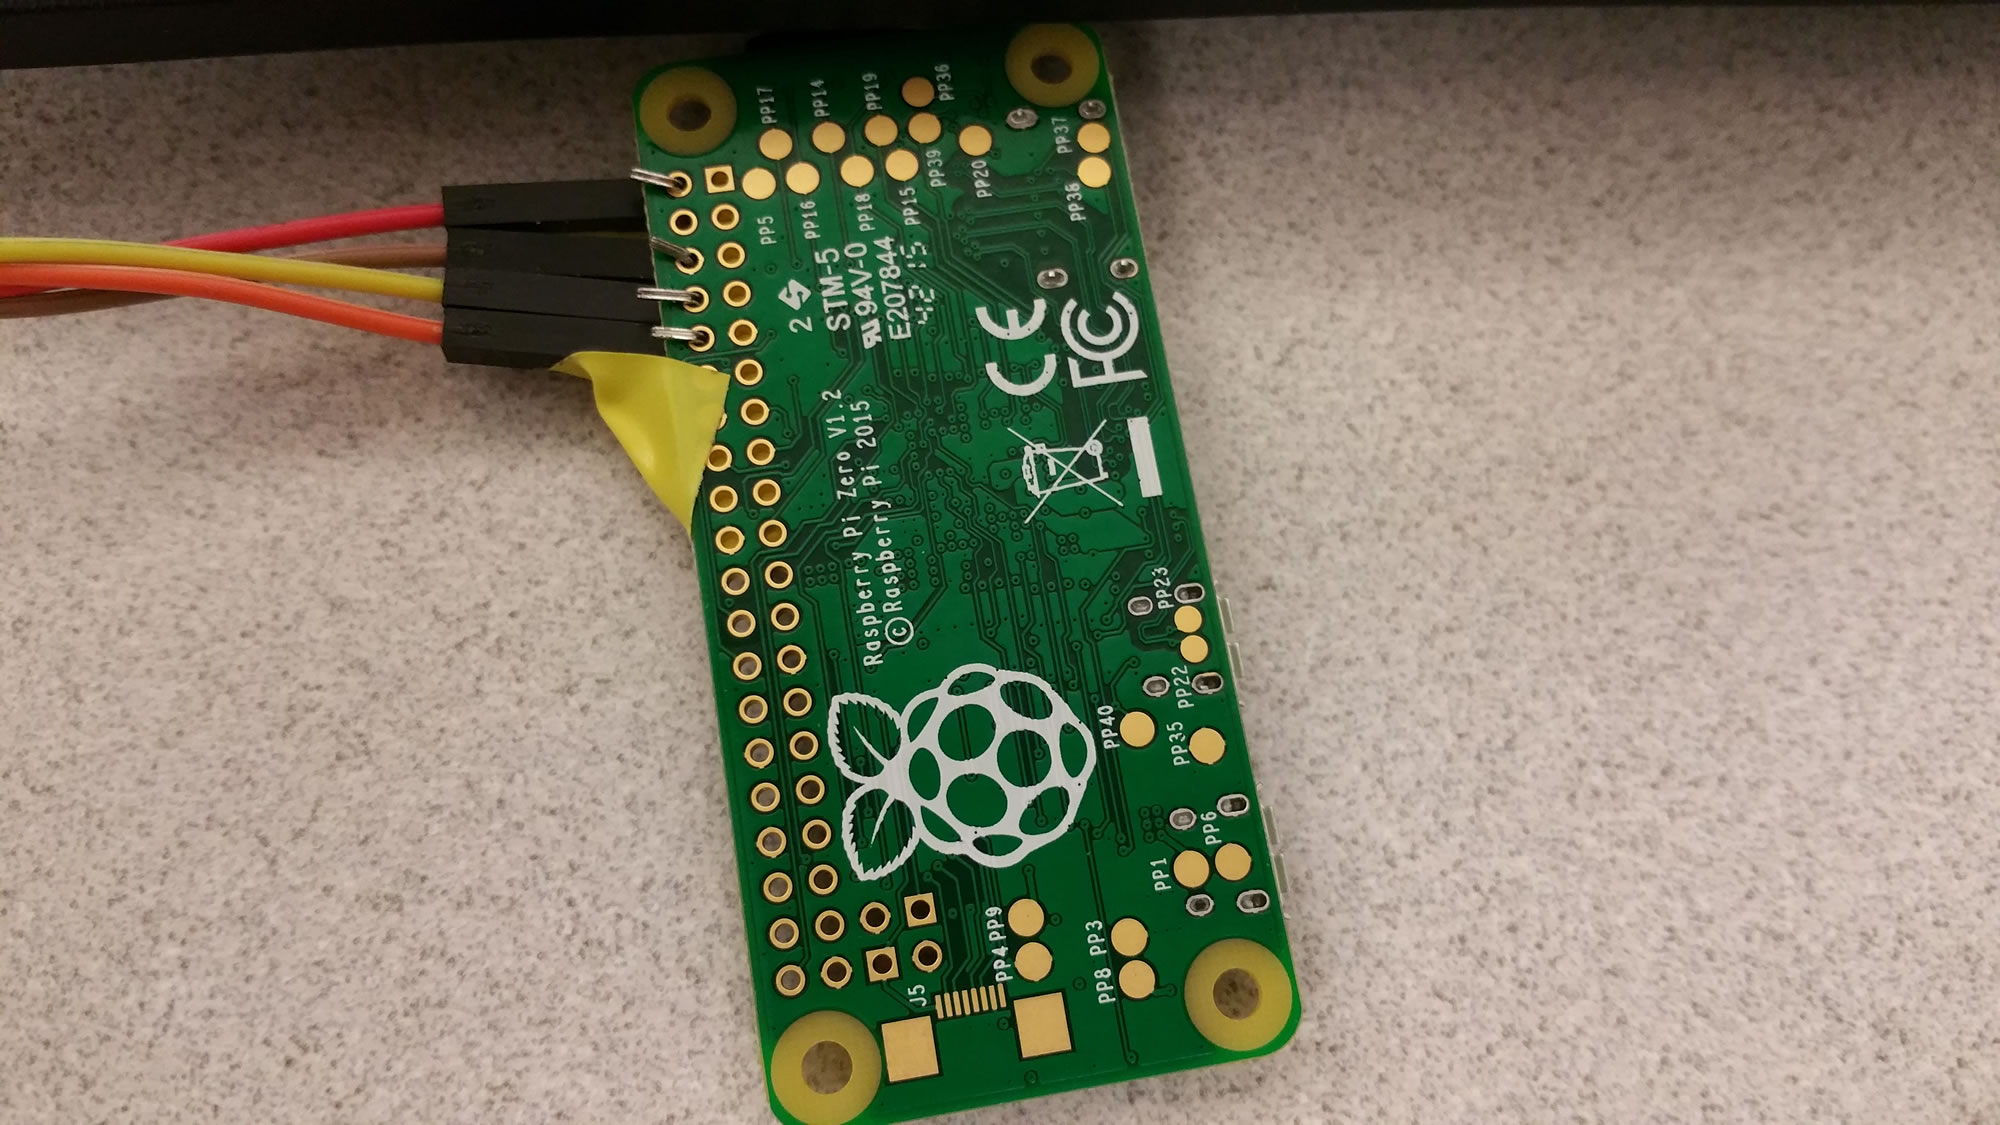
Well, the little TTL chip came in….I put the jumper on 3.3v…put the RX of the chip to the TX of the pi and then vice versa for TX to RX and then GND to GND and VCC to 3.3v on the pi….and…it sort of worked…but was kind of a loop. In looking back, I’m lucky this didn’t damage the Pi…or the TTL chip. What does work is the following:
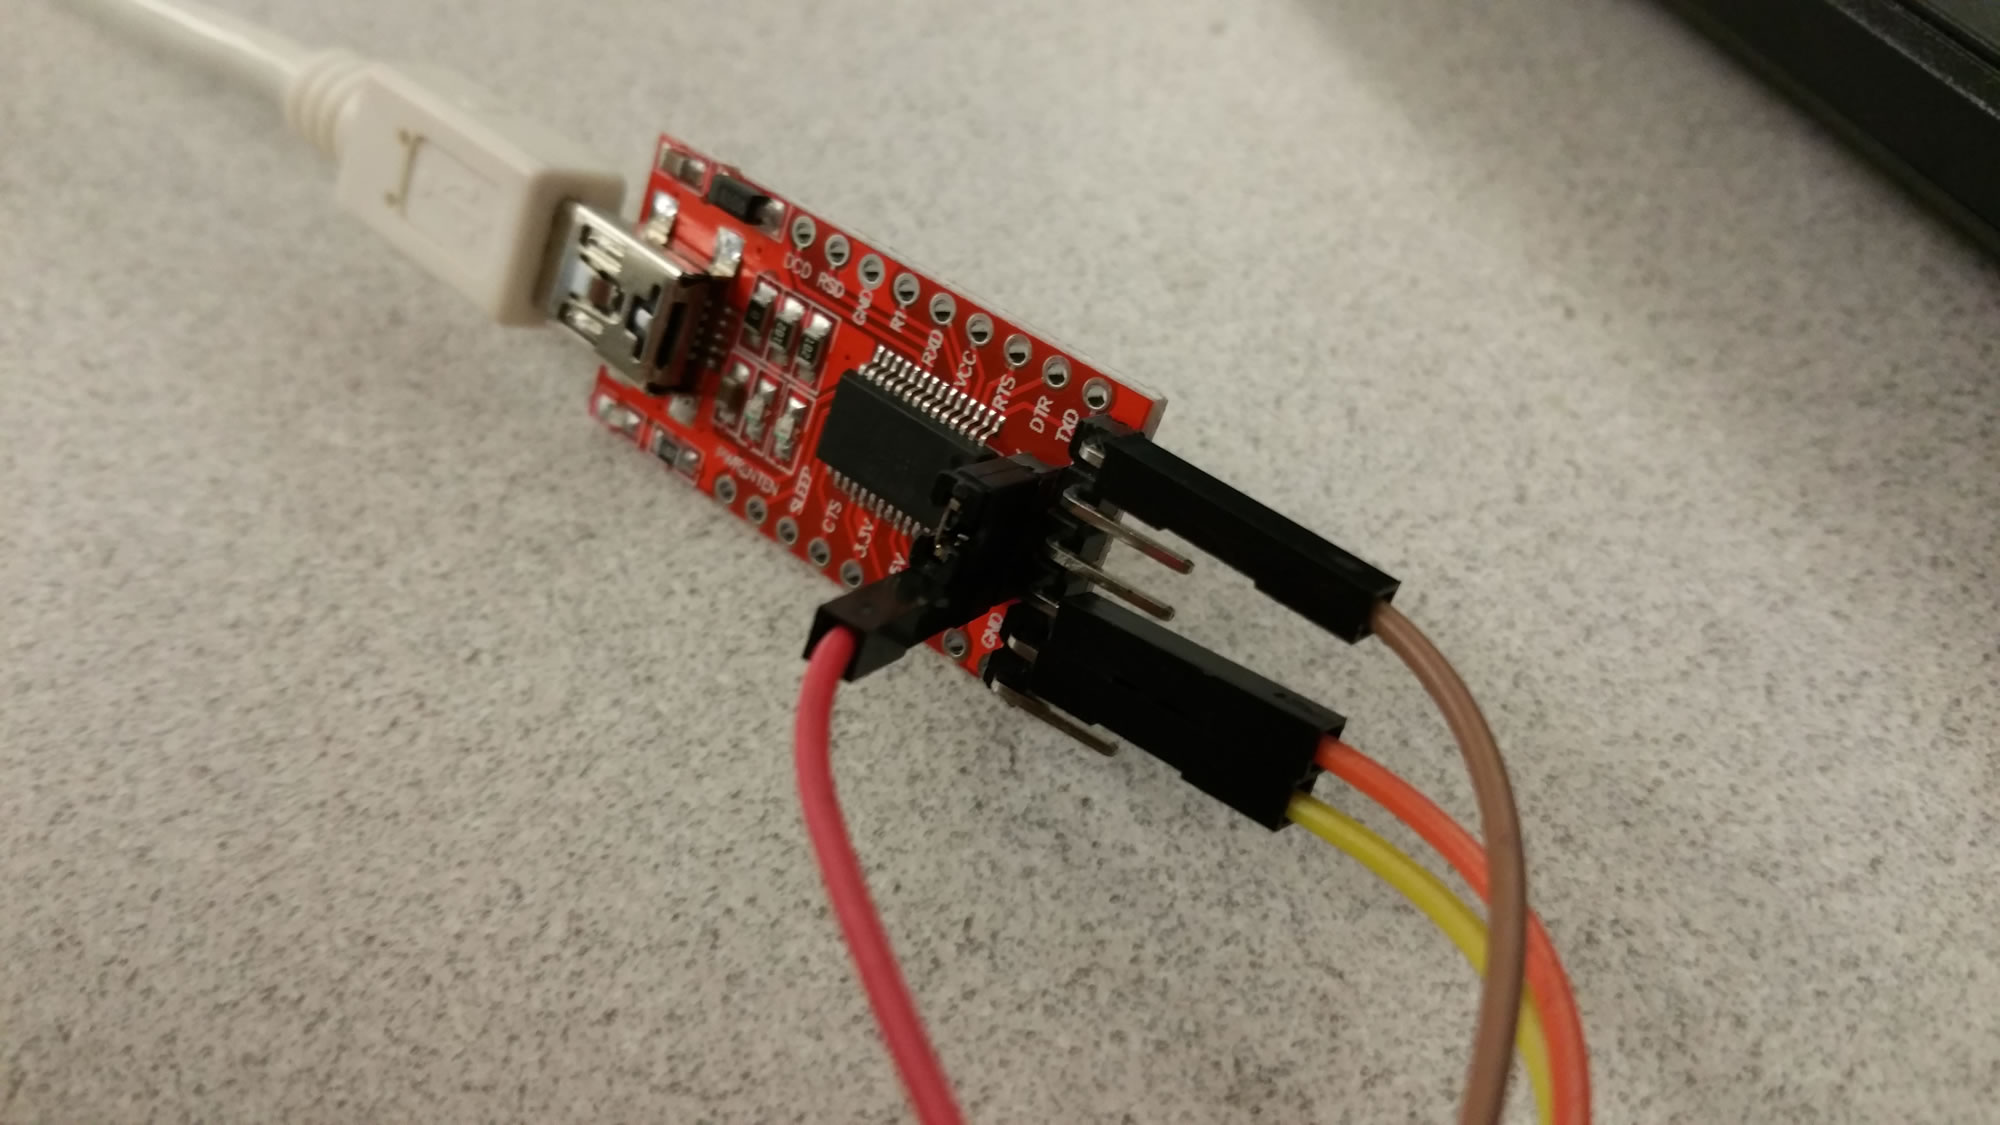 TTL jumper 5v >> Pi 5v power || TTL RX >> Pi TX || TTL TX >> Pi RX || TTL GND >> Pi GND.
The unconventional part here is that I’m using the 5v of the TTL’s jumper to power the Pi. All I know is that it works!
When I plug the TTL into my computer, I get a new com port that shows up…then I can just use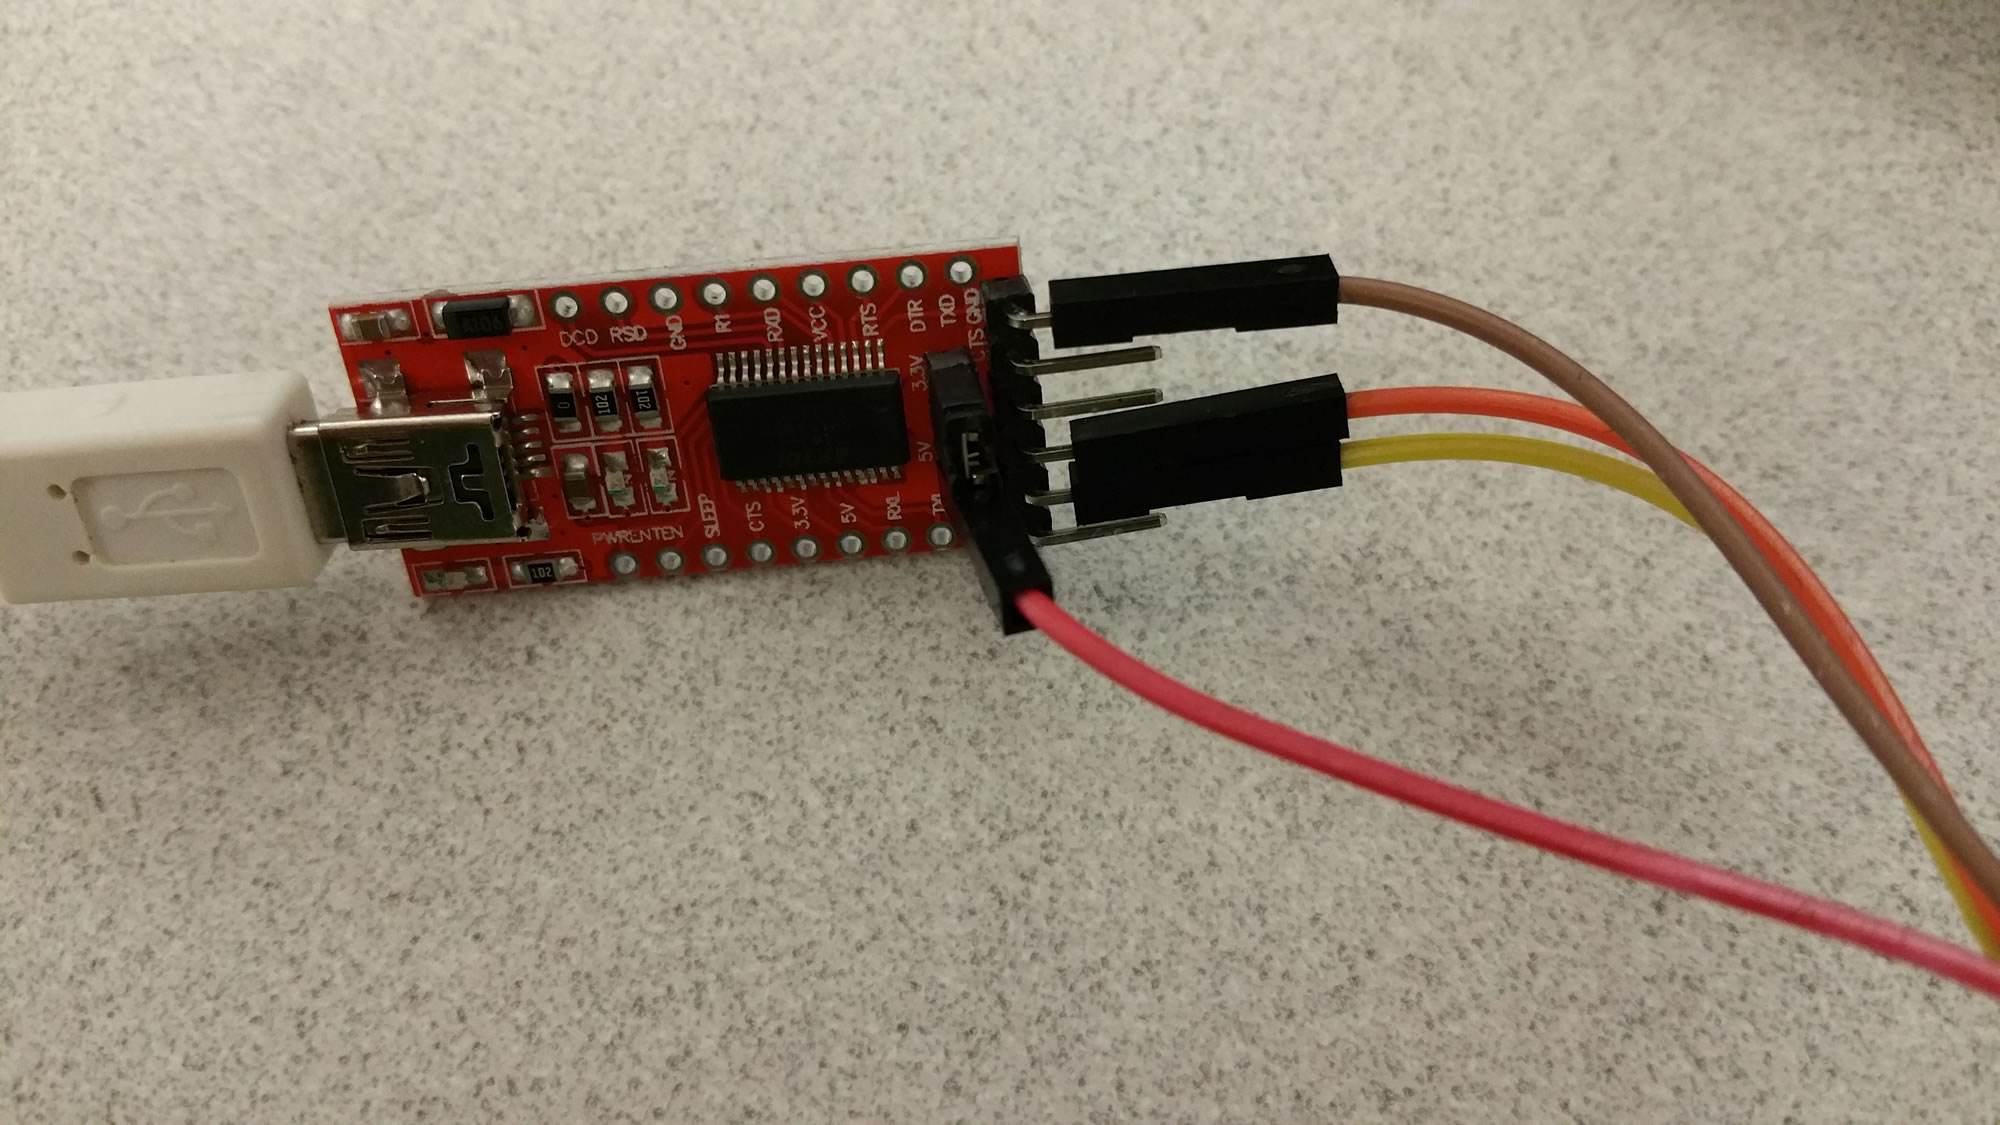 PuTTY to access the Pi! This will work for any Raspberry Pi by the way….not just the Zero.
 Now to figure out what I want to do with it. I think I would somehow like to make it into a little ethernet gadget that can somehow use the internet of the computer it is plugged into. That would be cool…to have a little “thumb drive” computer…to put files on and manipulate with whatever scripts or something. We’ll see what I come up with. =)
RetroPie with the Raspberry Pi
 So a buddy of mine had a raspberry pi that had lost its HDMI functionality so he got a new one. He knew I liked toying with electronics and such so he gave me his old one. I had never played with a raspberry pi before but knew that it is basically a little linux computer with GPIO outputs for electronics…so of course I was eager to toy with it.
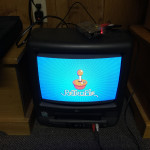
Having 3 young kids, I don’t have much free time on my hands so I wanted a project that would be quick but cool at the same time. Did some online searches and decided to make a little retro gaming station with it….and the results couldn’t be more gratifying!
I had an old playstation 1 that the kids broke (took the spindle off the cd rom) so I had controllers. I ordered one of these puppies to be able to hook it to the pi. Download the image for the pi from here…boot it up all hooked up and voila! If you’ve got the controller hooked up, you don’t need to do any setup…it just walks you through and sees the controller right off! You can use a keyboard if you want but it’s not needed. The project even had a tutorial on how to wire in a controller if you like.
 Nice to break my kids into gaming old school. =) Yes, that is them playing Ninja Turtles Arcade for NES.
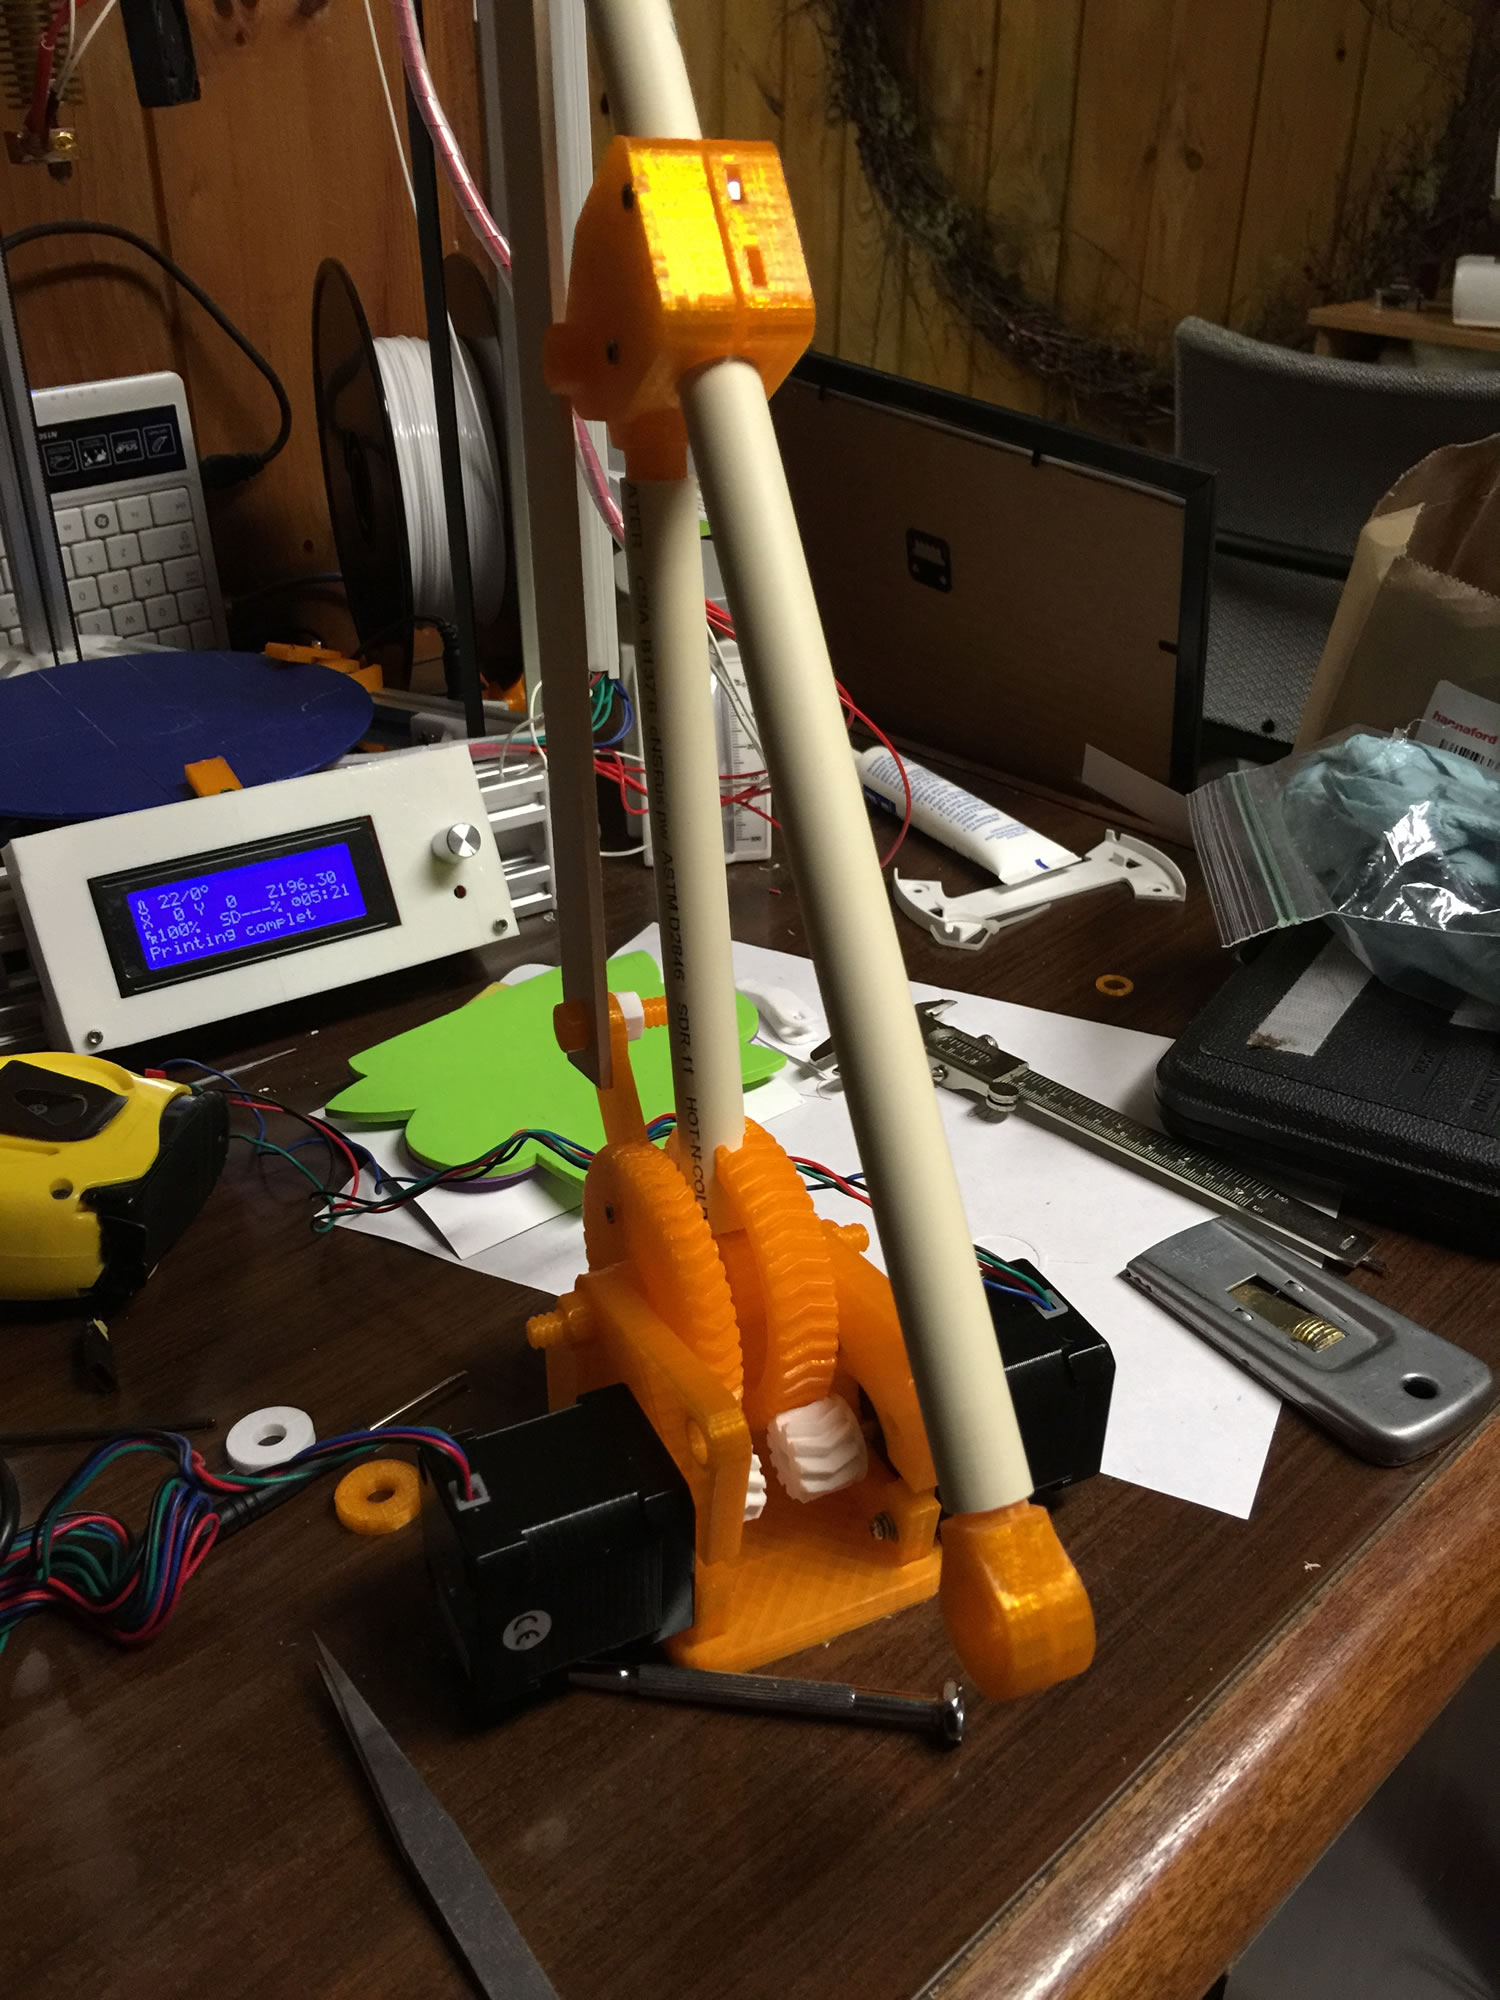
Update on the tessel arm
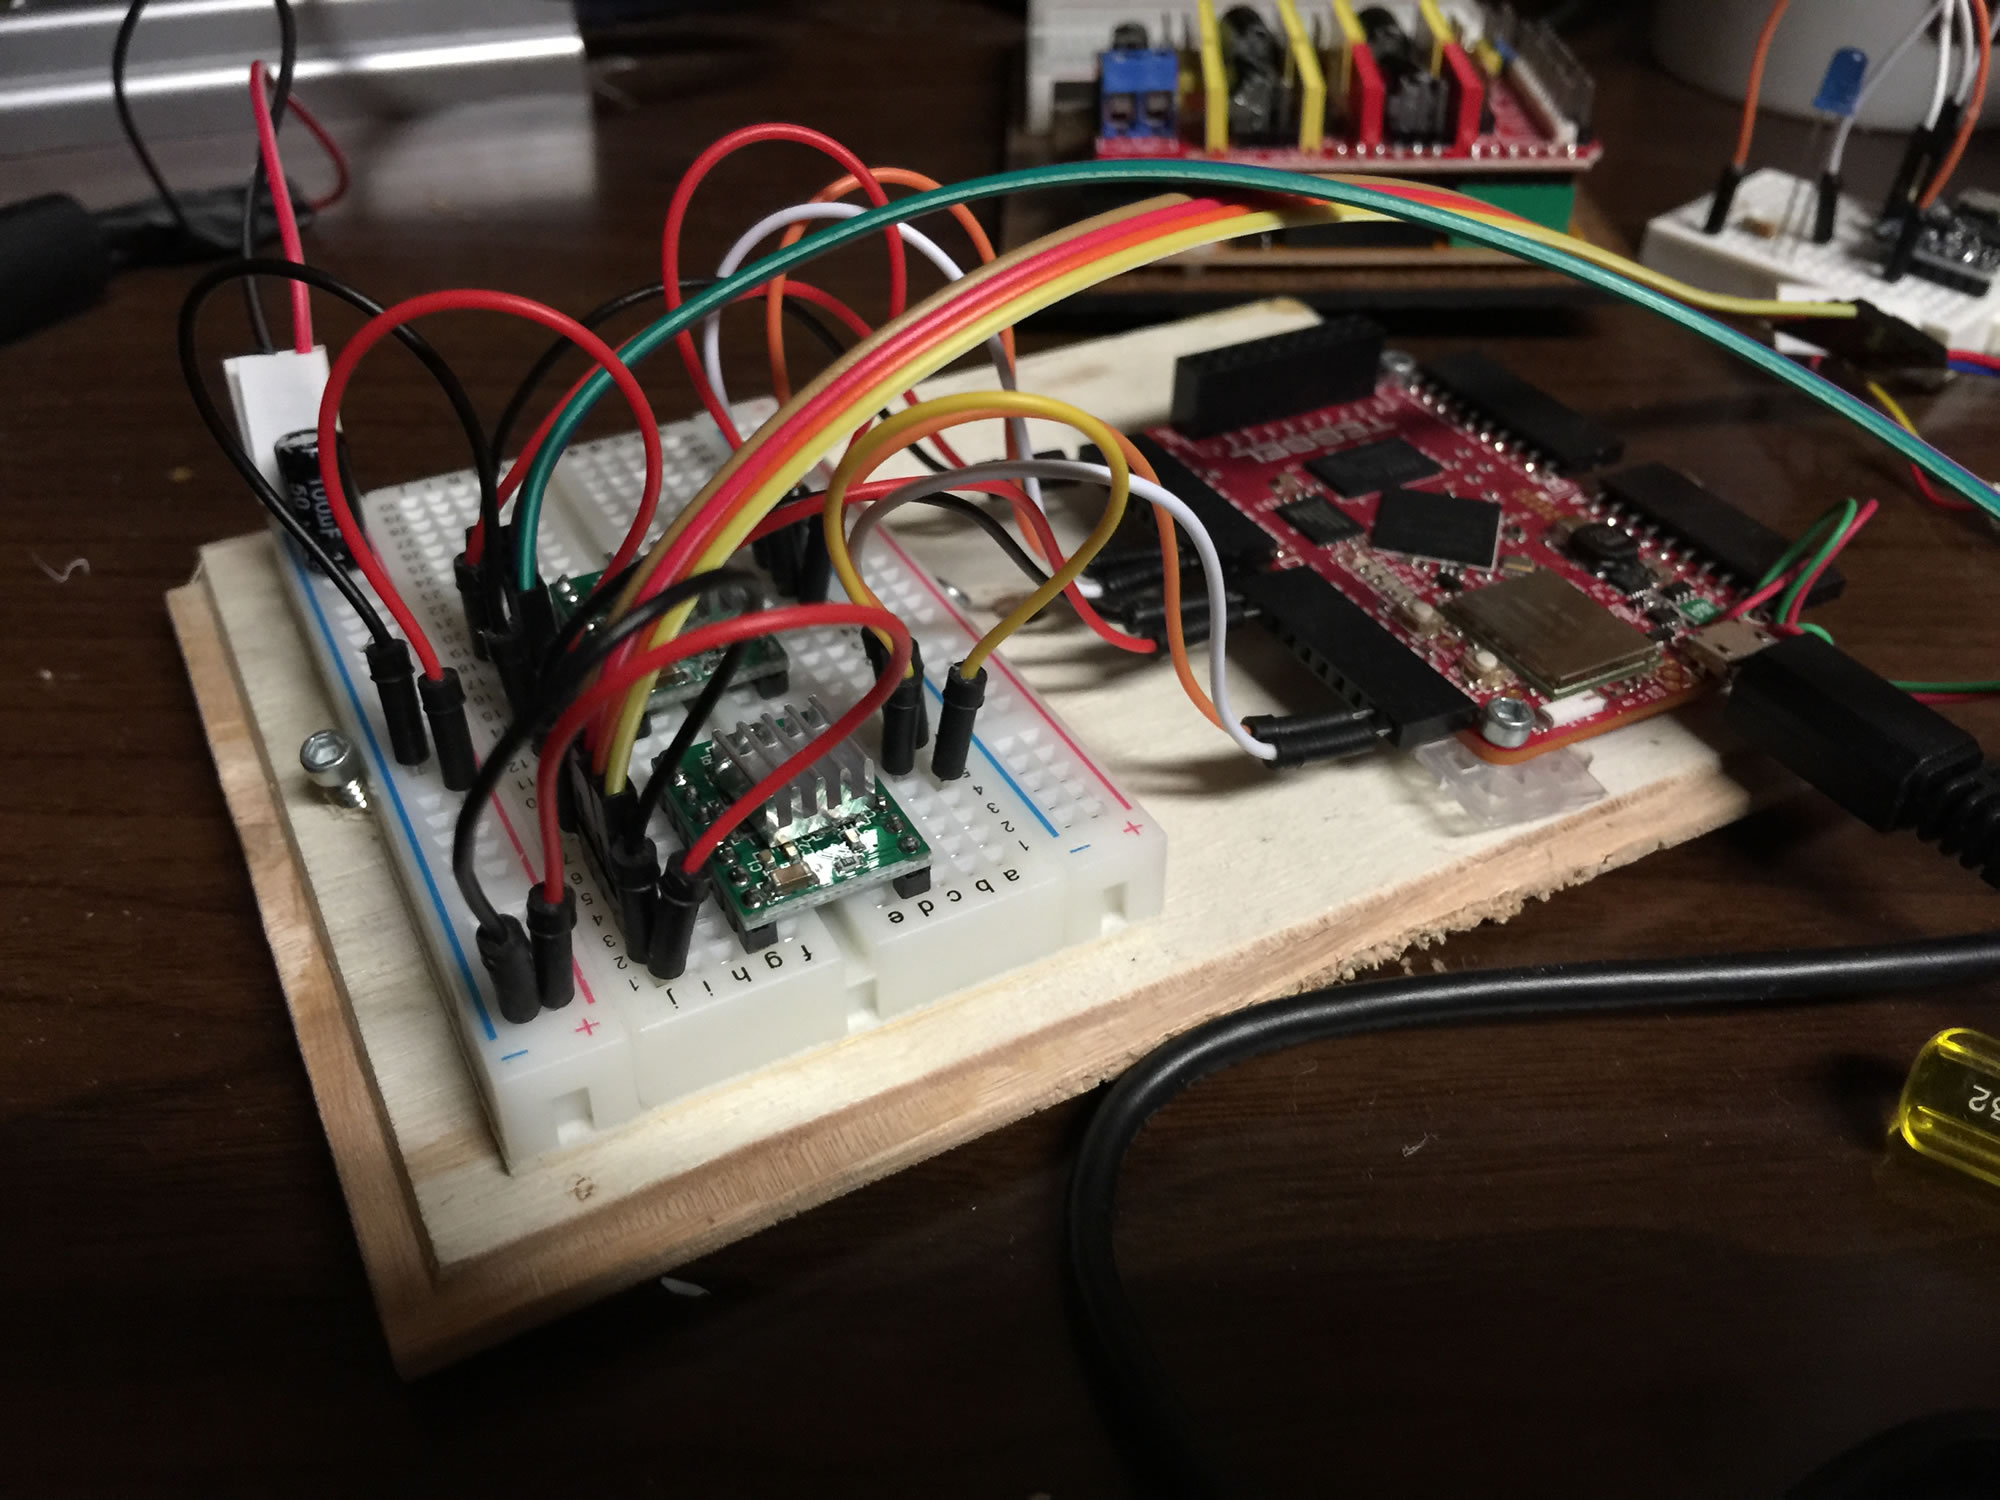
Figured I’d give an update on how the tessel arm has been coming.
I have since purchased a 3d printer kit…which was a little pain-staking to get going but now that I’ve got it working, I definitely know it pretty well…which was the point. I mentally prepared myself for the trials of getting it working and am continuing to learn still.
Using the 3d printer, I’ve been using a guy’s design and tweaking it as needed.
Here are some pics.
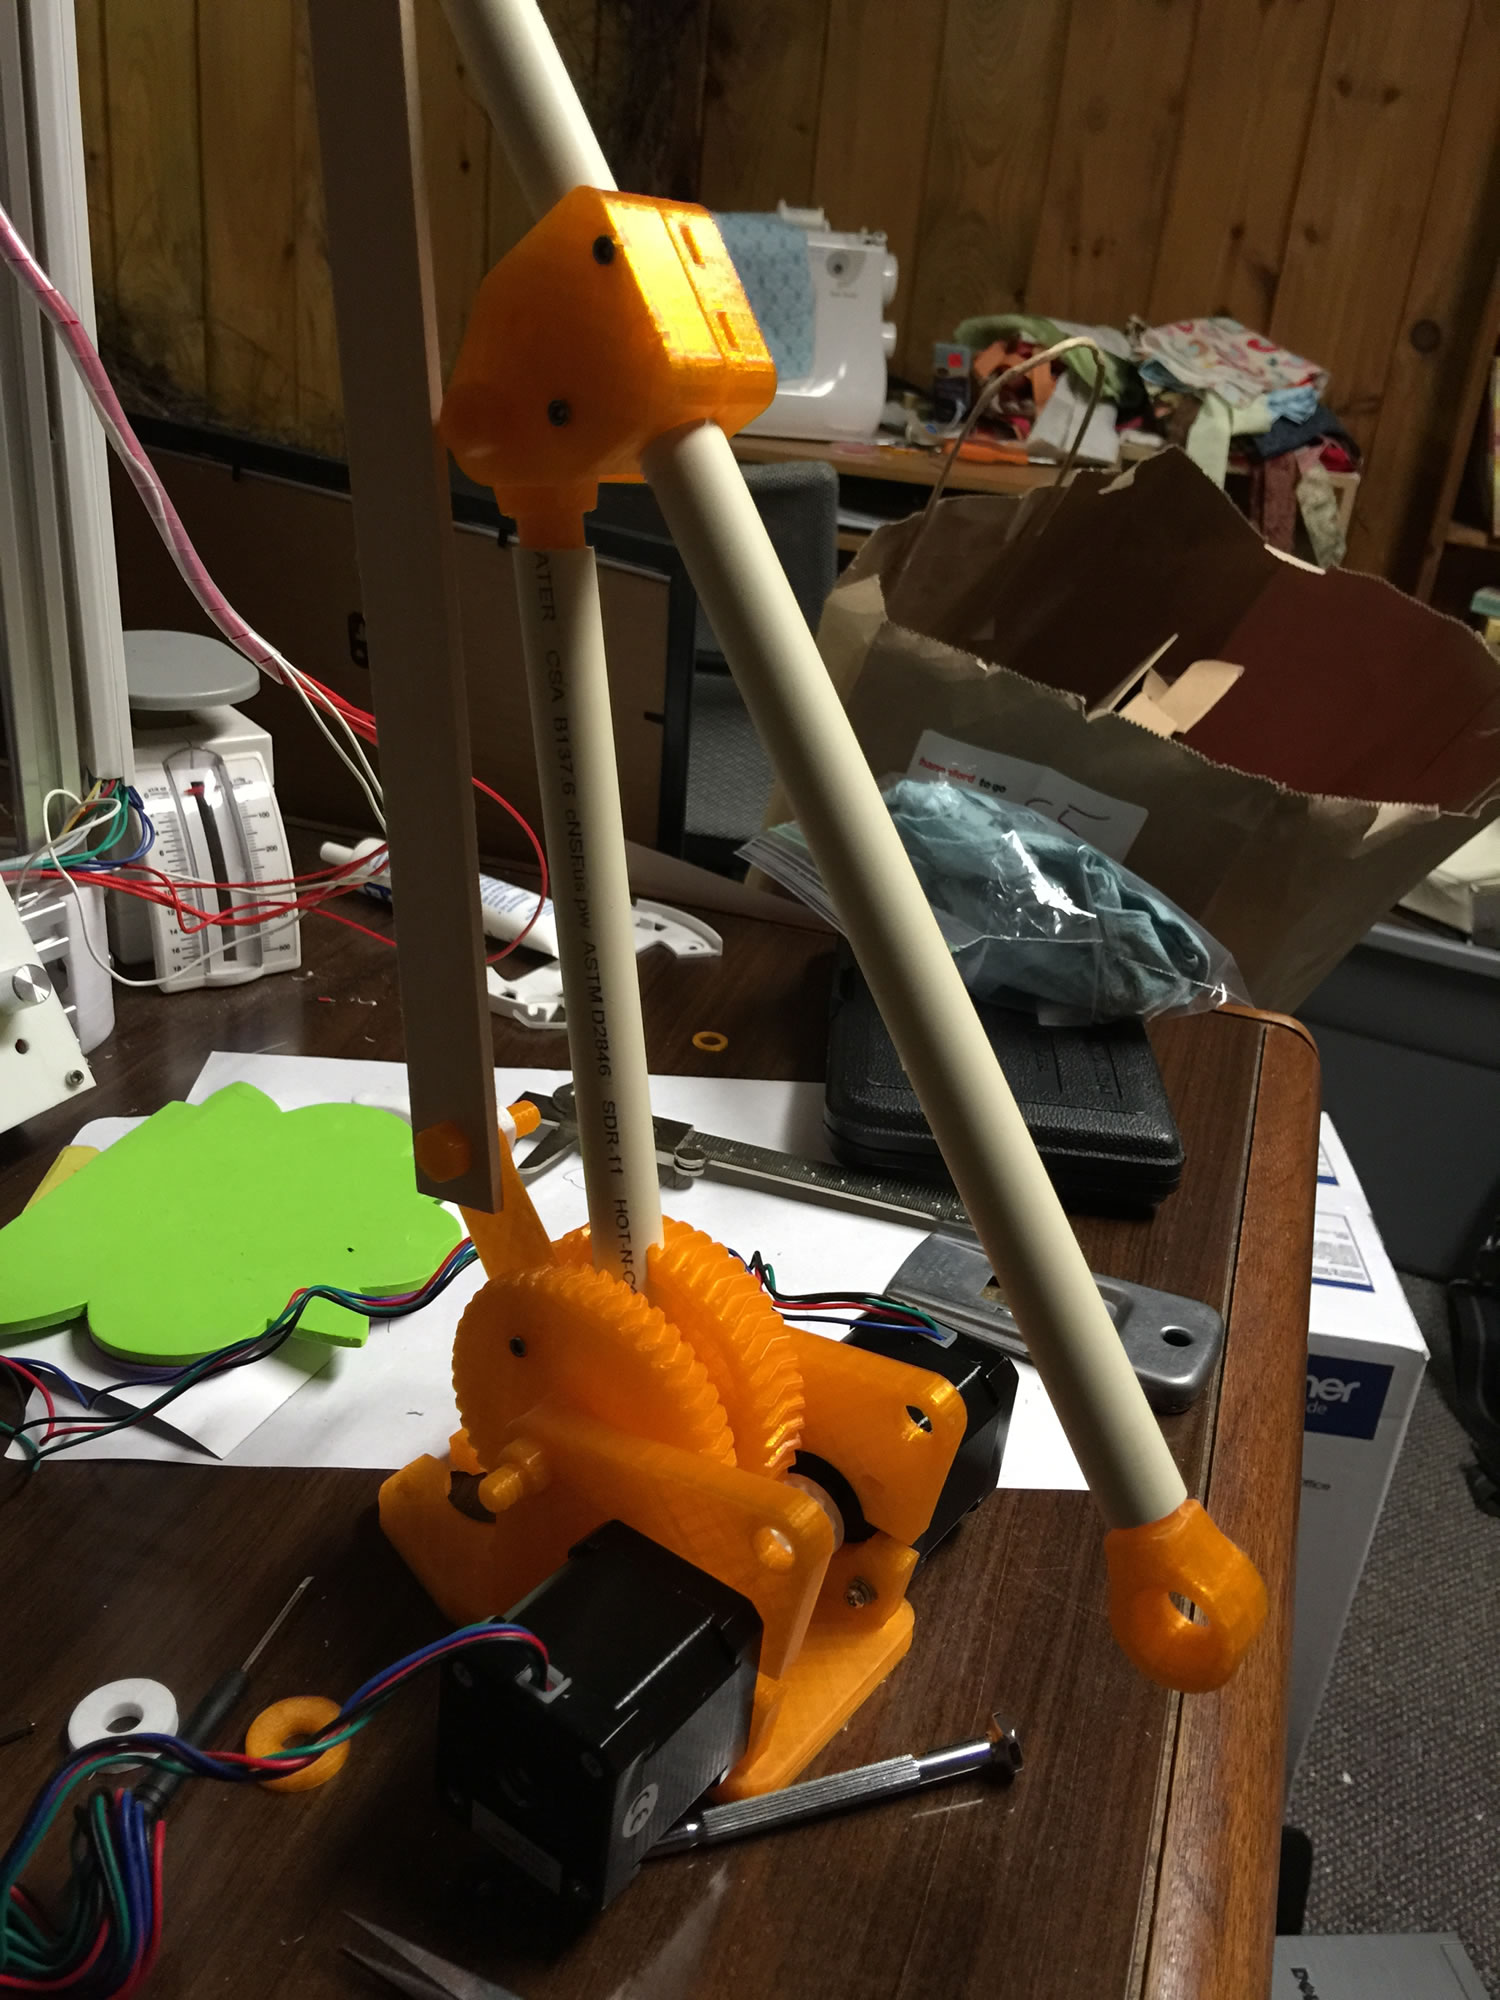
I’ve got it using pretty simple g-code right now. The software is going to be the kicker for this. I will end up having it work pretty similar to 3d printer to pic things up and move them. I’d like the software to be pretty intuitive to the user, drag and drop “locations” and loops to handle tedious tasks. =)
A buddy an I went in on a 10 pack of some 84oz/in torque steppers….and those things hold pretty well. With the motors engaged, I can pick up the whole thing by the end of the arm and it doesn’t budge. =)
Will post more as I progress. Time for this is short but still fun to play with when I can.
Delta 3d Printer Build (He3d DLT-180)
So I sold a few other things and ordered the cheapest delta 3d printer kit I could find. It came in and took a bit of learning curve… but that is the point when you get into 3d printing, isn’t it? =)
First off, my stepper motors were wired incorrectly. Thanks to the help of those into he 3d printing community, I found I could just play with the wiring till I found out what worked. It did help that I had my little tessel board already programmed to play with a stepper.
Once I got the wiring corrected the motors were still extremely loud when moving. Finally a user on reddit mentioned I should check my jumper settings. Jumper settings?! I just assumed the firmware could do all that. Guess not. Of course, the kit I got was missing all the jumpers needed. Between some help from my awesome neighbor and some old computer drives I had laying around and was able to get all that I needed (12 in total). Once those were in, no more shaking and buzzing! Still not done though.
After scouring through the G-Code wiki and reading up on the firmware that I had (micromake) I found the key setting that I really needed to tweak was the z-endstop-offset. Using the “paper test” that many refer to, I was able to home that setting in. Then came the fun of learning how to load filament in this thing.