Posts in Category: Technology
Visual Studio Code on Raspberry Pi 3!
So after many attempts following this post I finally got Visual Studio Code running on my Pi 3! Here is a breakdown of what I did.
You’re going to need to uninstall whatever version of Node you have so you can updated to the latest arm build:
Birdbox Update!
In my original post, I was hoping to capture some birds building a nest and laying/hatching eggs….but to no avail. Months have gone by with hardly any activity so I’ve stopped checking it. Well, I checked yesterday and found out a gray squirrel has made a nest and had babies! In checking the files, there are 100s of videos to go through. Still trying to sift through them all but will post more interesting ones as I find them. In the meantime, here is a video of the little ones nursing. =)
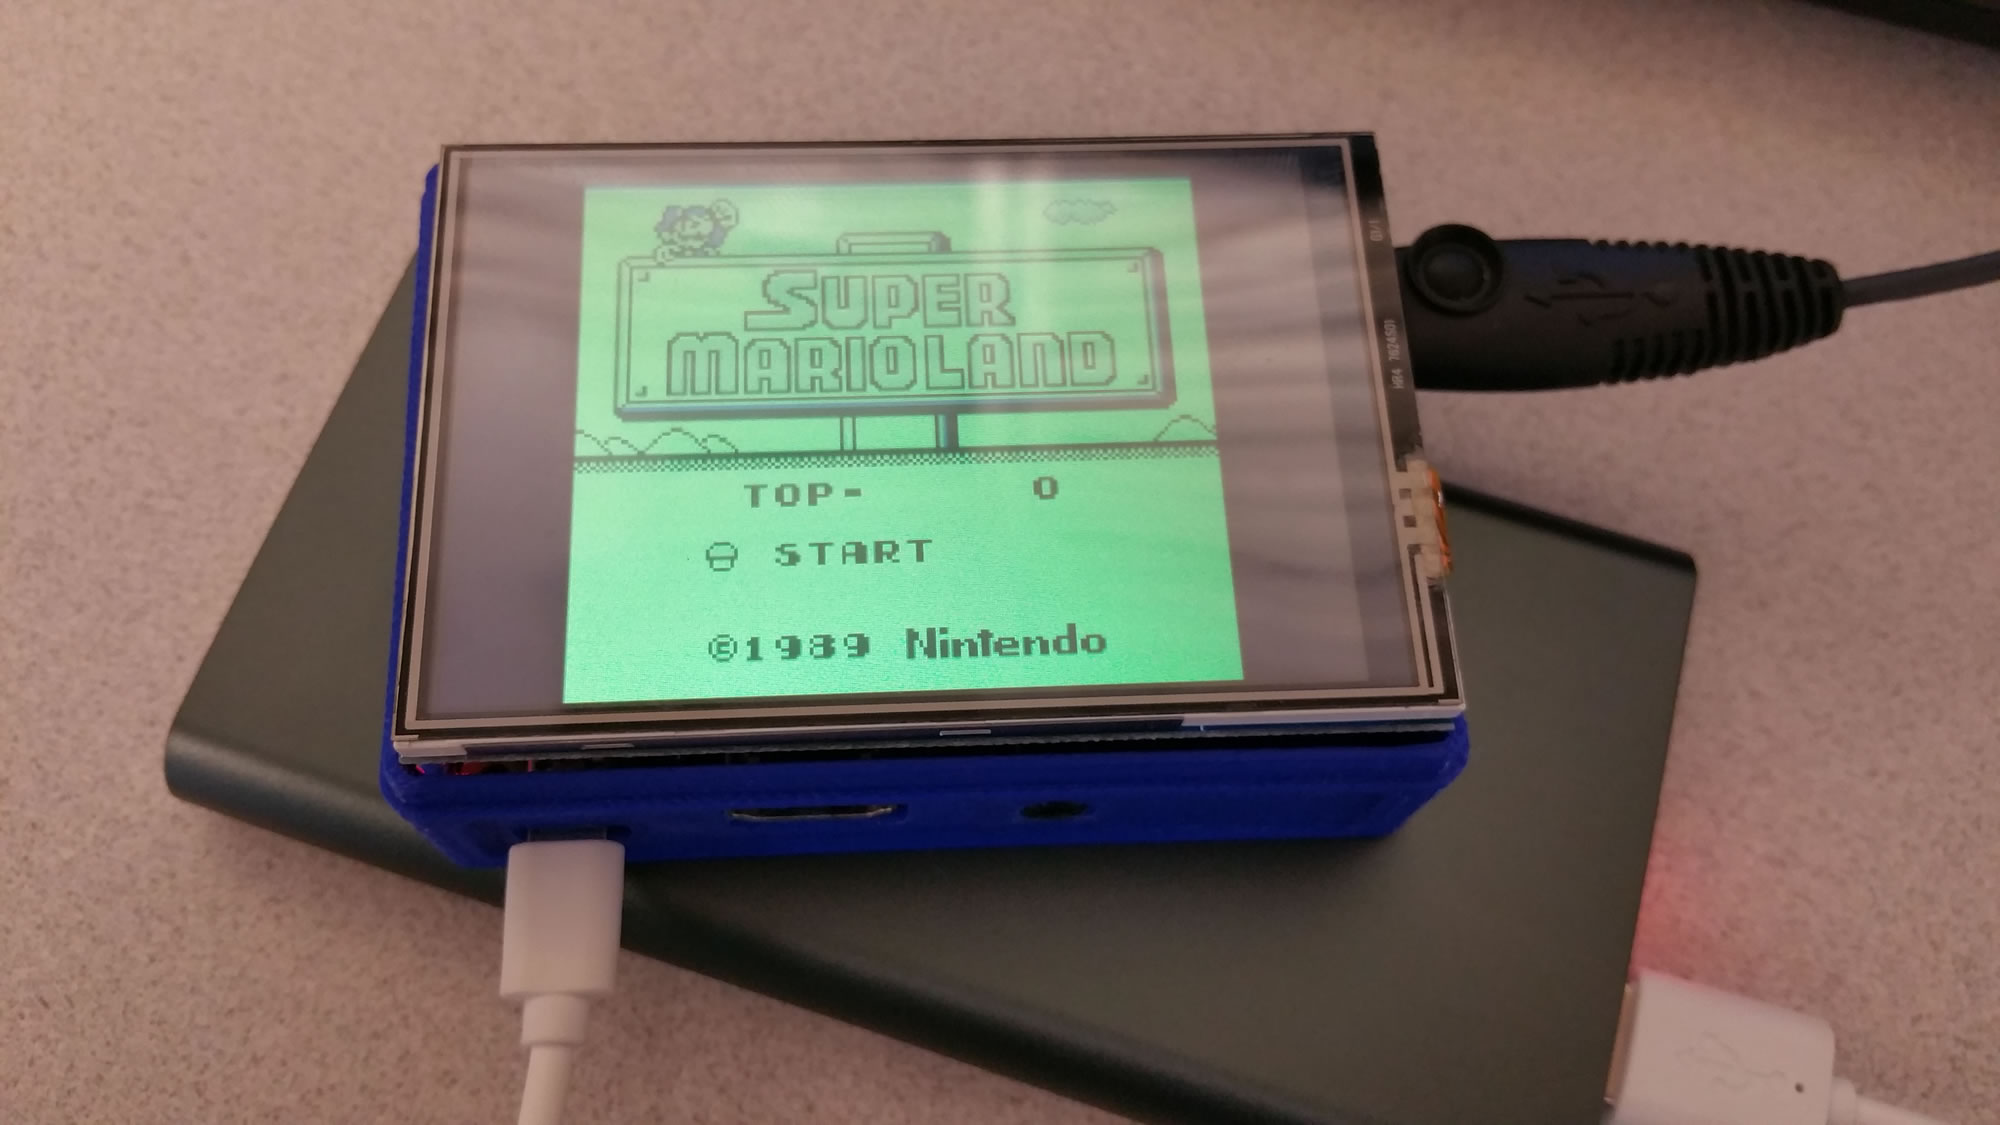
Pi Zero and cheap ebay 3.5″ display
So I ordered one of these puppies because I’m cheap. Of course, there were no instructions with it so I did some searching around on other similar listings and found one that gave a very vague set of instructions right in the listing. Long story short, I found it is pretty much like the waveshare displays so I went with those instructions.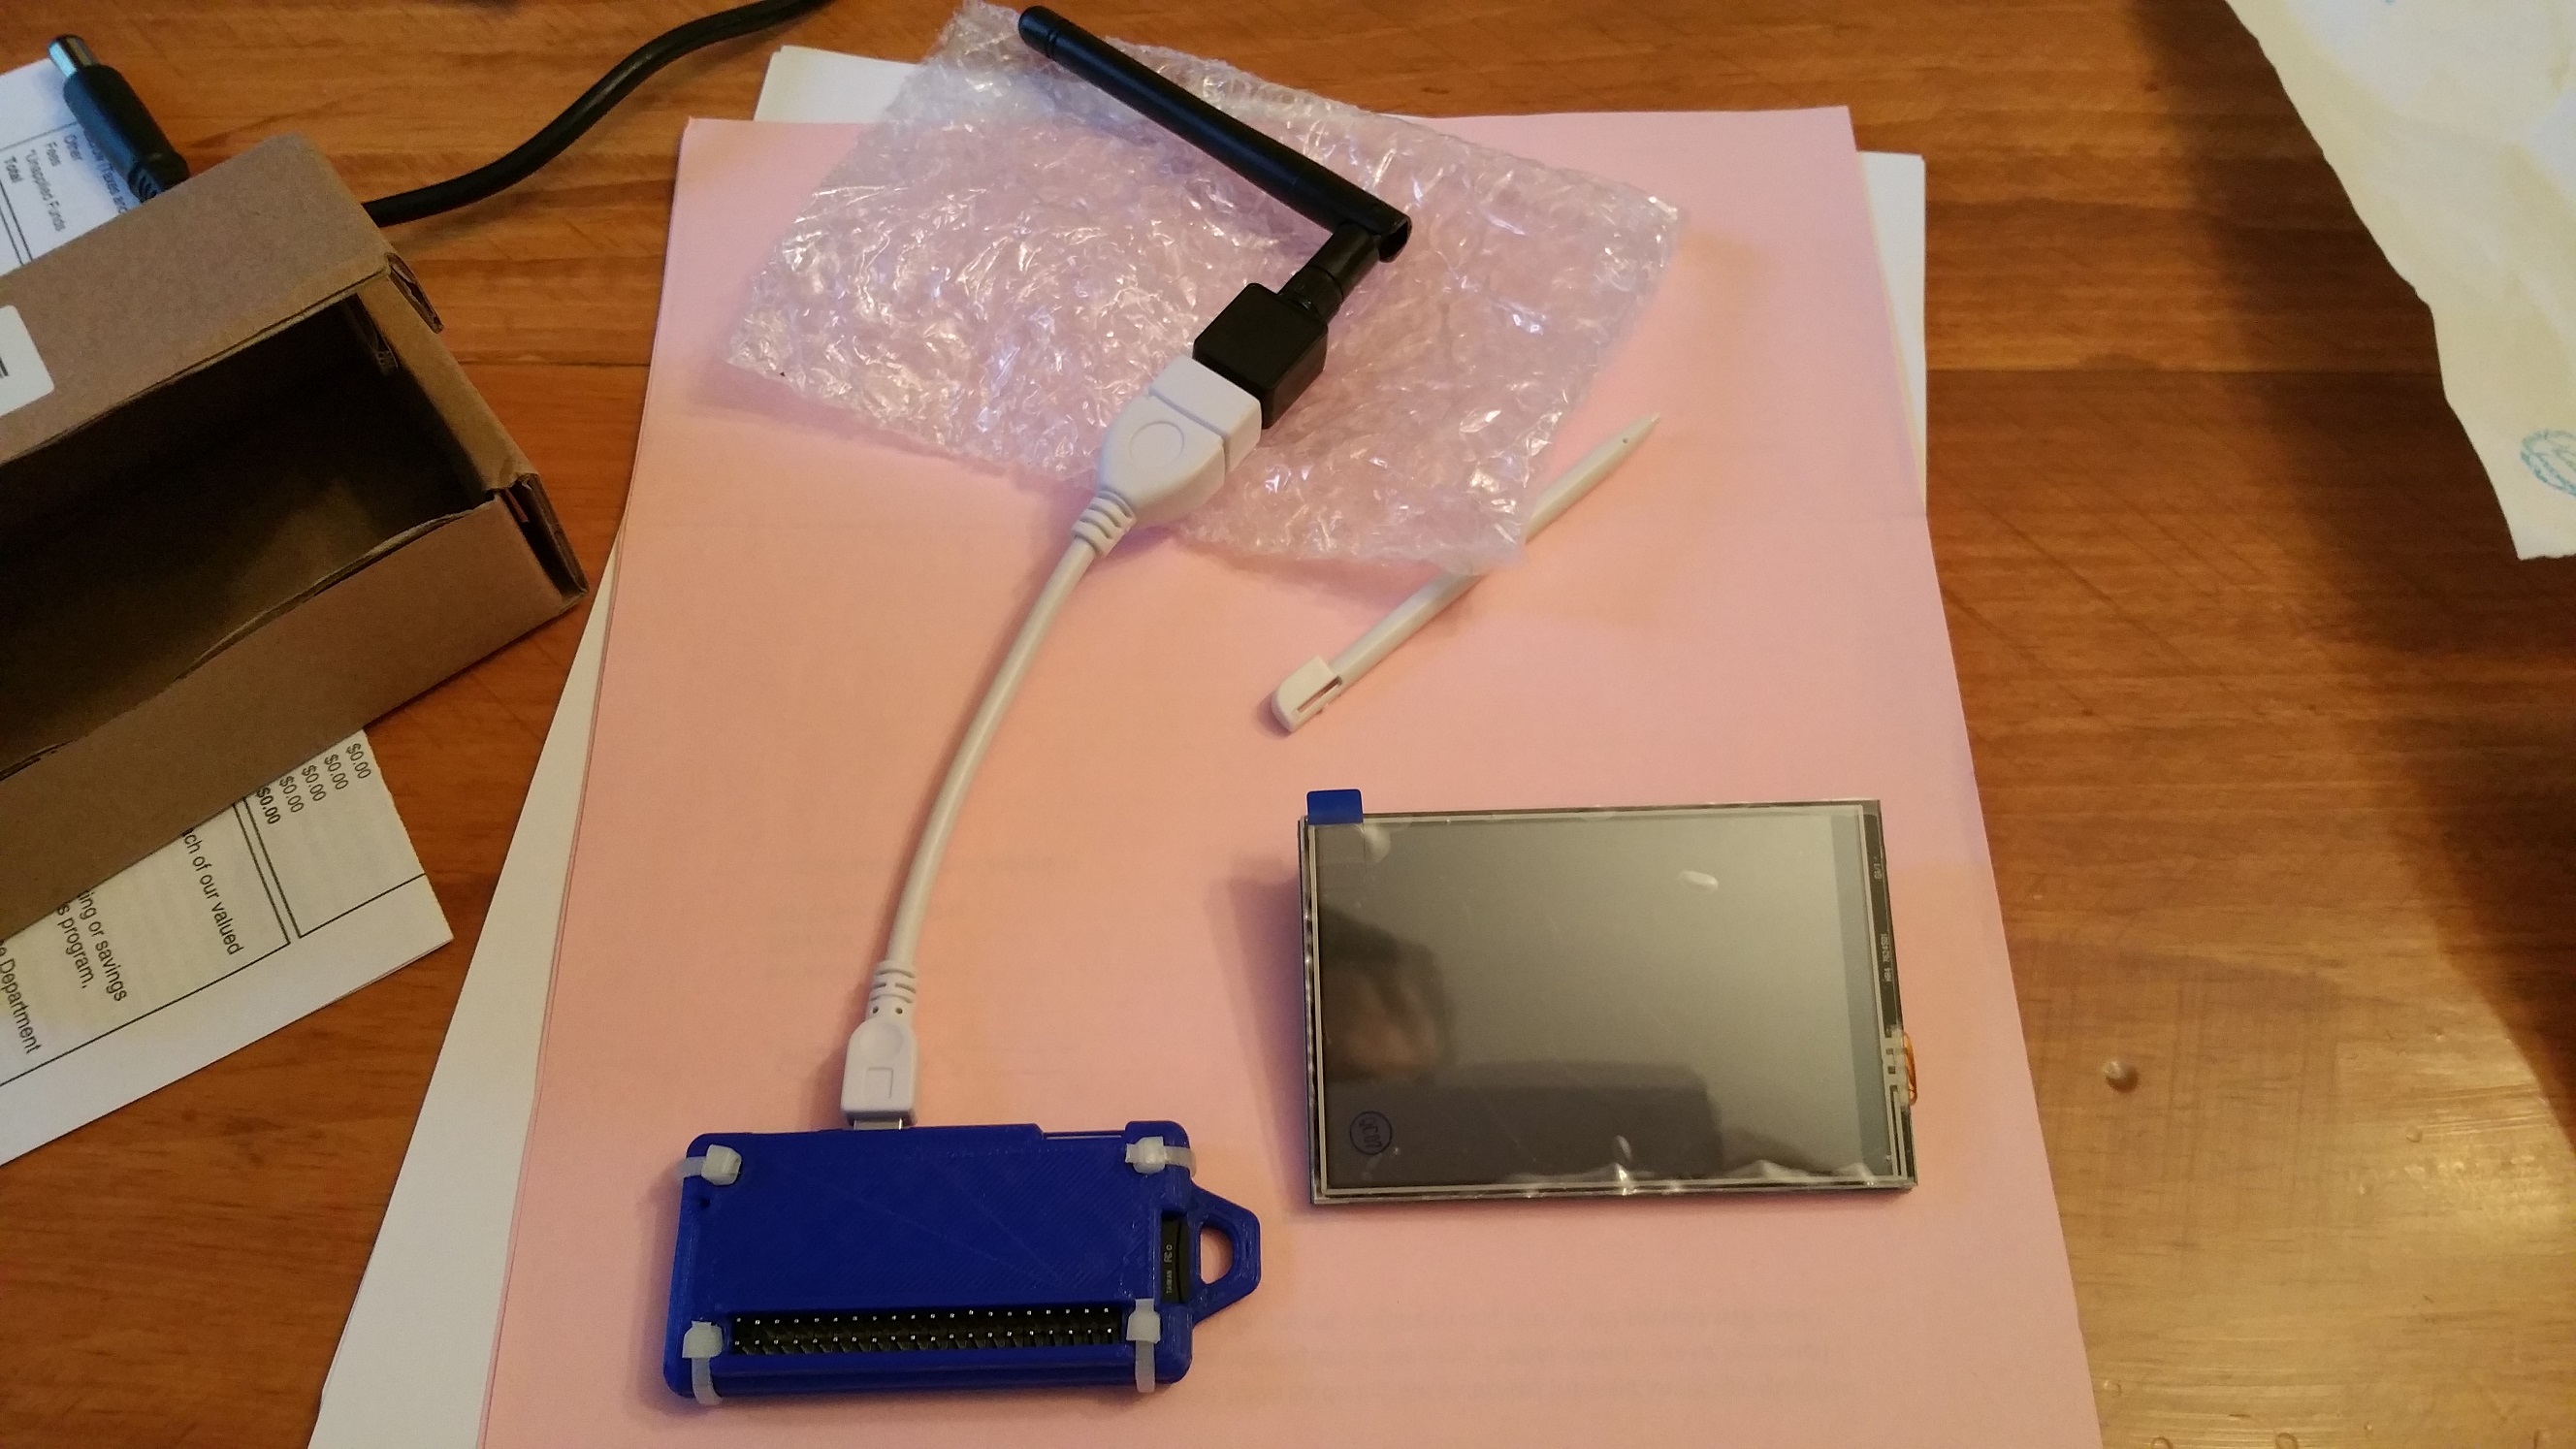
In the end, I couldn’t get it up and running on my Raspberry Pi 3…the screen would just stay white. =( I do want to add that I used the lastest raspbian image from the Pi foundation site, I did NOT try one of the pre-made waveshare images. I’m always hesitant to use some other pre-made images…maybe it’s just the conspiracy theorist in me. I have a Pi 2 I might try it on at some point but just for kicks, I went straight for my Pi Zero. =)
Pretty much, followed the waveshare instructions for it and it worked fine! I also should add that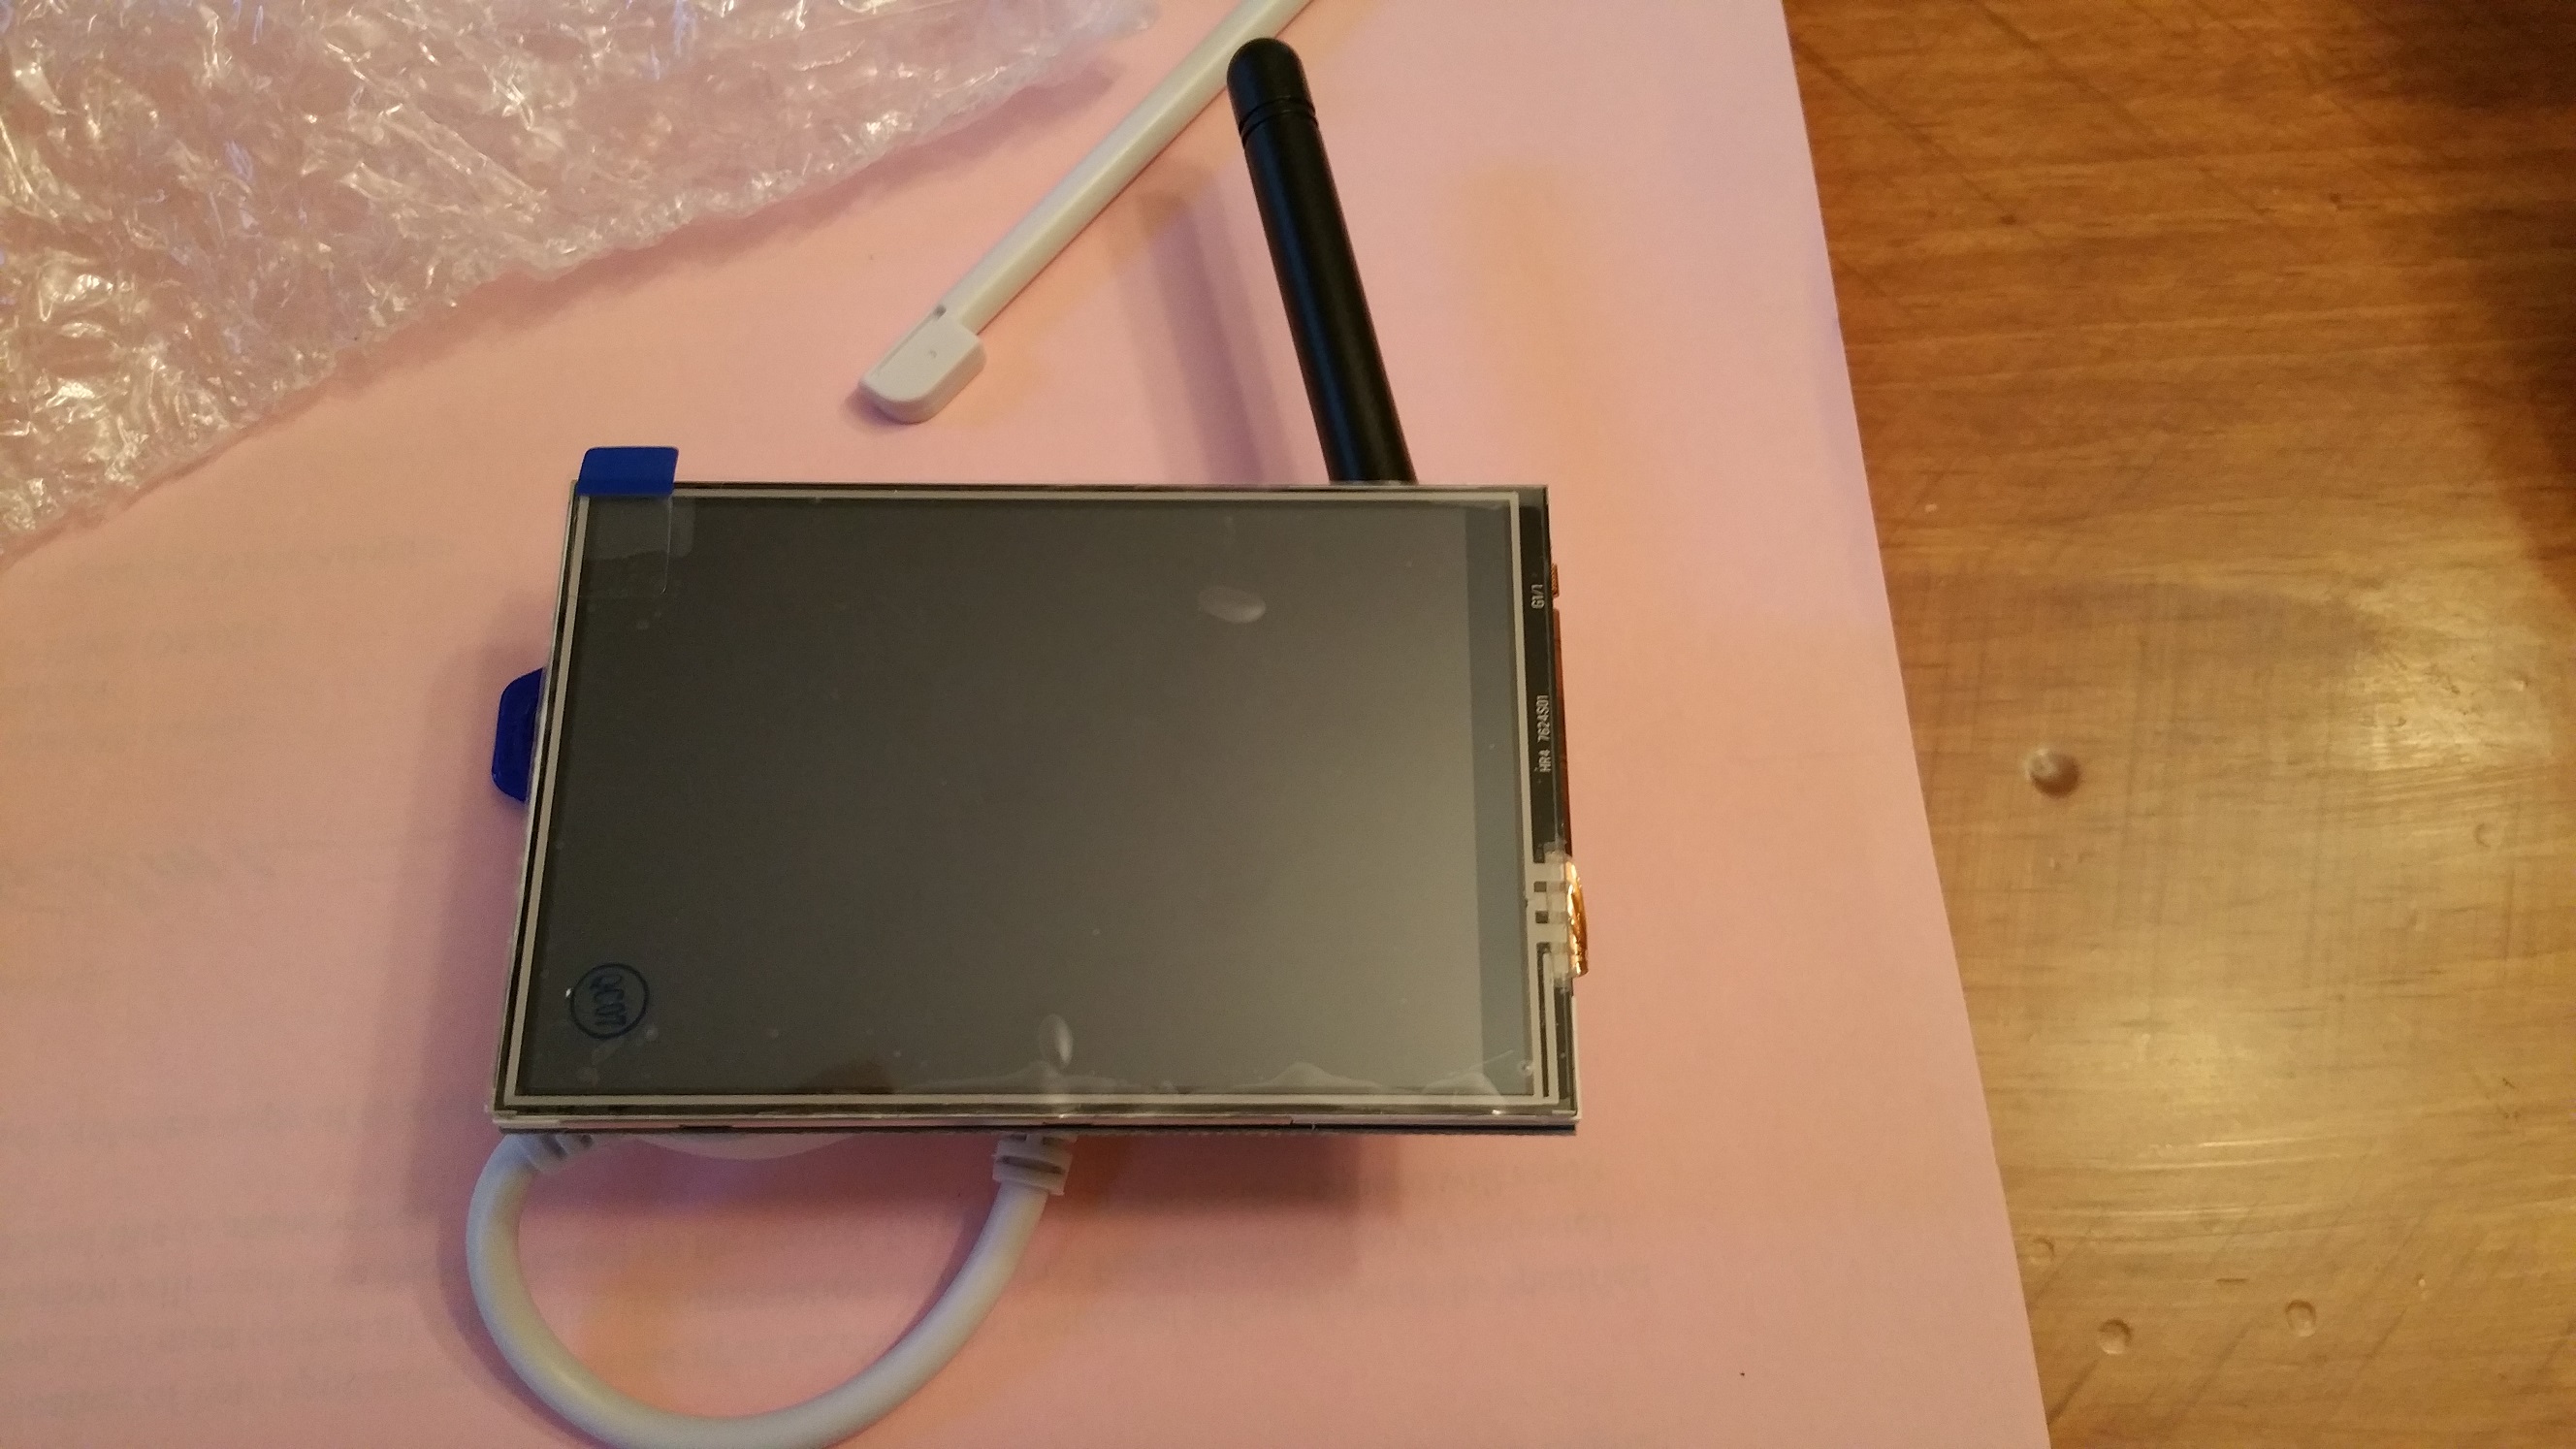 when I started with the Pi Zero, I didn’t plug the screen in at first…I followed the instructions and when it rebooted, I shut it down then plugged in the screen and turned it on with success. When I tried with the Pi 3, I plugged the screen in right from the start. Don’t know if that made a difference or not.
Luckily, I didn’t have to calibrate the screen as it seemed correct. BUT…I couldn’t do a right click! After some digging, I found this site. The key pieces here are to modify the /etc/X11/xorg.conf.d/99-calibration.conf….and when you modify that, modify the one that is appropriate in the LCD-show directory where first downloaded the 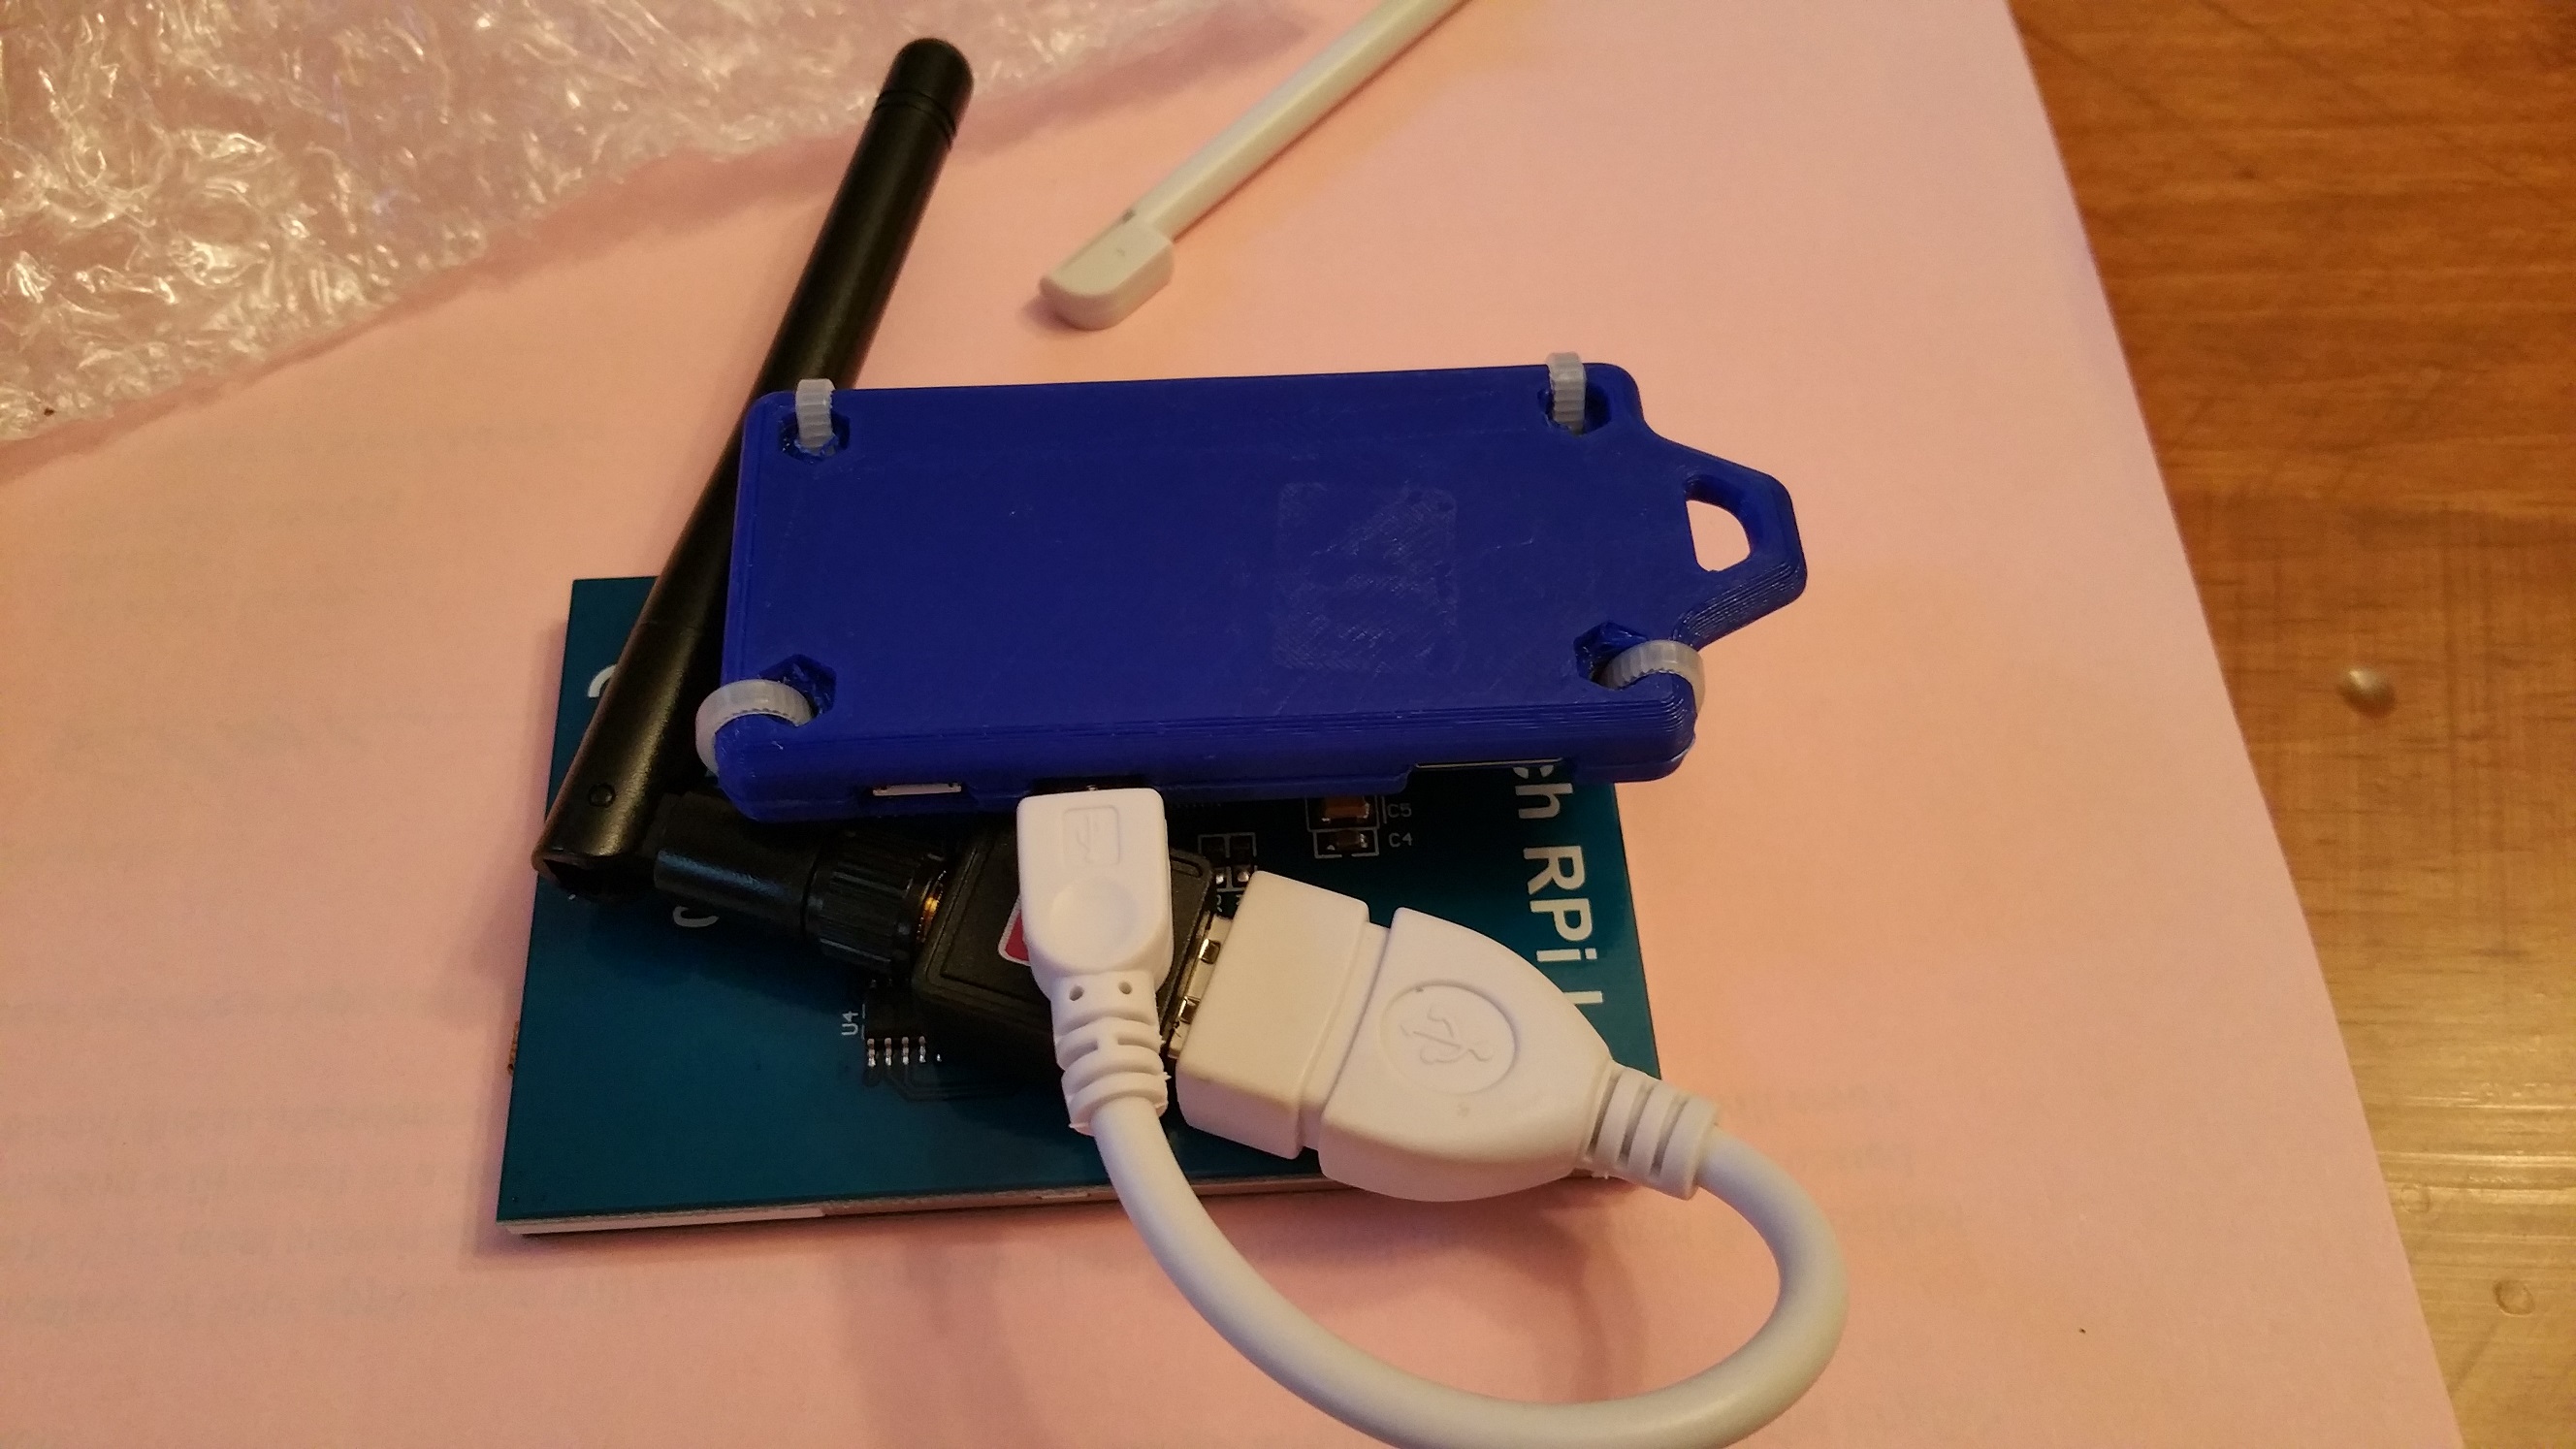 drivers…because if you switch back and forth between HDMI and your display, it will replace it as well.
The only lines you care about adding in are the “EmulateThirdButton***” options. You don’t need to touch anything else. Once you modify that file, save and reboot and voila! You can now press and hold for a right click!
Next steps for me are to get a battery (and charging circuit?) for this little guy…well..and a keyboard. Might try retro pie as well. =)
Looking at the pin-out, I’m pretty sure there are some spare GPIO pins in the ones that it looks like it is using. Found this ebay listing which looks identical except it has a gap where it plugs in.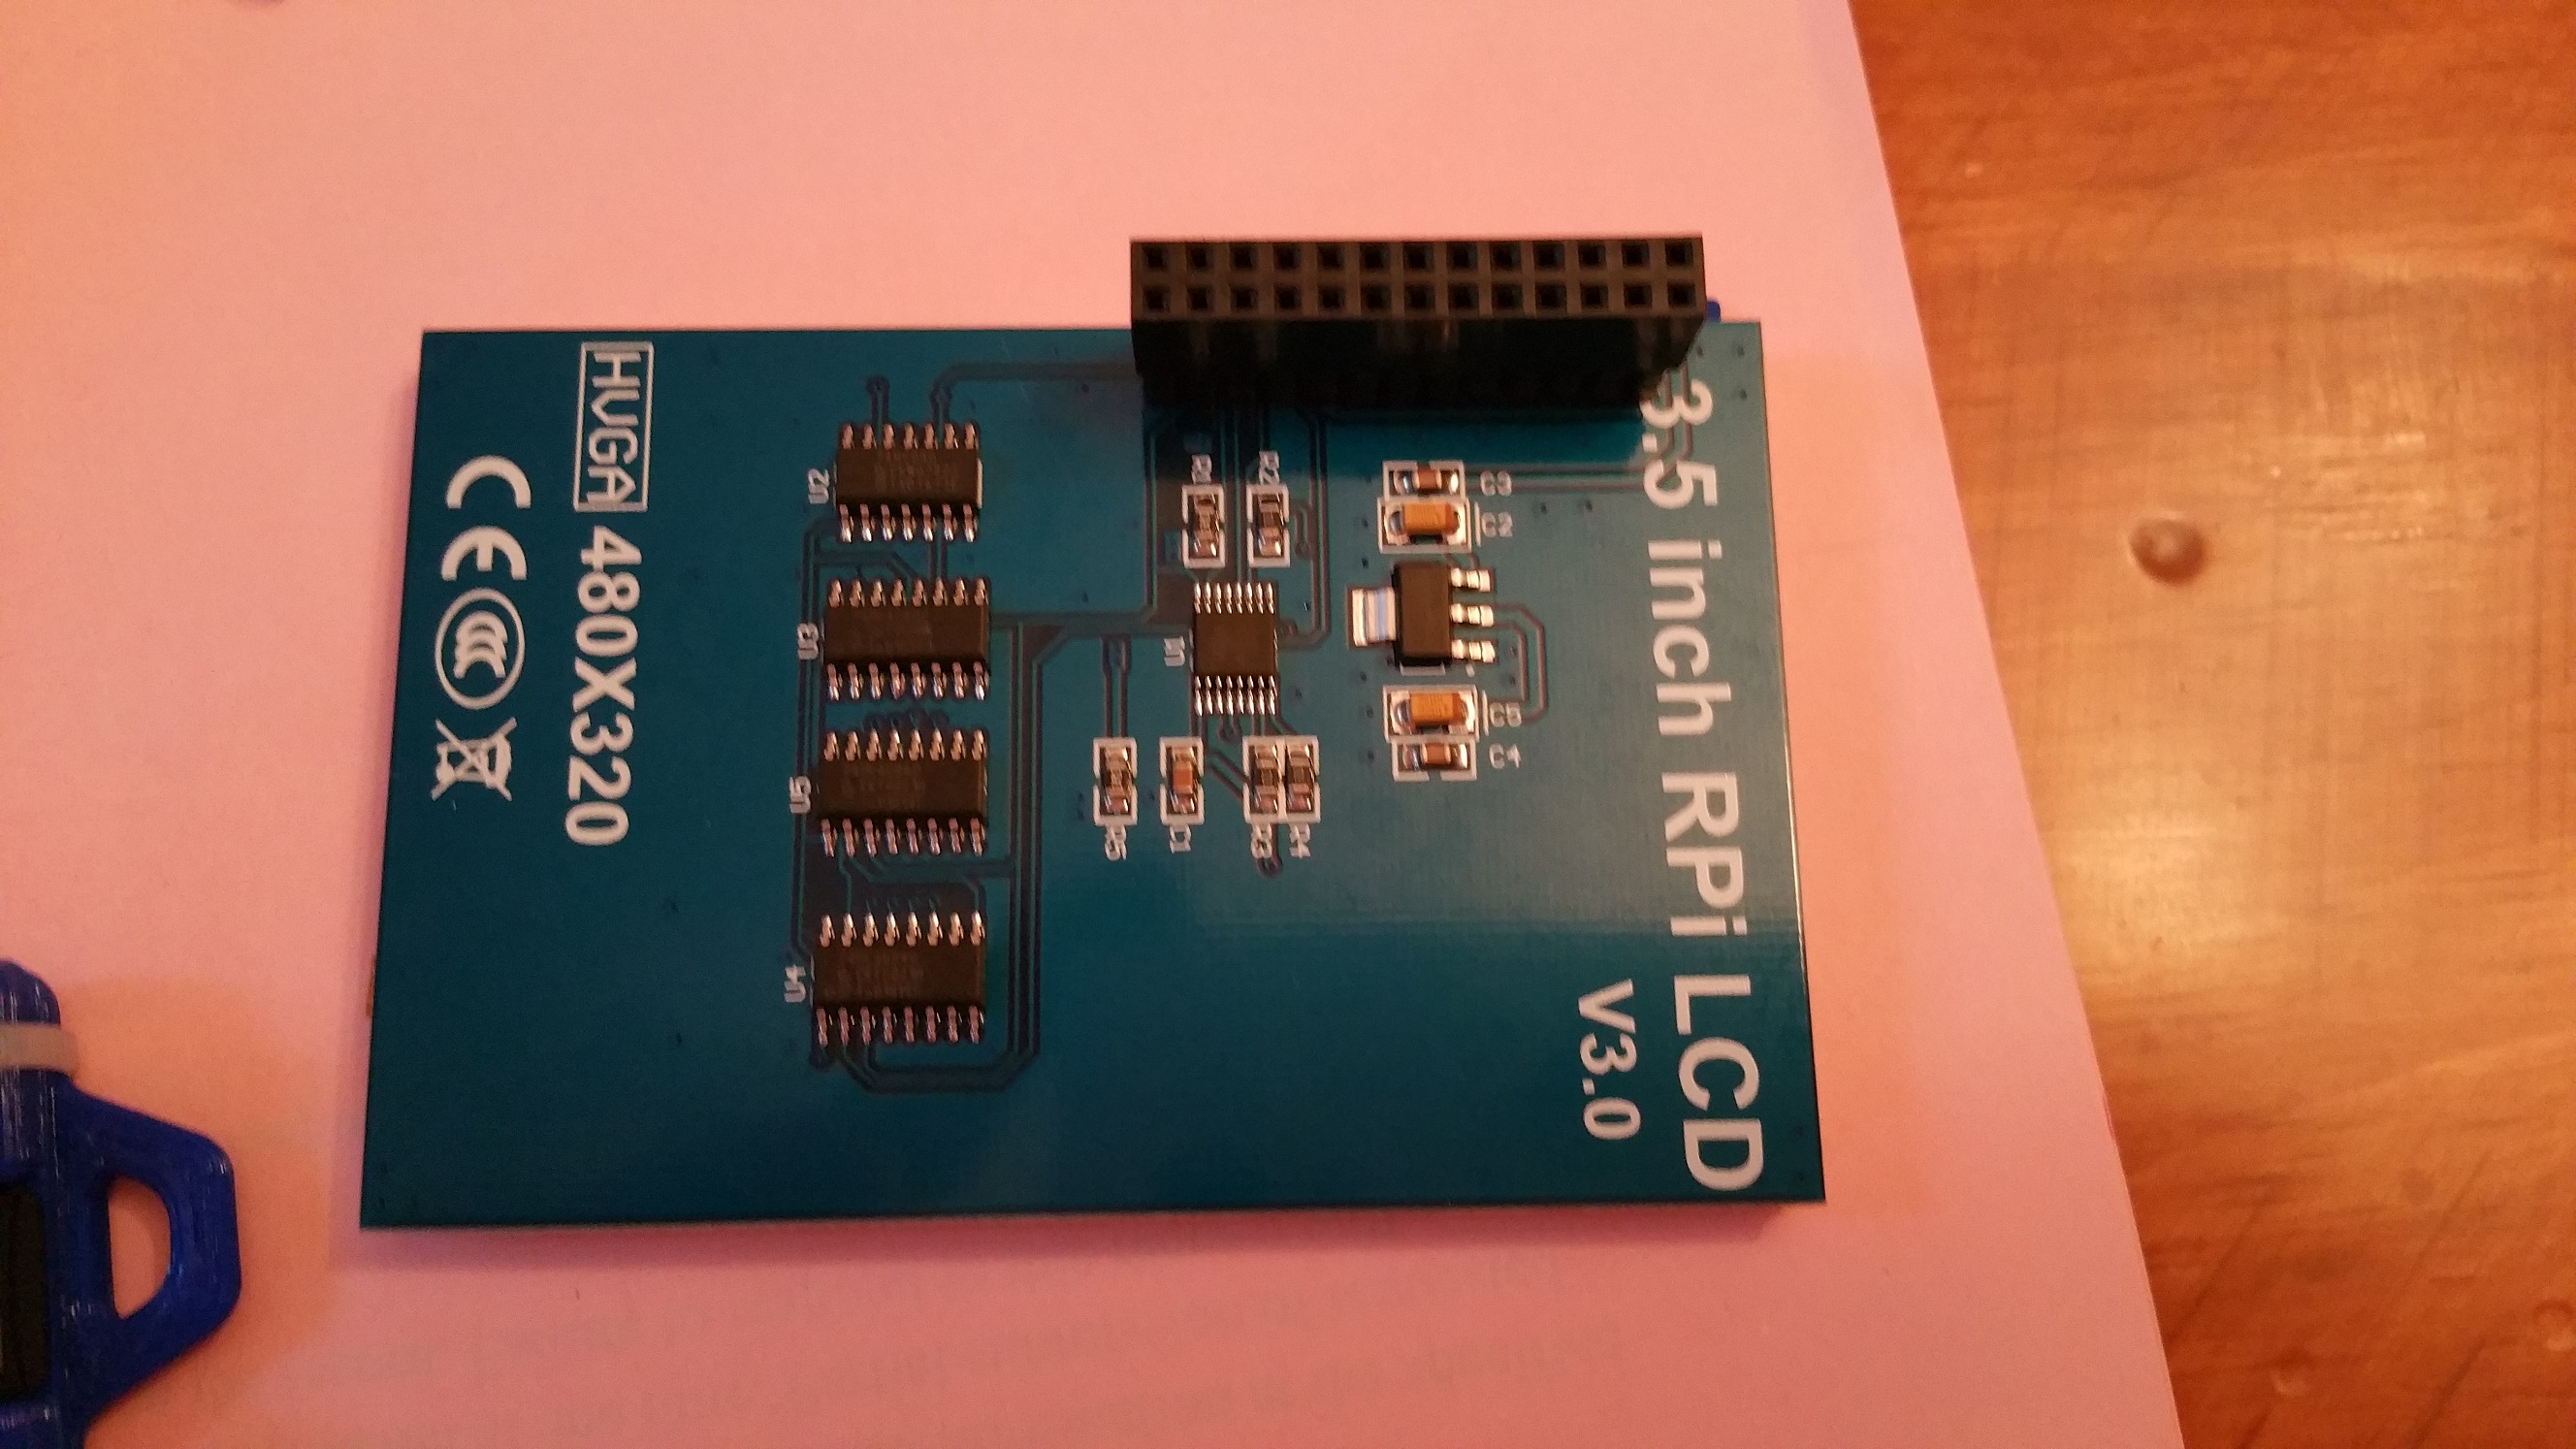

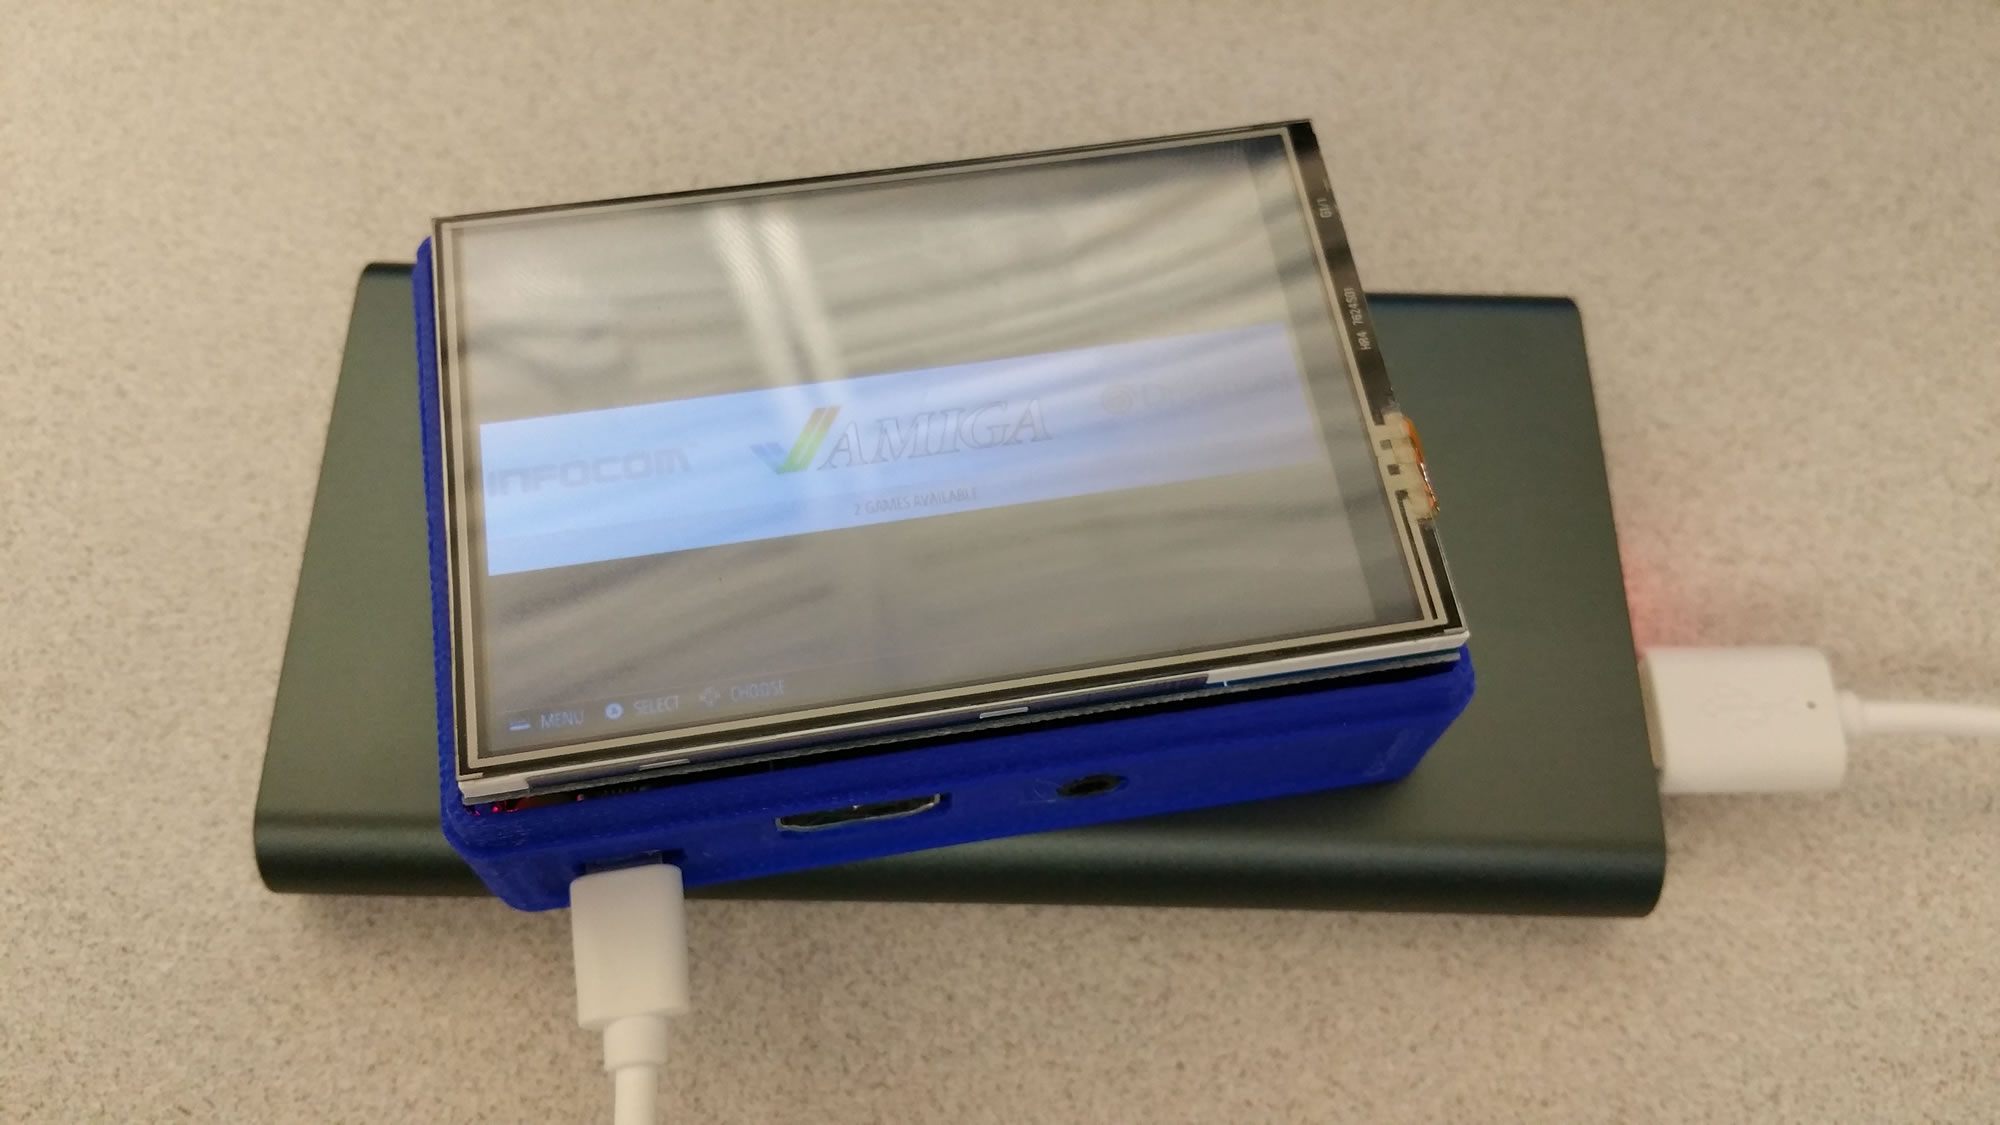
UPDATE: totally just got this working with RetroPie! After setting up the LCD drivers, you have to have the framebuffer send to the TFT. Found a post here that explains what to do…just have to change things for the 35a LCD is all. Worked like a charm. I have to play with the speed a little as it is kind of laggy but still pretty cool!
Raspberry Pi Zero
 The Raspberry Pi Zero is simply a micro computer that is only $5! These little guys are hard to get…sold out most places in the US as soon as they arrive. There are some Micro Centers that have them in stock…but the closest one for me is in Mass and that is a bit of a drive. Reddit community to the rescue!
So some people in the Cambridge area posted pics showing the the Micro Center there had them in stock. I put out a simple request to see if someone would buy one for me & ship it & I would reimburse them….someone did!
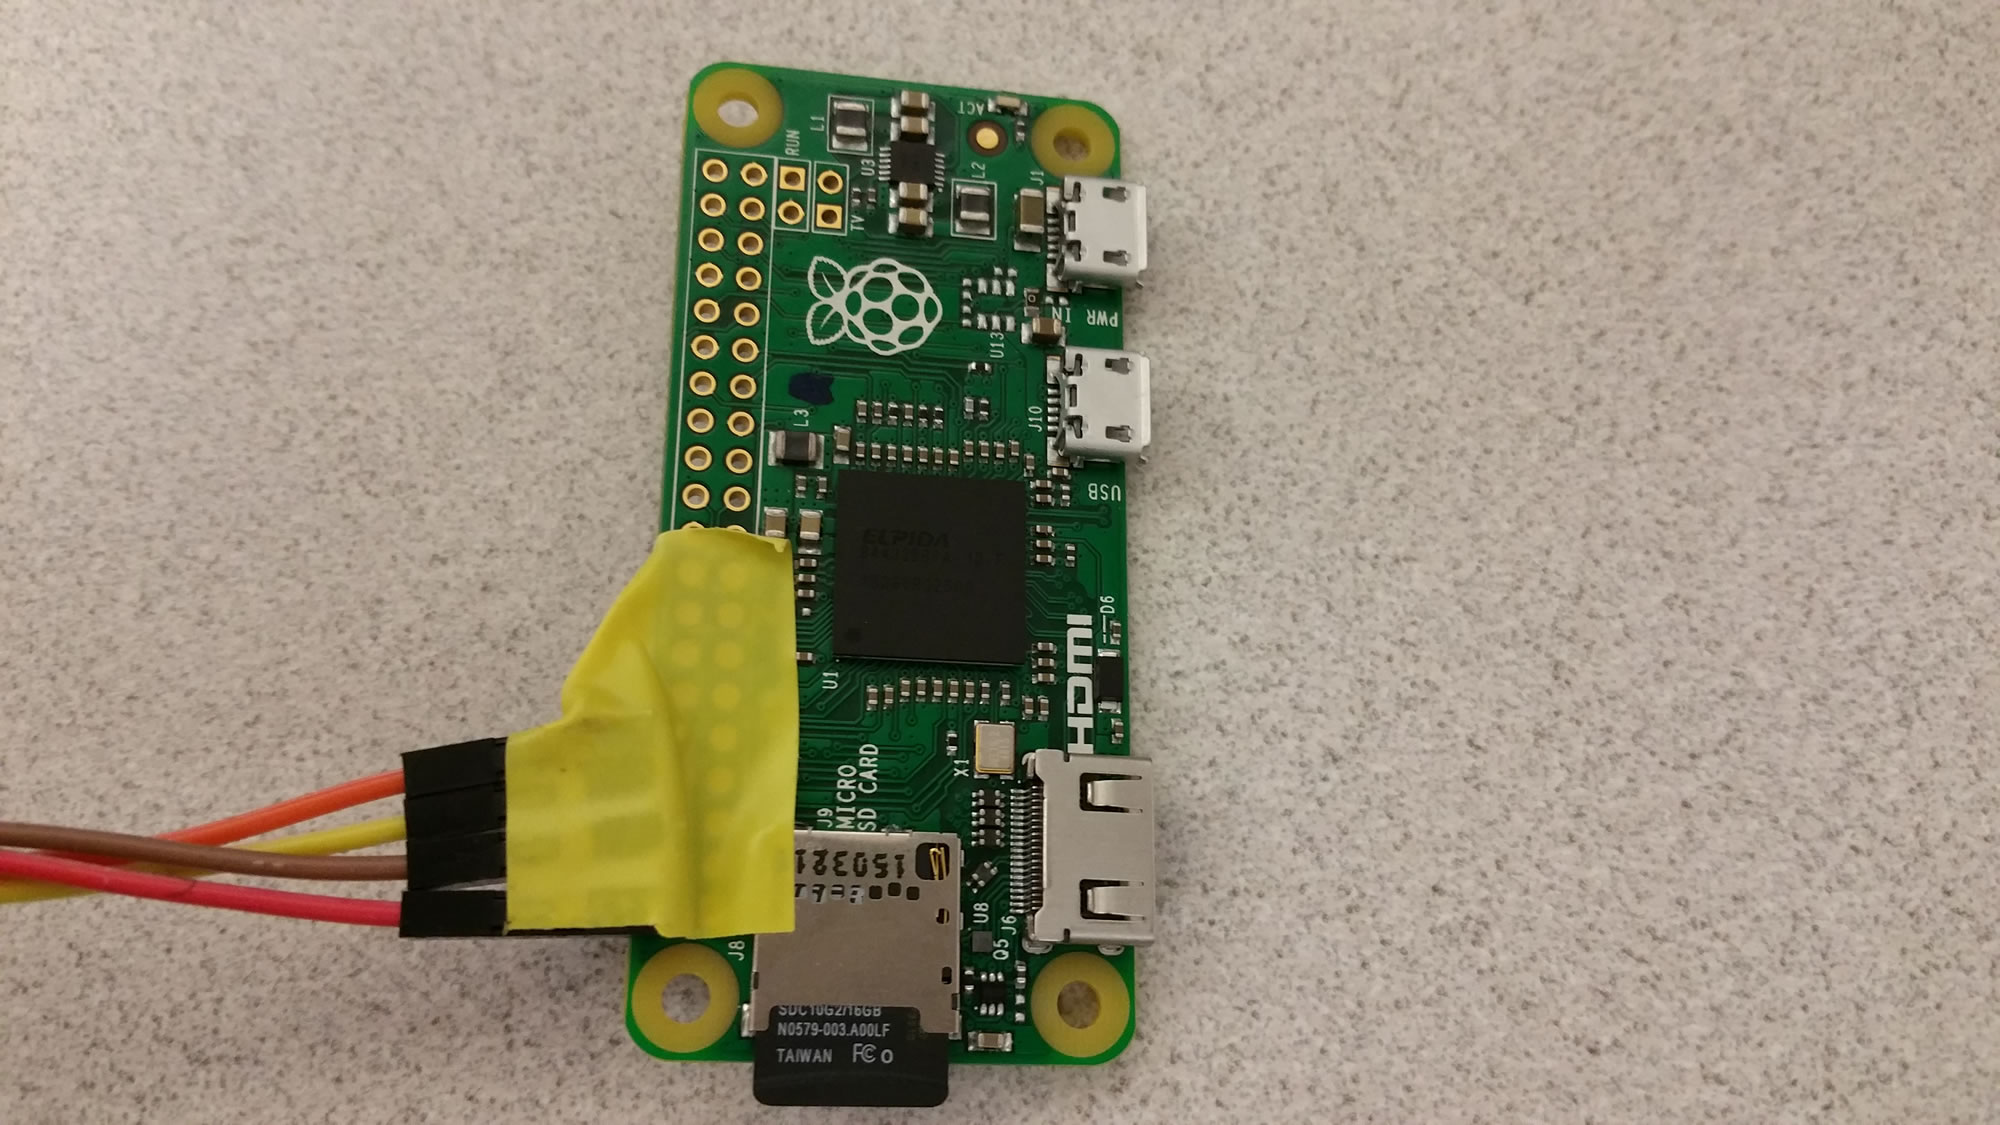
I now have this cool little computer with GPIO outputs. I could turn it into a USB gadget if I want…or another little retro gaming station. I’m leaning more towards a USB gadget of some sort…simply because it has a nice small form factor and I need to get my creative juices flowing. To do that, I need a console cable as to be able to get into the pi zero without having to hook up a keyboard. I ordered this little guy from ebay (a USB to TTL with 3.3v conversion). What makes talking to the pi zero via serial tricky is that most serial talks with a voltage of 5 volts…but the GPIO pins on the raspberry pis all talk with a 3.3v…so you will either need a converter of some sort, or this little USB to TTL to do the work for you.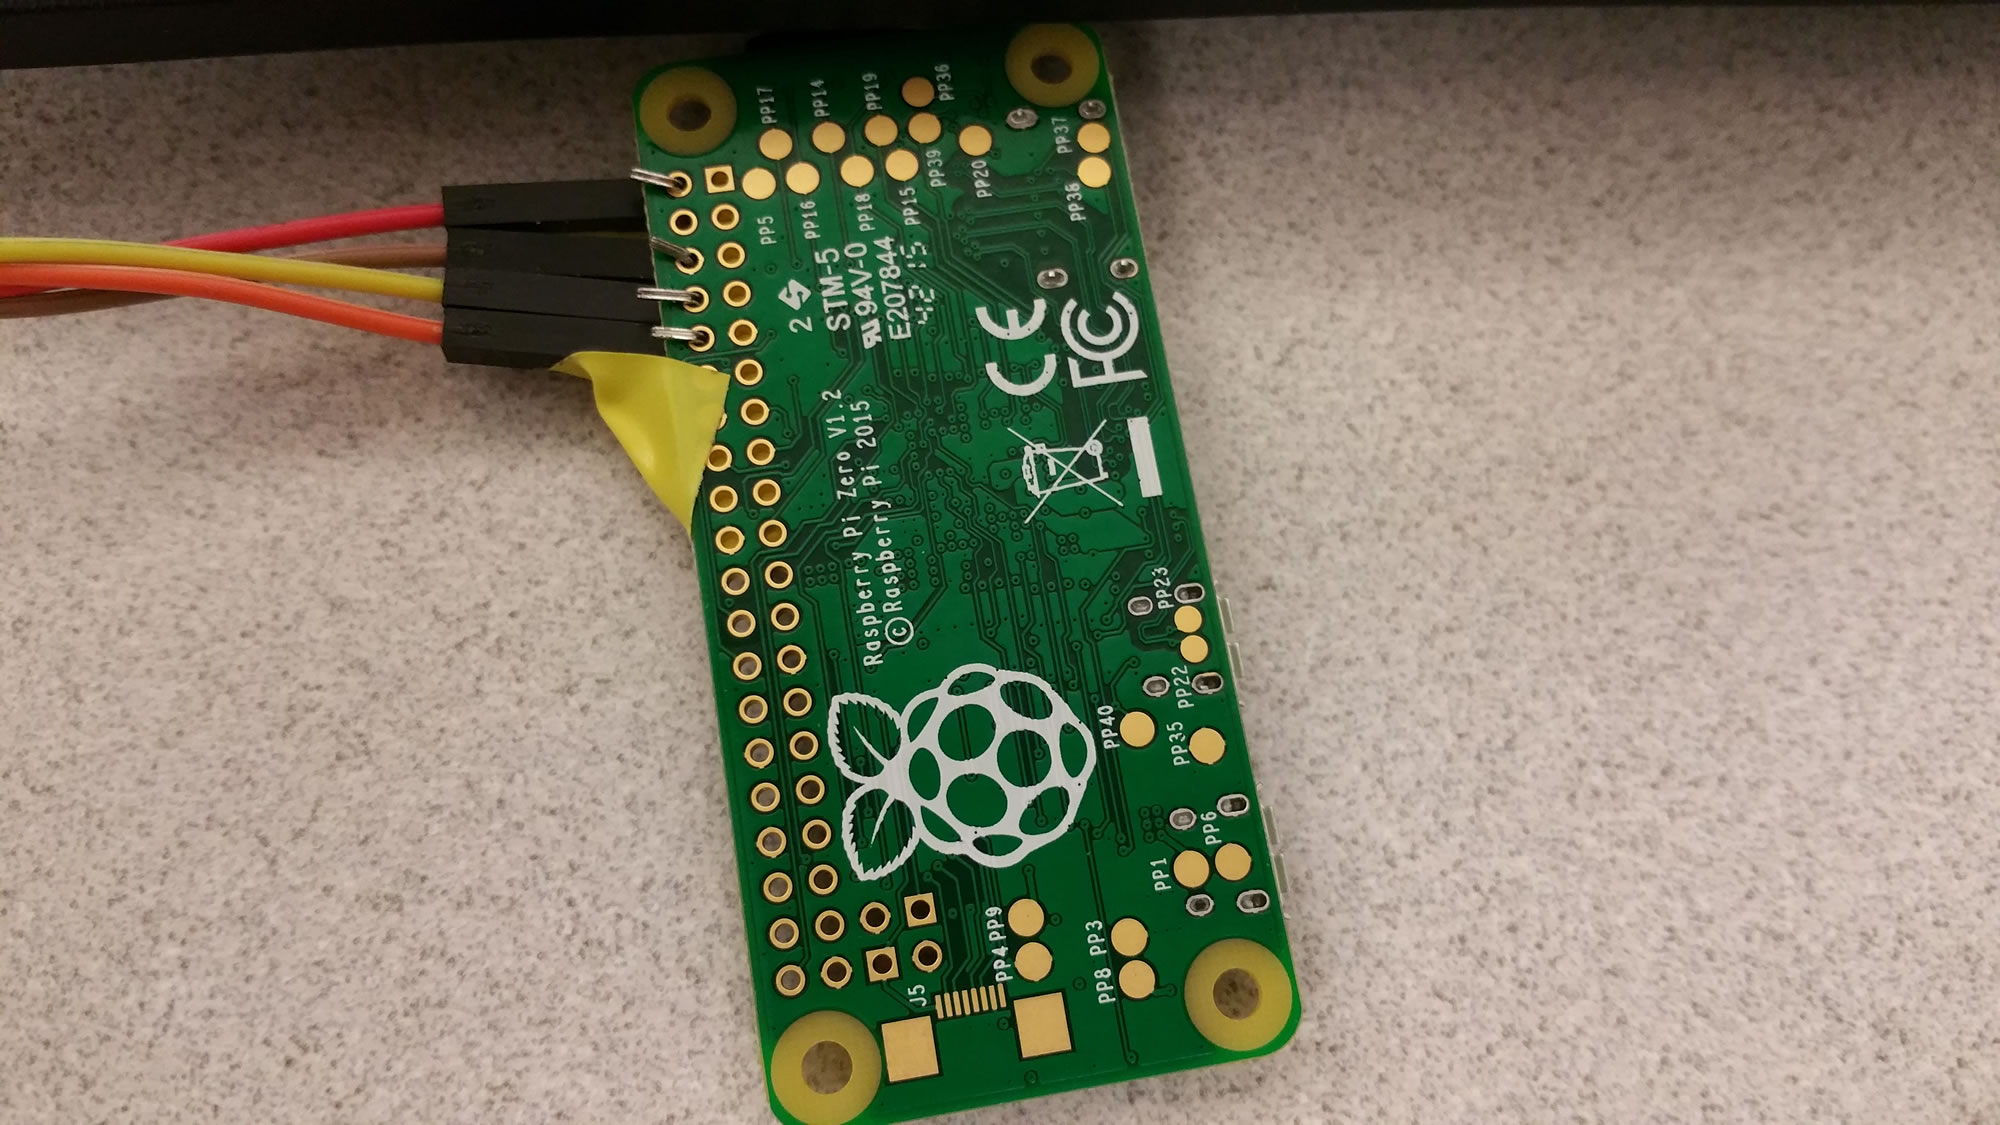
Well, the little TTL chip came in….I put the jumper on 3.3v…put the RX of the chip to the TX of the pi and then vice versa for TX to RX and then GND to GND and VCC to 3.3v on the pi….and…it sort of worked…but was kind of a loop. In looking back, I’m lucky this didn’t damage the Pi…or the TTL chip. What does work is the following:
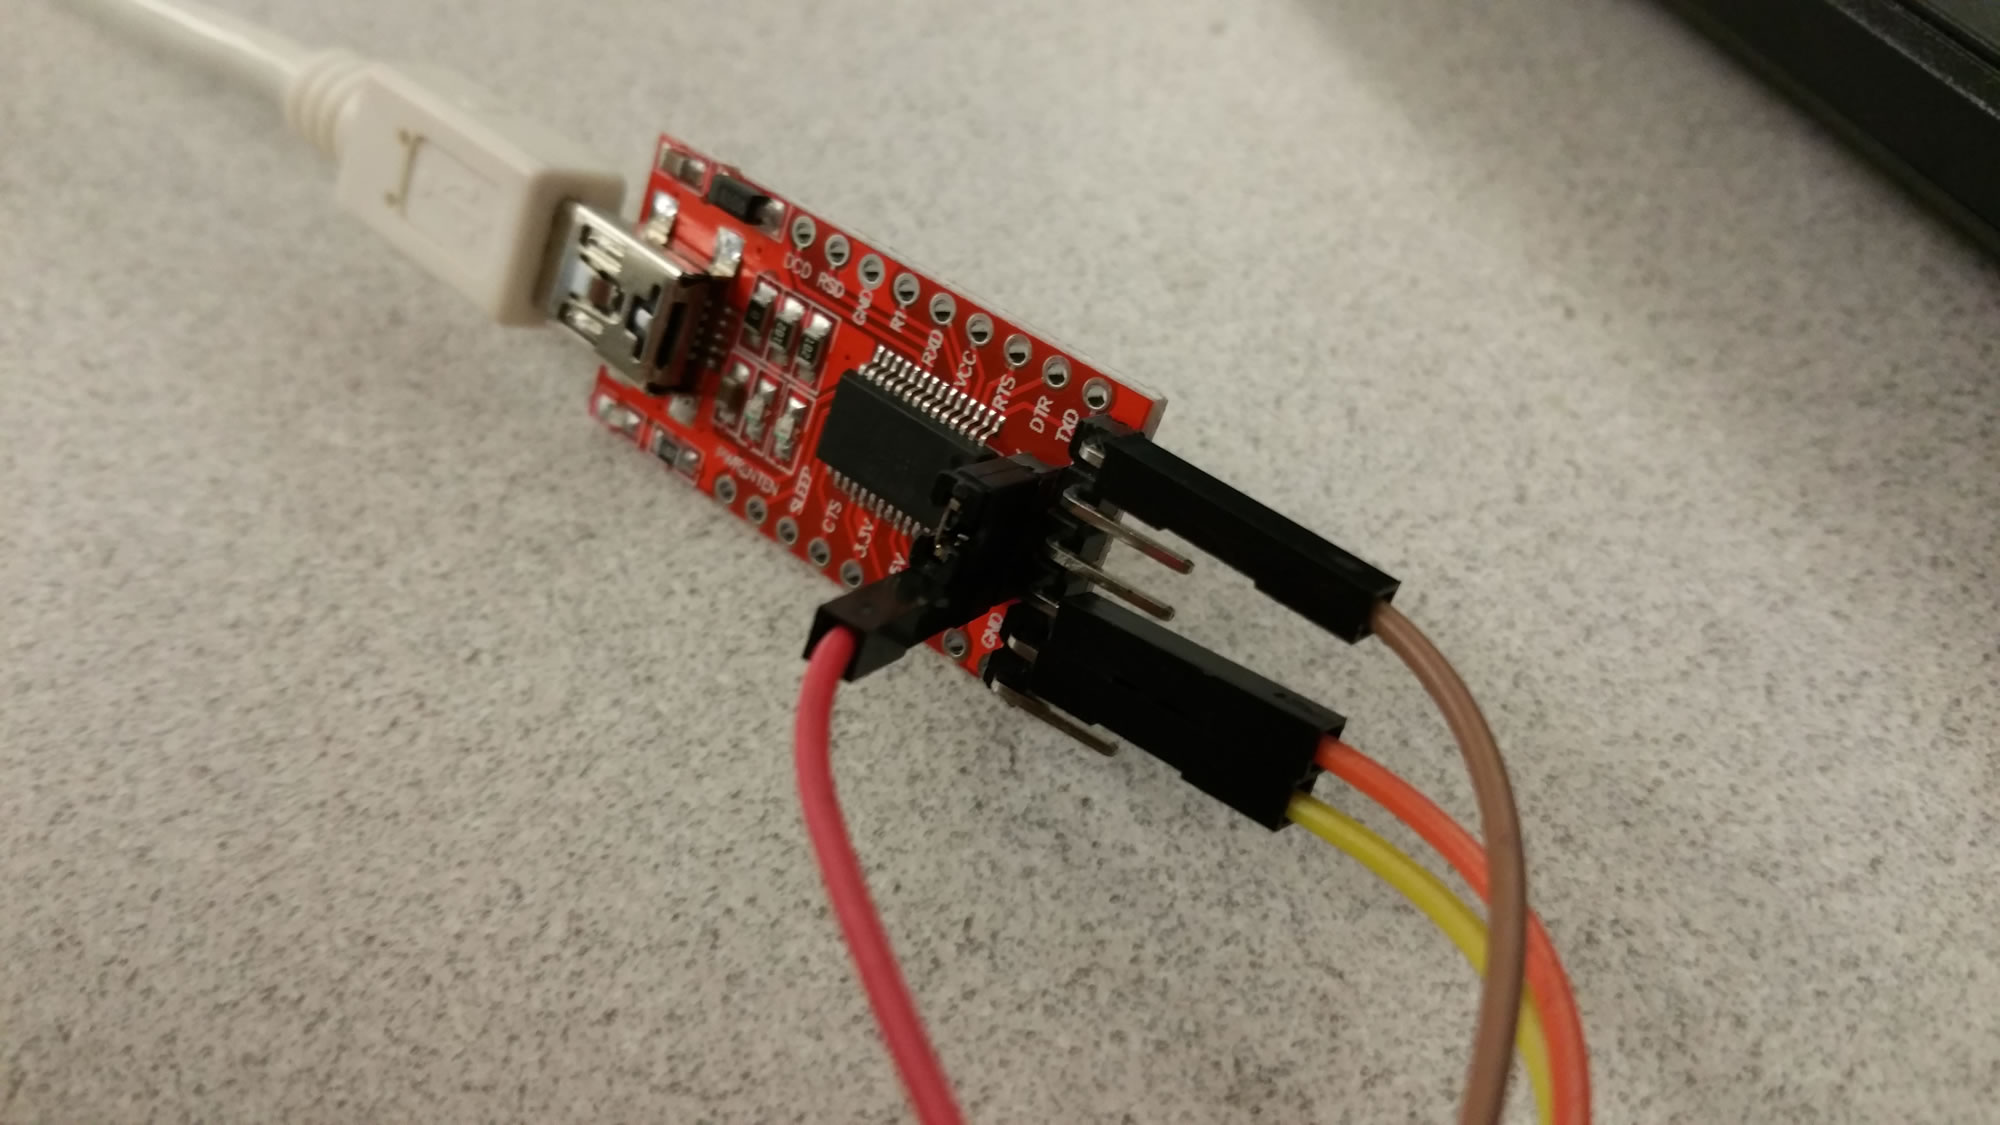 TTL jumper 5v >> Pi 5v power || TTL RX >> Pi TX || TTL TX >> Pi RX || TTL GND >> Pi GND.
The unconventional part here is that I’m using the 5v of the TTL’s jumper to power the Pi. All I know is that it works!
When I plug the TTL into my computer, I get a new com port that shows up…then I can just use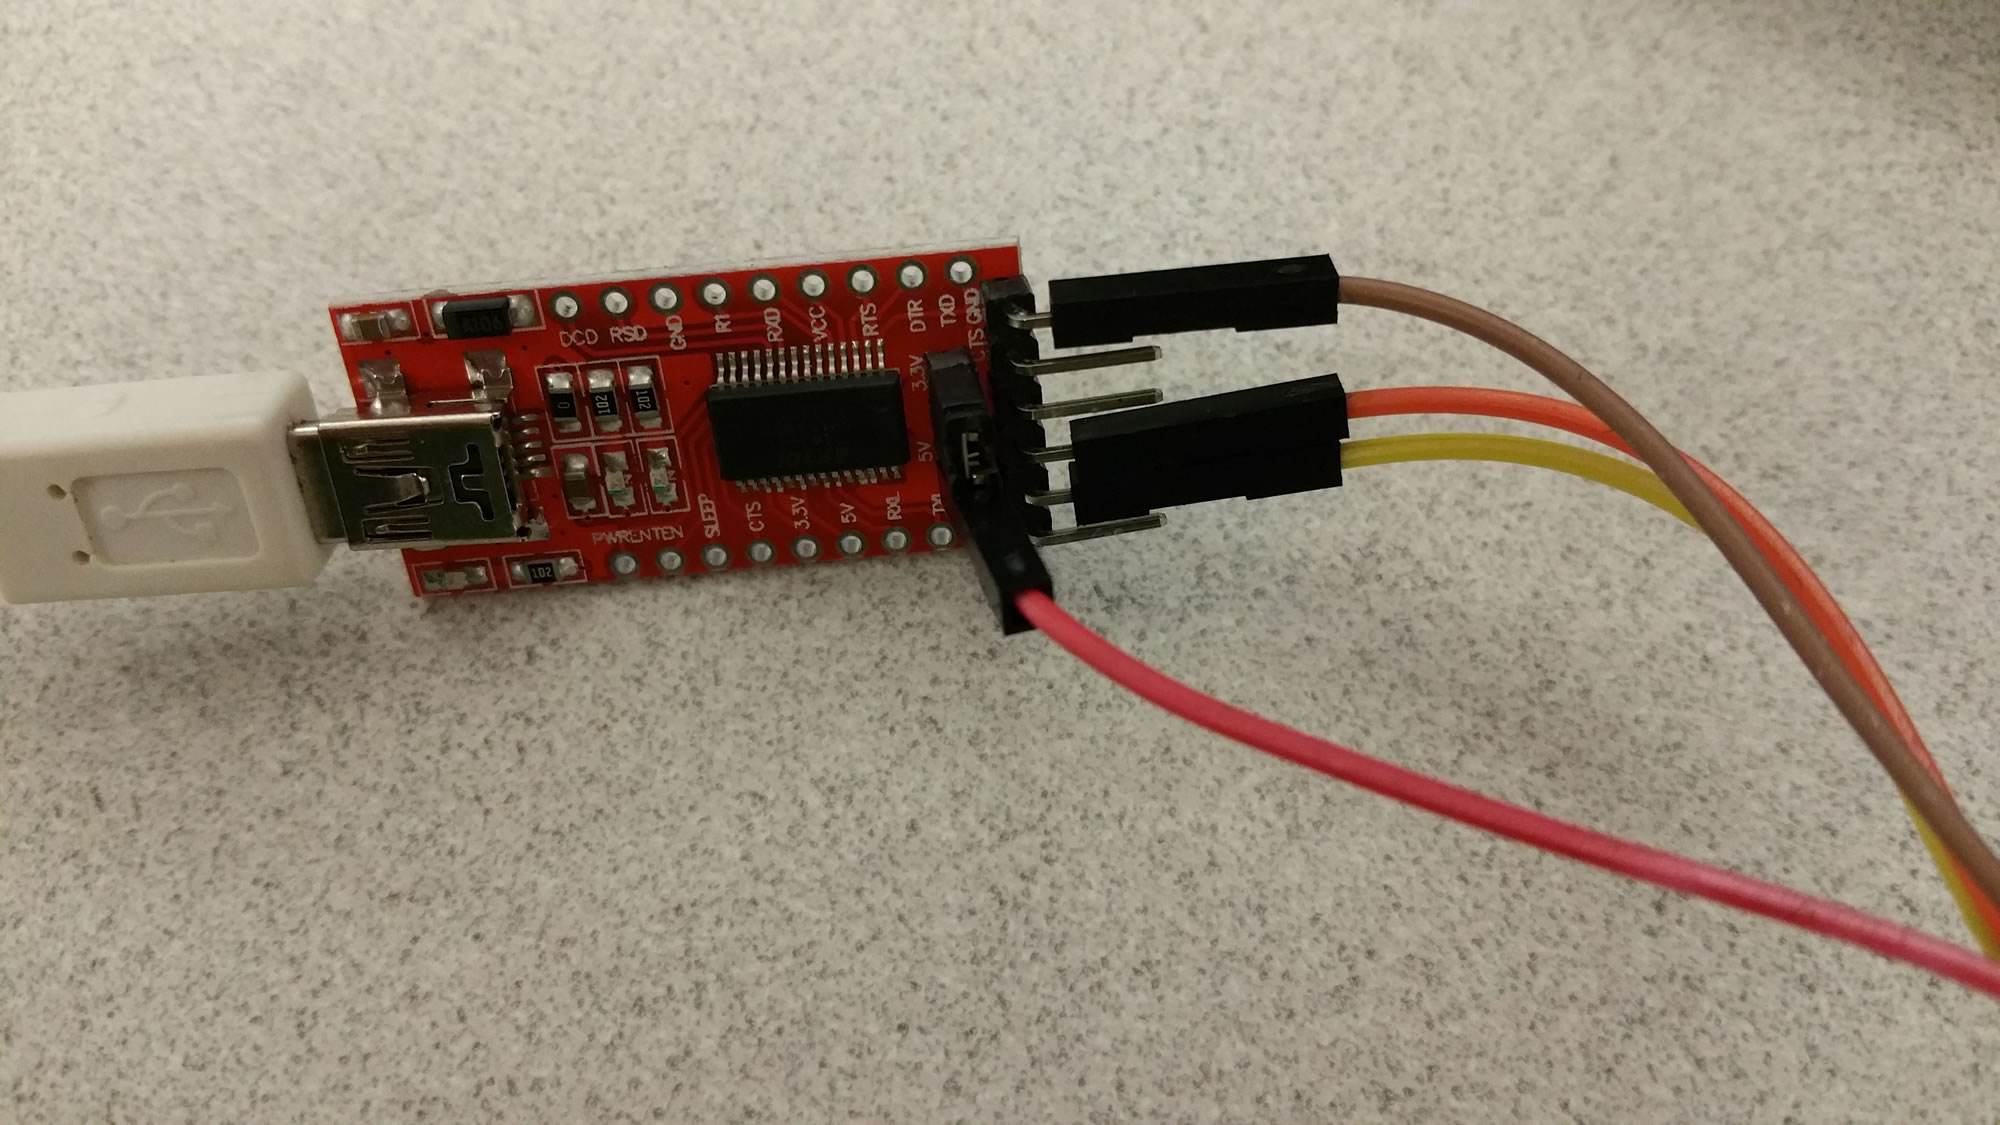 PuTTY to access the Pi! This will work for any Raspberry Pi by the way….not just the Zero.
 Now to figure out what I want to do with it. I think I would somehow like to make it into a little ethernet gadget that can somehow use the internet of the computer it is plugged into. That would be cool…to have a little “thumb drive” computer…to put files on and manipulate with whatever scripts or something. We’ll see what I come up with. =)